PowerPoint Hacks You Did Not Know For Effective Presentations
Being a consultant to professionals for creating the perfect business presentations, we have come across a vast multitude of issues faced by clients on a regular basis. The deep experience of dealing with professionals from all walks of business has allowed us to find some amazing tips and tricks for PowerPoint presentations. These include practical learning, best practices, and simple hacks to solve the most often faced challenges by professionals while making or presenting presentations. Here are some business challenges faced by professionals, and our suggestions on how to tackle them in PowerPoint.
Business Challenge # 1: Play video over multiple slides
With the limited time and attention span of business professionals, it is difficult to get a larger volume of information across in a shorter period of time.
A well-placed video can aid your slides to rope in your audience. However, the common issue is that the content of a video is split into multiple slides, and it is difficult to create sync between the presentation and the video.
There is a simple solution hidden in PowerPoint animation settings, that allows you to play video over multiple slides.
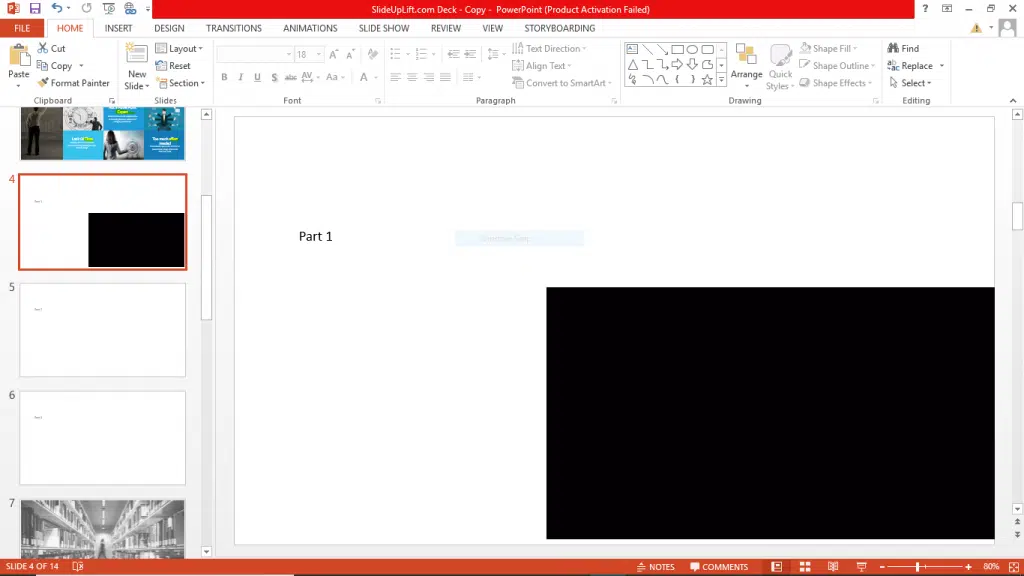
- Arrange the slides with your content in sequence, and leave the same space for the video placeholder in each of them.
- Add your video in the first slide of this sequence and make the necessary adjustments.
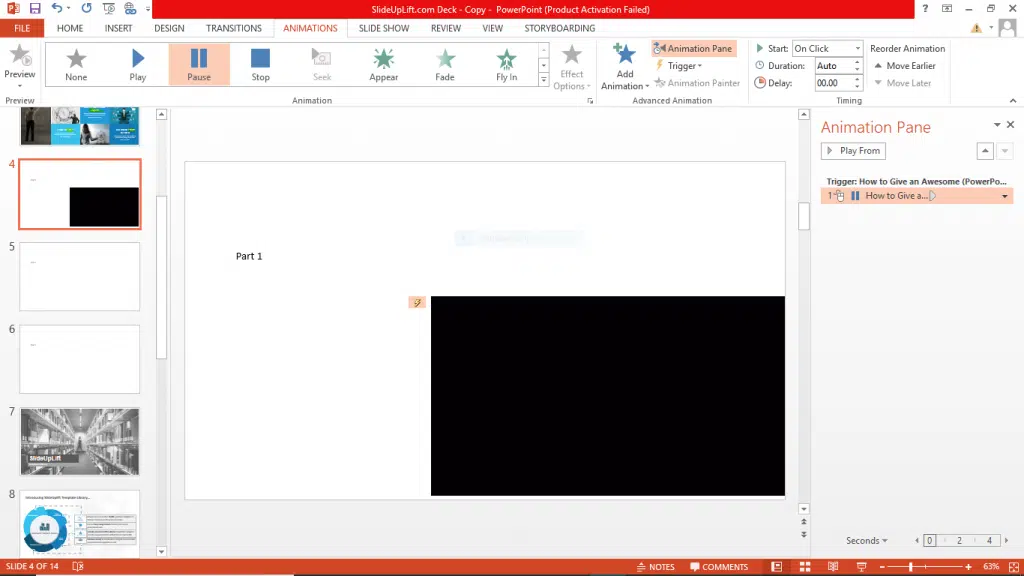
- Now select your video and click on the Animations ribbon, and go to Animation Pane.
- In the animations tab, arrange your video w.r.t the other elements on the slides (before or after the text, starting point, etc.)
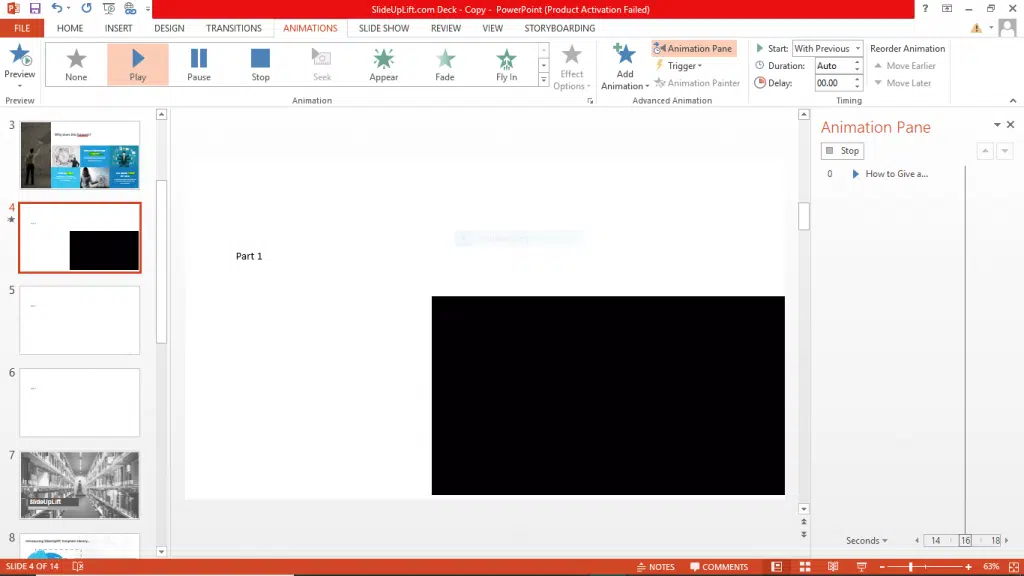
- If your video has a ‘pause’ symbol next to it; select the video and click play. Stop the video and notice that the symbol in the animation pane will change to a play icon. If this doesn’t work, set the video to start automatically.
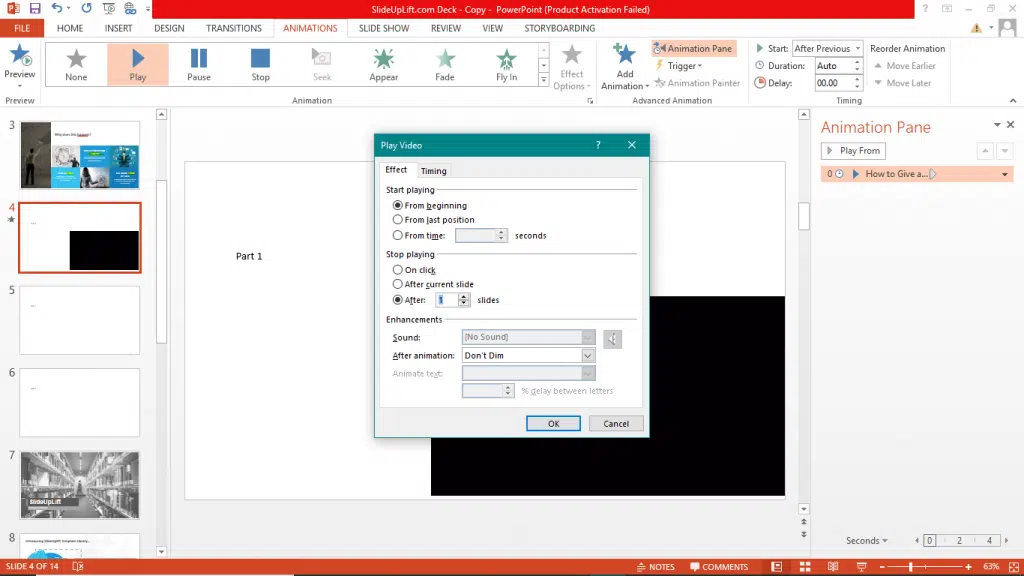
- Click on the drop-down arrow next to the video in the animations pane, and select effect options.
- In the effect tab, now you can see the Stop Playing section. By default, ‘after current slide’ will be selected.
- Change this option to ‘after’, and select the number of slides you want the video to play over.
- Save the settings and check the slide show.
Business Challenge #2: Sections and Summary Zooms
Imagine that you are about to begin your business presentation to a room full of clients, and you remember to make a final change or adjustment. You will have to zip through all the slides to find the slide you want to make the change to. Also if during the presentation, someone asks you a question from an earlier slide, you again have to go through each slide, while everyone waits awkwardly. This is not conducive to a good business presentation.
Adding a little organization to your slide deck can solve all these problems. Not only that, it can help you convey your message more efficiently to the audience.
There is a very efficient solution, to introduce some organization in your slide deck. Follow these steps:
- Divide your slides into sections of content.
- Arrange the slides in that order.
- Now right click on the first slide of a section you want to create, and click on “Add Section”.
- Name the new section, and repeat for other sections. This will divide your slide deck into organized sections, which can be moved, collapsed, and themed together.
Further, interestingly the best part of introducing sections in your presentations is that it can help you smooth out your slideshow. This feature is available only on Powerpoint 2016 and above.
- Go to the Insert ribbon and click on Zoom.
- Select Summary zoom. A window will appear of all your slides.
- Select one slide from each section that you want to represent that section, and click on Insert.
- This will add a Summary slide to your presentation. The summary slide has shortcuts to each section in your presentation. You can edit and delete these shortcuts as per your choice.
- Move the summary slide, where you want it in the slide deck.
- Play the slideshow and go to the summary slide.
- Now the presentation will zoom in to each section on the summary slide, then run the slides in that section, and return to the summary slide after it ends.
- The summary slide allows you to move through the presentation smoothly during the slideshow. You can click on the shortcuts in this slide, and directly move to the desired section. This comes in handy when you have less time remaining and need to skip some sections. It also adds a neat flow to the entire presentation.
Business Challenge #3: Printing Handouts
Sometimes it becomes necessary to provide handouts to your audience. Handouts are necessary to provide references to the audience. Especially, if your presentation has a lot of technical data, a handout becomes indispensable. Also for training presentations and some seminars, if you want the audience to take notes, a handout with space for notes is conducive.
However, handing out a bulky 40-50 slide handout to a room full of an audience is both unnecessary and a huge waste of paper.
Here is a simple hack to print large presentations efficiently, making it easier on your wallet, as well as the environment.
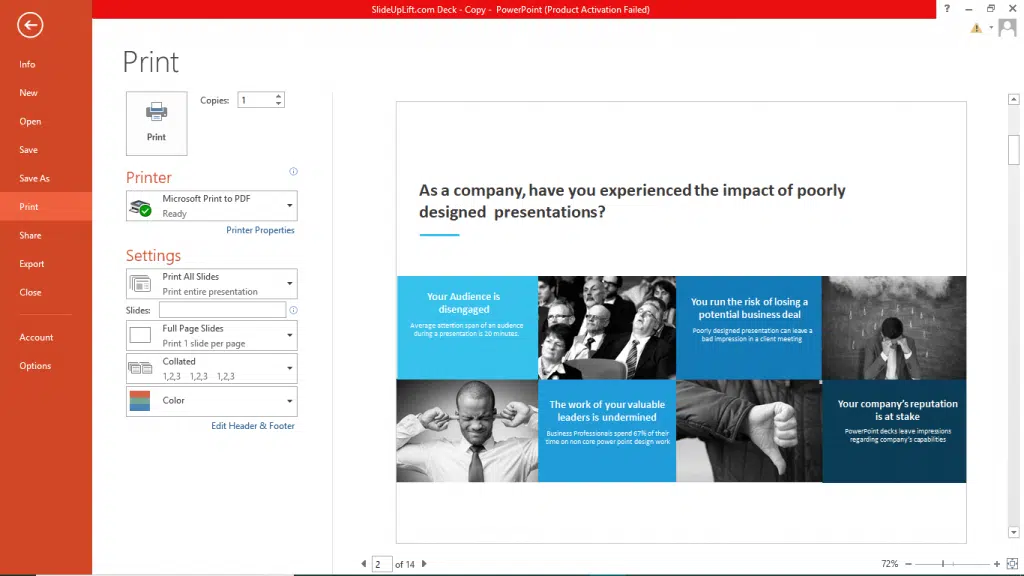
- Go to File and click on Print.
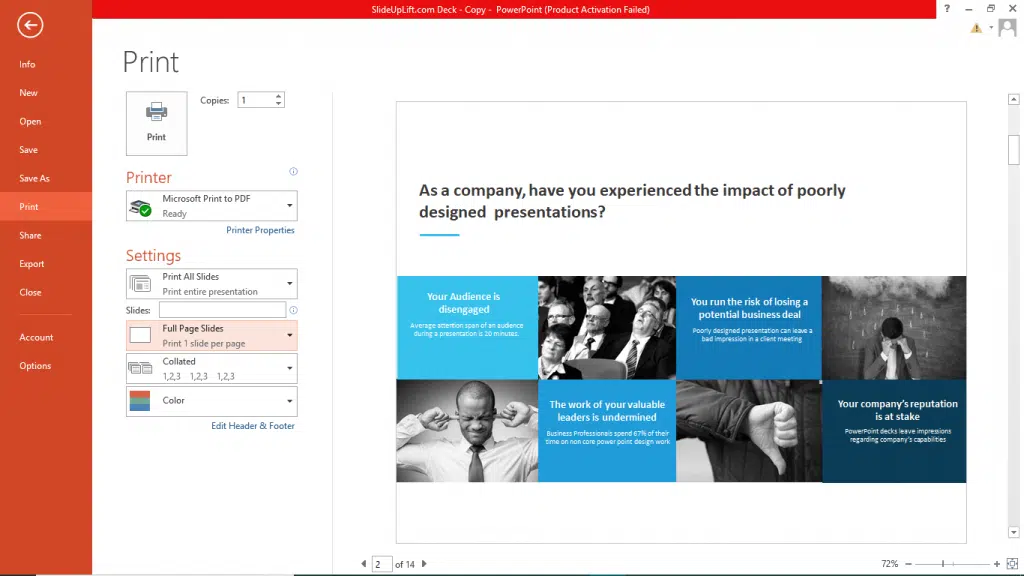
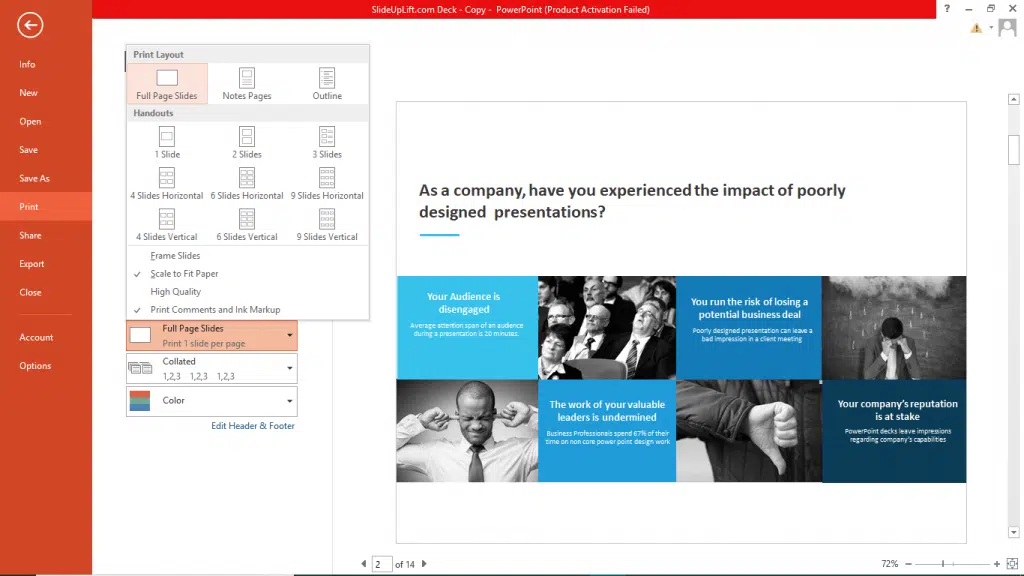
- In the options listed, you will see a drop-down, with ‘ Full Page Slides’ selected.
- Click on it and you can see options to print 2/3/4/6/9 slides per page, according to your needs.
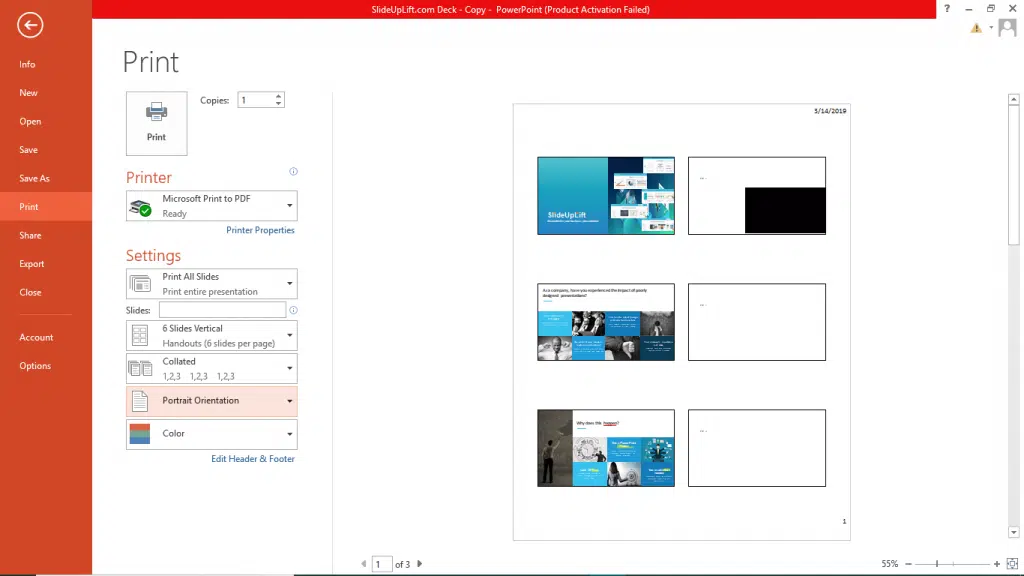
- Select the option best suited to your needs.
- Further, you can change the orientation of the paper between portrait and landscape, and choose the one which provides better scale and legibility.
Business Challenge #4: Adding annotations during a presentation
Often presentations are used in business discussions and interactive sessions. During the discussion, you might need to add annotations to the slides. You might have to draw attention to a specific point or write on the slide to incorporate notes and comments from the discussion. And those comments often need to be saved and shared further.
In such situations, PowerPoint gives you some simple tools to deliver interactive discussions smoothly. Follow the steps below:
- In a slide show, there is a controls bar at the bottom. Among the controls, you can see a pen icon.
- Click on the pen icon, and a menu will open up.
- You can use the laser pointer to draw attention to the points you are talking about. This will not leave any ink on the slide.
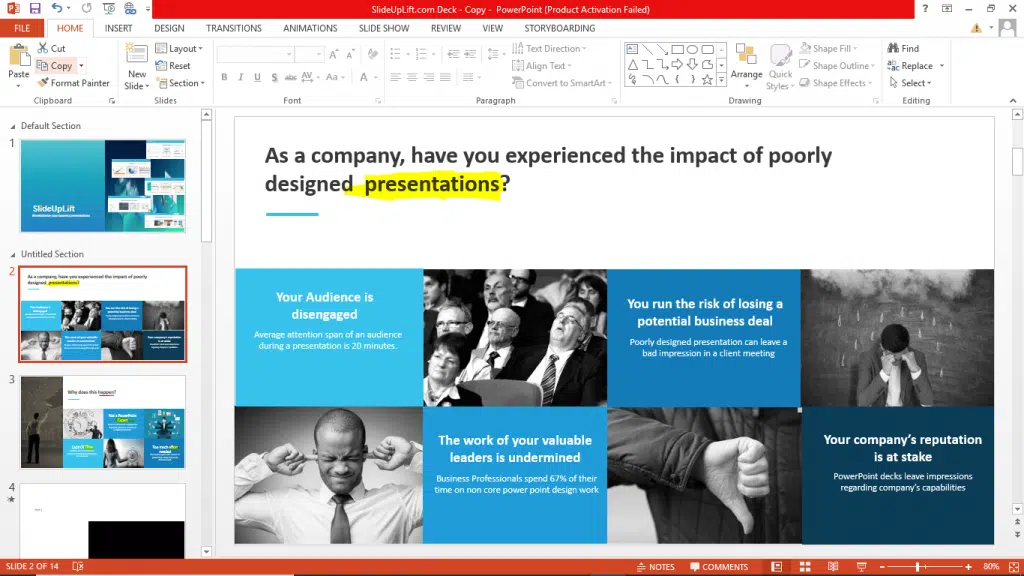
- You can use the pen or highlighter tool, to leave ink on the slide, and make changes.
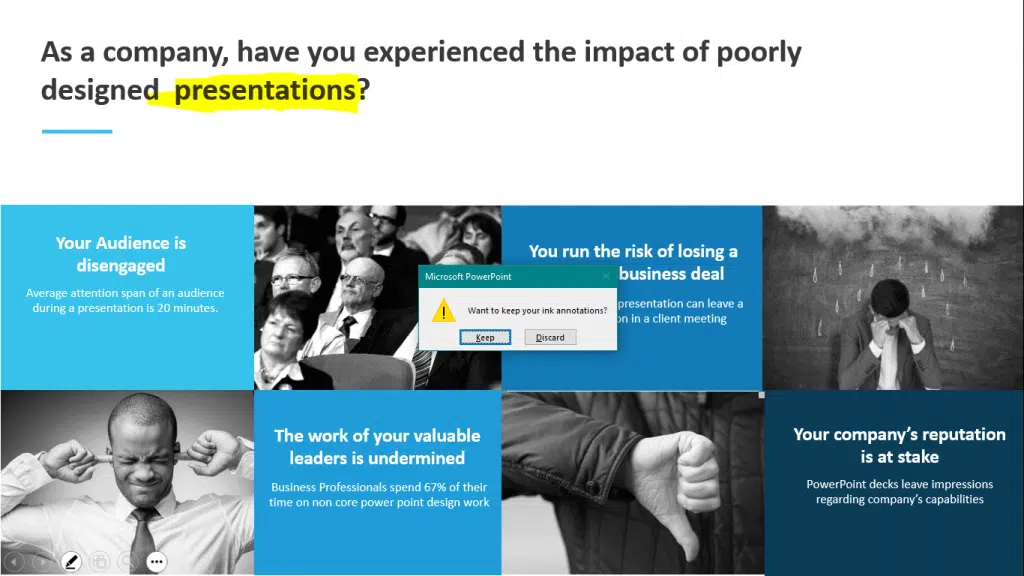
- When you exit the slideshow, you will be asked whether you want to keep the changes or discard them. If you select to keep the changes, the changes will appear on the slide.
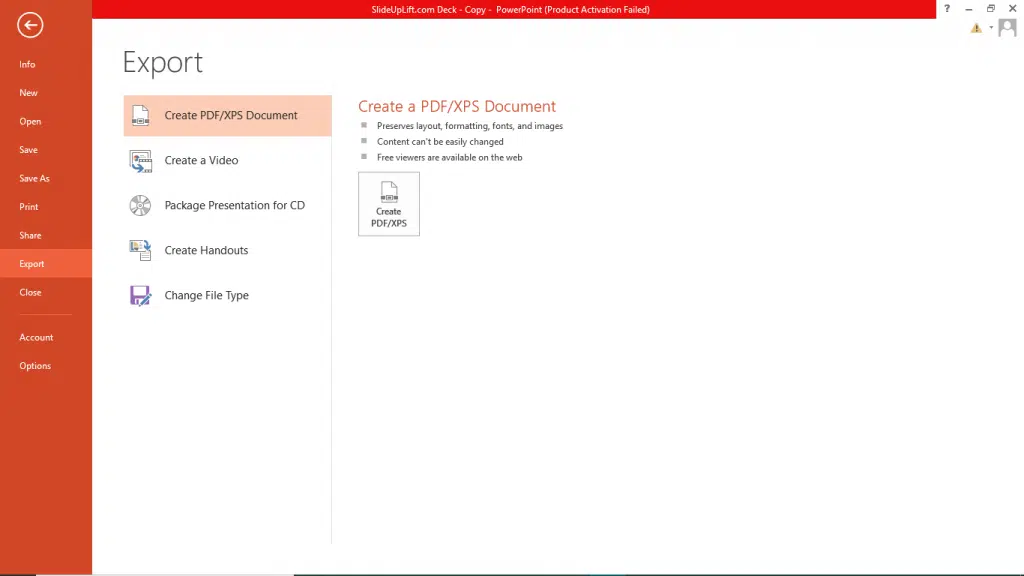
- To export these changes on a pdf, select the Export option in the File menu.
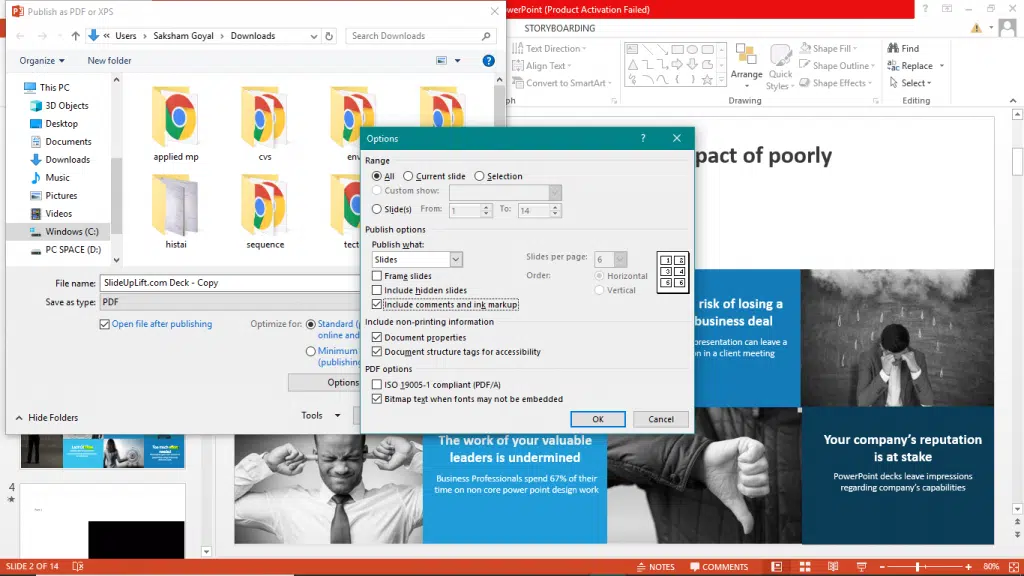
- Name the pdf, and click on options.
- Check the “Include comments and ink markup” options, to keep the annotations in the pdf.
Now you can share the presentation, with the annotations as a pdf file.
Business Challenge #5: Reduce the size of the presentation file
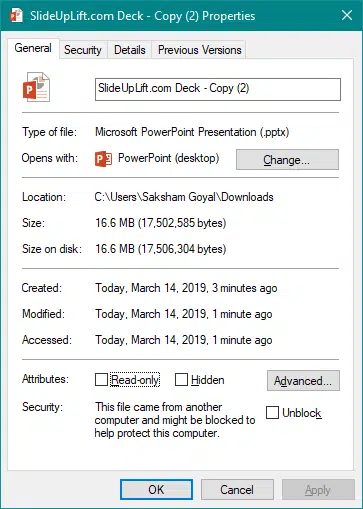
Business presentations contain a huge number of slides filled with graphics, audios, videos etc. making it bulky and taxing on disk space. If you try to E-mail such a presentation over the internet or to store it in a small pen drive, it will be impossible to do so.
The biggest contributors to high disk space consumption, are graphics, images, videos, and audios. We have found some best methods to compress the presentation size, to solve this problem.
Use the following methods to significantly reduce the presentation size.
To compress image sizes-
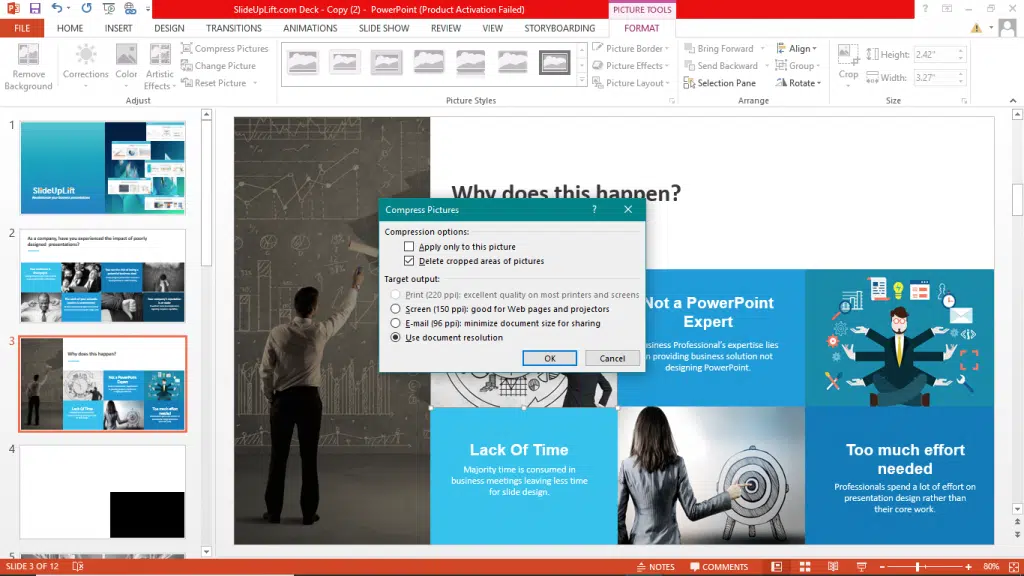
- Select any image in your presentation.
- Click on the Format ribbon, and click on Compress Pictures in the Adjust section.
- A pop-up window will appear. If you want to apply compression to only that particular image, select “Apply only to this picture.” If you uncheck this option, the compression will be applied to all the images in the presentation.
- Check the “Delete cropped areas of pictures”. The cropped areas remain in the memory of powerpoint, in case you need to readjust the pictures. But if you are sure you need no more adjustments, you can delete these areas.
- In the target output, select the desired resolution. Click on “OK”.
- Before saving, make a copy of the existing presentation. If the resolution of images gets too low, you will need the copy to reset the changes.
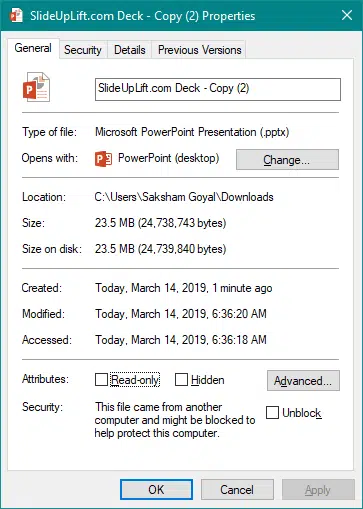
- Save the presentation. The size of the file will be reduced.
To compress media files –
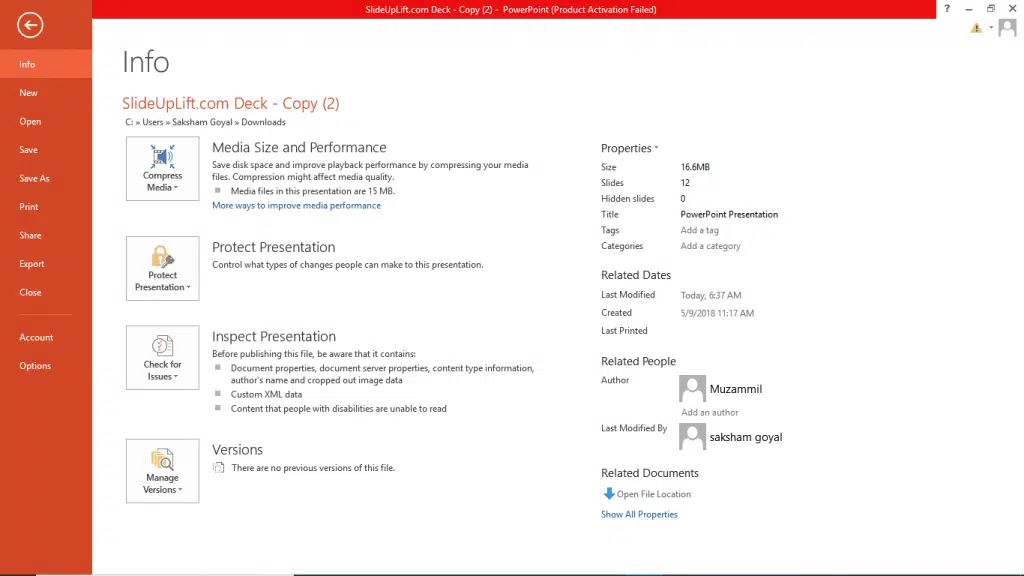
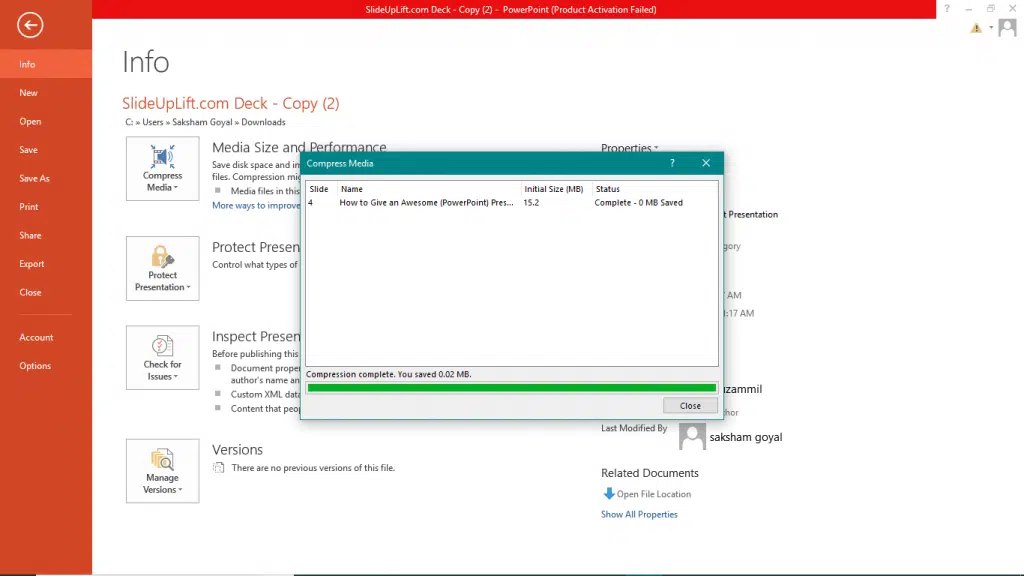
- Go to the “File” tab. Click on info.
- Click on “Compress Media”. In the drop-down menu, click on the quality of media you desire.
- PowerPoint will compress the videos and audios in the presentation to the desired quality.
- Save the presentation. The size of the media will be reduced.
Now you don’t have to scour the web to find out the right templates. Download our PowerPoint Templates from within PowerPoint. See how?

