How To Highlight Certain Parts Of Your PowerPoint Presentation
PowerPoint includes several wonderful features that will make your presentation stand out and leave an impression on your audience. One such function is PowerPoint’s Zoom Effect.
You can use the Zoom feature to draw your audience’s attention to any part of your presentation. This is an excellent approach to direct your audience’s attention to the most crucial element of your presentation.
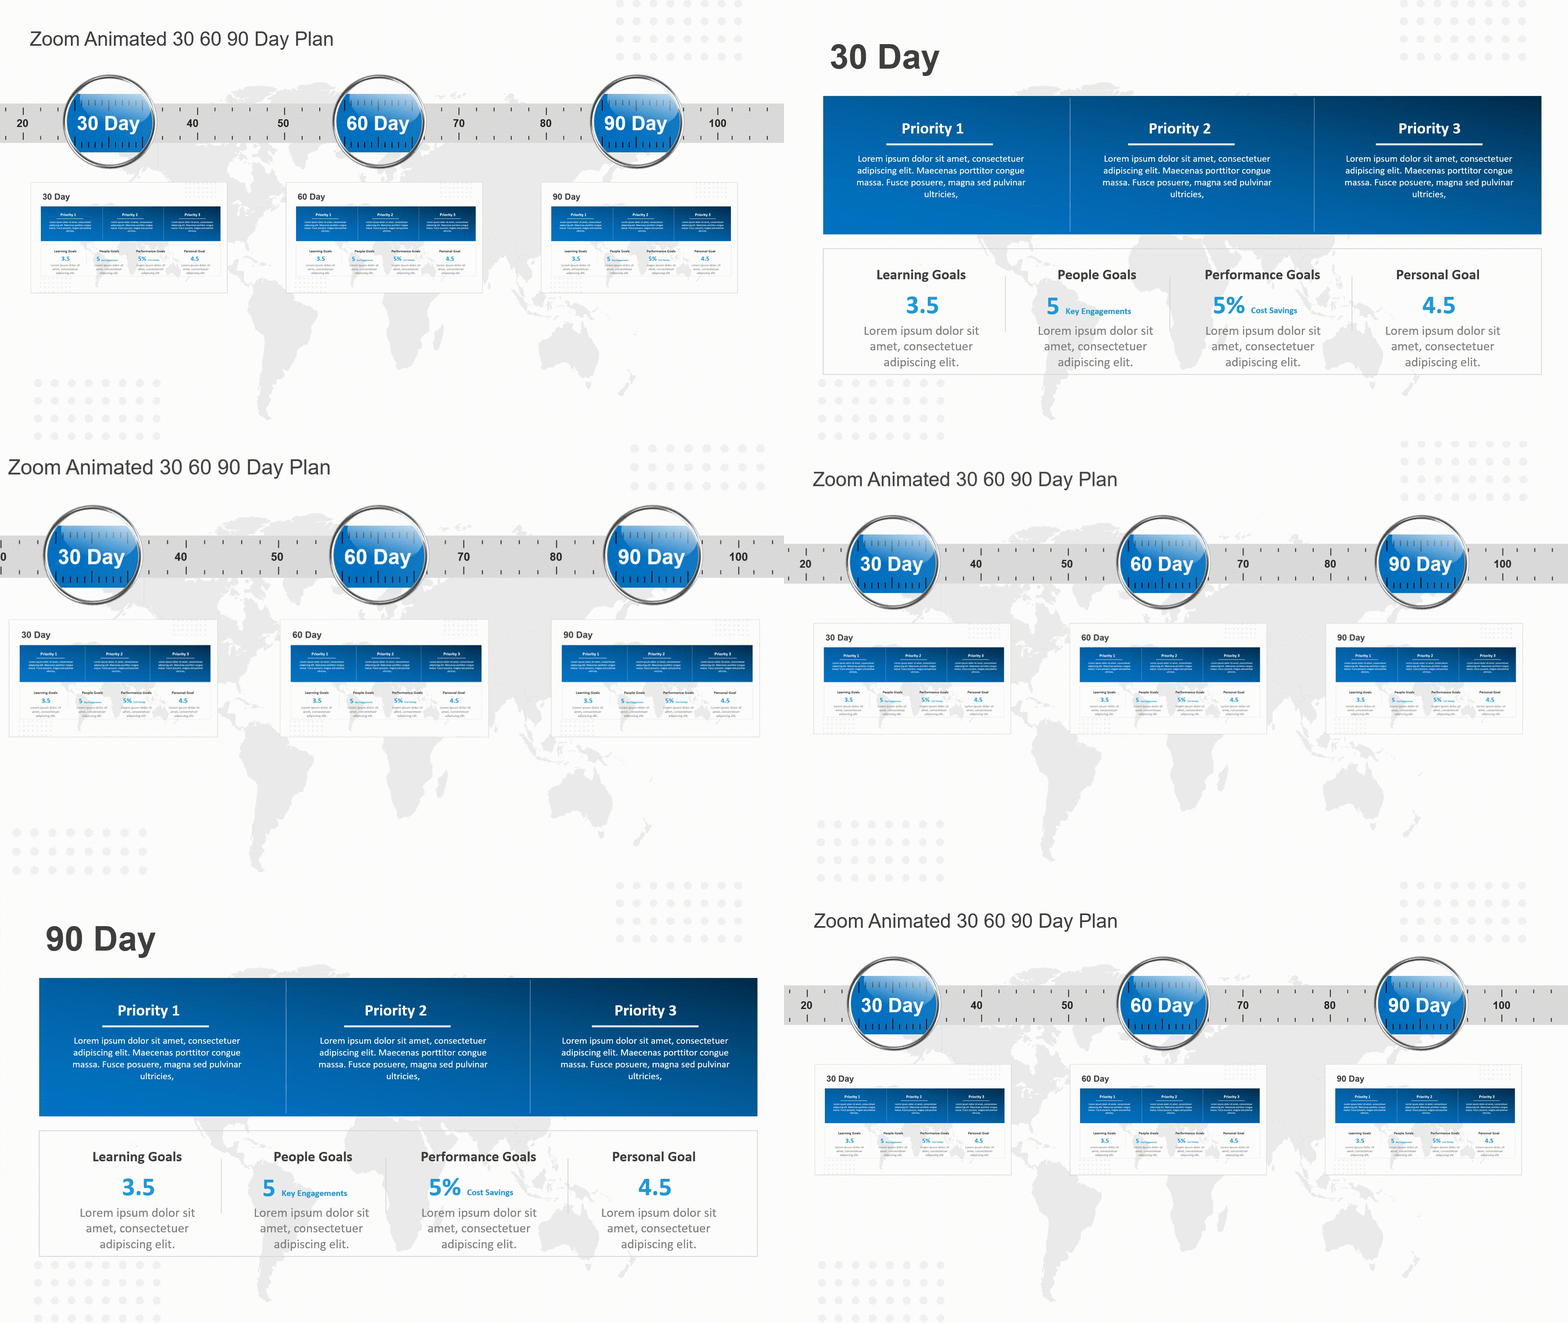
This is what a zoom effect looks like in a presentation:
Source: 30 60 90 Day Plan Zoom Animation Template
What is Zoom Effect?
The Zoom feature in PowerPoint, which was introduced in 2016, enables you to show your slides in whatever sequence you desire. Traditionally, PowerPoint presentations have followed a tight linear style. They begin at the beginning and terminate at the conclusion, and if you need to return to an earlier slide, your viewers will simply have to wait as you cycle through them.
Not any longer. PowerPoint will construct a menu slide and all the hyperlinks for you with just a few clicks, allowing you to arrange your slides in whichever order you or your audience like.
Why use the Zoom Effect?
Interactivity can make the difference between a good presentation and a great one. Interactivity places your audience at the center of your story, gives them control, and fosters trust between viewer and speaker. It dismantles imagined barriers between people on and off the stage. When it comes to relationships, walls are never a good thing.
You can let your audience select where they want to go next by installing a menu system in PowerPoint, and you’ll be able to go to the slide that supports the conversation with only one click.
While menu systems have always been available in PowerPoint, they required a lot of human effort, duplicated slides, invisible triggers, and hyperlinks galore prior to Zoom. PowerPoint now handles all of the physical work for you.
Learn How To Create A Zoom Effect In Your PowerPoint Presentation
Here is a step-by-step tutorial that will help you in creating a zoom effect in your PowerPoint presentations.
Step 1: Firstly, open a blank slide in PowerPoint.
Step 2: Now, go to ‘Insert’ in the menu bar and click on ‘Zoom.’
Step 3: After this, select the ‘Slide Zoom’ option.
Step 4: This will open a window containing all the slides of your presentation. Now, you have to select the slides on which you wish to create a zoom animation.
Step 5: After selecting all the desired slides, click on ‘Insert’ at the bottom of the window.
Step 6: Now, you will get all your selected slides on the blank one. Just arrange them as per your requirement with proper alignment.
Step 7: Once you are done till here, click on ‘Zoom’ and then select the ‘Zoom Style’ as per your desire.
Step 8: Now, select each slide and click on the ‘Return to Zoom’ option. Repeat this step for all the slides.
Step 9: Lastly, click on the ‘Slide Show’ option, and you’re all done!
So, this was a super simple tutorial for creating a zoom effect in PowerPoint. Adding a zoom effect in your presentations is not a compulsion, but it gives you an extra edge for engaging with your audience in a better way.
In case you feel stuck in any step, you can check out our zoom effect tutorial video.
Wrapping It Up
The zoom effect can be a very powerful tool in a PowerPoint presentation. It can help to focus the audience’s attention on a particular element of the slide and can also be used to create a sense of movement or flow throughout the presentation. When used effectively, the zoom effect can really add to the overall impact of the presentation. Check out the additional variety of animated PowerPoint templates for your reference. In addition to these PowerPoint animations, you can also check out different types of engaging PowerPoint templates and Google slides templates to make world-class presentations.


