

How to Create a Timeline in PowerPoint Like a Pro
Got just minutes to explain your plan, progress, or vision to your audience (superiors)? Let your timeline do the heavy lifting—in just one glance.
A Timeline in PowerPoint is an insightful visual tool that makes it easier for the audience to understand a sequence of events, key milestones, or project phases in a well-organized and chronological structure. It is more than just a design element; it provides a to-the-point, clear, and high-level overview of your detailed and lengthy plans. It has never failed to add a valuable addition to any professional presentation, making the information strategically in small ‘to-do’ tasks.
Having a strategic plan for the company to envision its milestones and targets gathers up to much data that can’t be projected in the presentation. Dividing it into small divisions or sections tagged with estimated deadlines makes it easy to follow and execute. Learning how to create a timeline in PowerPoint is going to aid you in acing your next boardroom meeting.
What is a Timeline?
A timeline is a simple visual tool that shows events or steps in the order they happen over time. In a presentation, it is used to map out plans, track progress, or highlight key moments, so that the audience can quickly pick up on ‘What’ is going to happen and ‘When’ it is going to happen. Inserting it in the presentation boosts the grasping power of the viewers, making speedy progress to reach the decided goals.

How to Create Timeline in PowerPoint?
There are three possible ways to go around to create a timeline in PPT. Let’s see the best way to make it by using:
By using SmartArt:
If you’re asking, how to make timeline in PowerPoint using built-in tools? SmartArt is the easiest method and a great way to do that:
- Step 1- Choose the slide where you want to add the timeline.
- Step 2- Go to the “Insert” tab and click on “SmartArt.”
- Step 3- Pick “Process” > “Simple timeline” from the SmartArt options.
- Step 4- Add your milestones by clicking [Text] or using the text pane. Press “Shift + Enter” to add a line break.
- Step 5- Select your text and use the toolbar to change the font style, size, or color.
- Step 6– To change milestone colors, right-click on one and adjust the fill or outline color.
- Step 7– Right-click on the arrow to change the timeline line’s color and thickness.
- Step 8- Move milestones around by dragging them. Keeping them close to their text makes the timeline easier to read.
Advanced SmartArt Features for Timeline Design in PowerPoint
Users will discover an improved ribbon that makes it easier to create timelines in the latest versions of Microsoft PowerPoint and macOS. The updated SmartArt Design Tab offers quick and accessible templates, styles, and layout options, helping build and customize timelines more conveniently. The latest versions are:
- For Windows Users:
– Available in PowerPoint 2021 and PowerPoint 2024 (standalone versions)
– Included in Microsoft 365 for Windows, starting from Build 16.70 (23021201), released on February 14, 2023, with further enhancements in newer builds. - For MacOS Users:
– Supported in PowerPoint Version 16.96.2 (Build 25042933), released on April 30, 2025.
– Also included in the May 6, 2025, update.
These updated versions bring their users some advanced features mentioned below:
- Add more Dates:
– To add extra dates, click the timeline graphic, go to the SmartArt Tool Design tab, and select “Add Shape”.
This lets you insert additional milestones at the appropriate points in your timeline.
- Repositioning Dates:
– Use the “Move Up” or “Move Down” options in the SmartArt Tools Design tab to reposition it. - Change the Look:
– You can easily change how it looks using the design options in the SmartArt tools Design tab. Also, try different color schemes and SmartArt Styles to make it more appealing.
These improvements support users trying to understand how to create a timeline in PowerPoint more efficiently.
By using Excel Data:
You may be looking for a more dynamic method of how to create a timeline in PowerPoint presentation with live data. This is another way to do that:
- Step 1: Open “Microsoft Excel” and organize your data with columns for: (Milestone Name, Start Date, End Date (optional), and Description)
- Step 2: Start a new slide in PowerPoint to design your layout.
- Step 3: Go to the “Insert” tab → click “Shapes”. Select a horizontal line and draw it across the middle of the slide.
- Step 4: Use “Insert” → “Shapes” to add preferred shapes for milestones. Position each one along the timeline according to its date.
- Step 5: Use “Text Boxes” to label each milestone. Include: Milestone Name, Start Date, Brief Description
- Step 6: Add arrows or lines from “Insert” → “Shapes”. Use them to show progression or relationships between tasks.
- Step 7: Change color combinations, shapes, and fonts to differentiate phases. Resize elements for clarity. Highlight key milestones with bold or italics.
- Step 8: If Excel data changes, manually adjust the timeline: Move shapes or add new ones. Update text labels and descriptions.
Using SlideUpLift AI [Powered By Creatos AI]
SlideUpLift AI helps you create a timeline quickly without starting with a plain, AI-generated slide. You choose a professionally designed timeline template first, then add and refine the content while keeping full control of the slide.
How to Create a Timeline Using SlideUpLift AI
- Choose from 100+ Timeline Templates: Browse professionally designed timeline templates on SlideUpLift to find the layout that best fits your project, roadmap, or process. Each template is presentation-ready, giving you a strong visual foundation. Once you’ve selected a template, click Edit to customize it.
- Build Your Timeline: Populate the template with AI using a prompt , or edit it directly in the PowerPoint-like inline editor. Add or update milestones, dates, phases, text, and layouts while keeping full control over the final slide.
- Apply Your Branding: Use your saved Theme to instantly apply your brand fonts, colors, and logo. Upload your own brand assets to the Media Library and use them to personalize the timeline, ensuring it reflects your brand while making those assets available for future templates.
- Download as PowerPoint: Export your completed timeline as a fully editable PowerPoint presentation.

Common PowerPoint Timeline Challenges and How to Overcome Them:
While PowerPoint is a well-known tool for creating timelines, it does have its drawbacks, especially for busy professionals. Let’s take a quick look at the common challenges and their simple fixes in the timeline creation process:
| Limitations | Fix |
| Limited Design Options: PowerPoint timelines can look plain and hard to customize. | Use ready-made templates or Slideuplift’s pre-designed templates for better designs. |
| Not Ideal for Complex Projects: Large or detailed timelines quickly become overcrowded with data and hard to read. | Plan in tools like Excel, then show only key points in a PowerPoint slide. |
| Manual Updates are Time-Consuming: Every small change (like adding or rearranging dates) must be done manually. | Link your timeline to Excel so updates in the spreadsheet reflect easily in your PowerPoint—no need to redo everything manually. |
| Hard to Work on as a Team: Collaborating in PowerPoint isn’t always smooth. | Use PowerPoint’s cloud capabilities (like PowerPoint Online or OneDrive) to co-edit, add comments, and track version history in real time. |
| No Live Data Sync: PowerPoint doesn’t sync with live or external project data. | Set up a routine to review and update your timeline from one shared Excel file. Use linked charts or tables so changes update automatically in your slides. |
How to Choose the Right Timeline Layout for Your Needs:
Choosing the right layout is vital for making your message easy to follow. The right choice will help your audience understand your points better and stay engaged. Here’s how to create a timeline in PowerPoint that best suits your goals:
- Consider the Information Type: What are you showing? Historical events, project milestones, or a process flow?
- Choose Based on Layout Style: these different layouts entail:
Horizontal layout: Ideal for showing events in a chronological order.
Vertical layout: Better for detailed, step-by-step project timelines. - Understand Your Audience: Think about their preferences and how they will best understand it.
- Ensure Clarity: The right layout makes your information clearer and easier to follow.
- Aim for Impact: A good layout enhances your presentation, making it more engaging and effective.
Conclusion:
PowerPoint is a common tool for making timelines, but it’s not always the easiest or most flexible. If you’re figuring out how to make a timeline in PowerPoint, pre-designed Microsoft timeline templates can save time and elevate your design. A quick and easy way to get a look that is clean and professional, with a variety of different styles, is to try using SlideUpLift’s pre-designed timeline templates. They’re simple to use and can instantly improve the look of your presentation.
Make your timeline stand out without the extra effort.
FAQs
-
How do I precisely match events on my timeline?
To ensure that events are appropriately spaced, utilize alignment guides in PowerPoint.
-
What’s the ideal orientation for a timeline, horizontal or vertical?
Your content and preferences determine the orientation. Horizontal timelines are best for historical events, whereas vertical timelines work better for project timetables. Consider your goal when learning how to do a timeline in PowerPoint.
-
Are timelines solely critical for business presentations?
Timelines are valuable tools used in various areas, including education, history, project management, and others. They help to show processes and sequences properly.
-
How do I create a project timeline in Excel and link it to PowerPoint?
Creating a project timeline in Excel and linking it to PowerPoint is easy. First, build your project timeline in Excel, adding important milestones and dates. Then, copy your data from Excel and paste it into PowerPoint. If you’re using the Office Timeline add-in, you can directly import your Excel data, making updates faster and simpler. This way, your timeline stays consistent across both Excel and PowerPoint, saving you time.
-
What features should I consider when designing a timeline in PowerPoint?
When designing a timeline in PowerPoint, consider utilizing SmartArt style options to create a visually appealing layout. Pay attention to line styles, as they can significantly affect the timeline’s readability. Choose clear and contrasting colors to differentiate between various milestones, and ensure that each element maintains a consistent style throughout. By focusing on these features, you can create a timeline that is not only informative but also engaging for your audience.
-
How do you create a continuous timeline in PowerPoint?
To create a timeline in PowerPoint, start by going to the Insert tab and clicking on SmartArt. In the SmartArt gallery, you’ll find different timeline designs. Choose the one you like and add it to your slide. Then, use the SmartArt Tools Design tab to change colors, line styles, and overall design to make your timeline look polished and professional. This is a simple answer to how to make a timeline in PowerPoint that’s sleek and professional.
-
What is the fastest way to create a professional timeline in PowerPoint using AI?
There are several AI tools that can generate generic timeline content, but if you want a visually compelling, presentation-ready timeline, SlideUpLift AI is the better choice. It combines AI-powered content generation with 100+ professionally designed timeline layouts, so you start with a strong visual foundation instead of a plain AI output. Simply choose a timeline template, add your milestones using a prompt , or edit the slide directly in the PowerPoint-like inline editor. Then apply your branding and download the final timeline as a fully editable PowerPoint presentation.
Table Of Content


Related posts from the same category

11 Apr, 2024 | SlideUpLift
How To Create A Timeline In PowerPoint And Google Slides? [2024 Guide]
Timelines serve as a guide for success, leading initiatives from start to finish. They are a shared reference point in a fast-paced business world, facilitating teamwork and allowing for successful

11 Sep, 2024 | SlideUpLift
How To Create Puzzle Pieces In PowerPoint [+Templates]
The jigsaw puzzle is the perfect design element that you can use for your strategy presentations; it helps with the storytelling aspect of your presentation by showing how the pieces

3 Feb, 2023 | SlideUpLift
How To Make A Graph In PowerPoint?
Do you need help communicating data effectively in your presentations? Data visualization is an essential tool in today's world as it helps represent complex data sets in a simple and

25 Jan, 2018 | SlideUpLift
PowerPoint Hack: How To Create Sections In PowerPoint And How To Zoom In PowerPoint
This PowerPoint tutorial is about How To Create Sections In PowerPoint. Imagine that you are about to begin your business presentation to a room full of clients, and you remember

9 Oct, 2024 | SlideUpLift
How to Make a Timeline on Google Slides That Tells a Story
Want to learn how to make a timeline on Google Slides? It's definitely a lot easier than it seems. We’re going to take a look at the three main methods

13 Jun, 2025 | SlideUpLift
How to Make an Org Chart in PowerPoint: Step-by-Step Guide [+ Templates]
Without a clear org chart, even small teams feel messy. People start asking: “Who’s responsible for what?” Whether you are a manager, HR professional, or team lead, explaining the team
27 Feb, 2026 | SlideUpLift
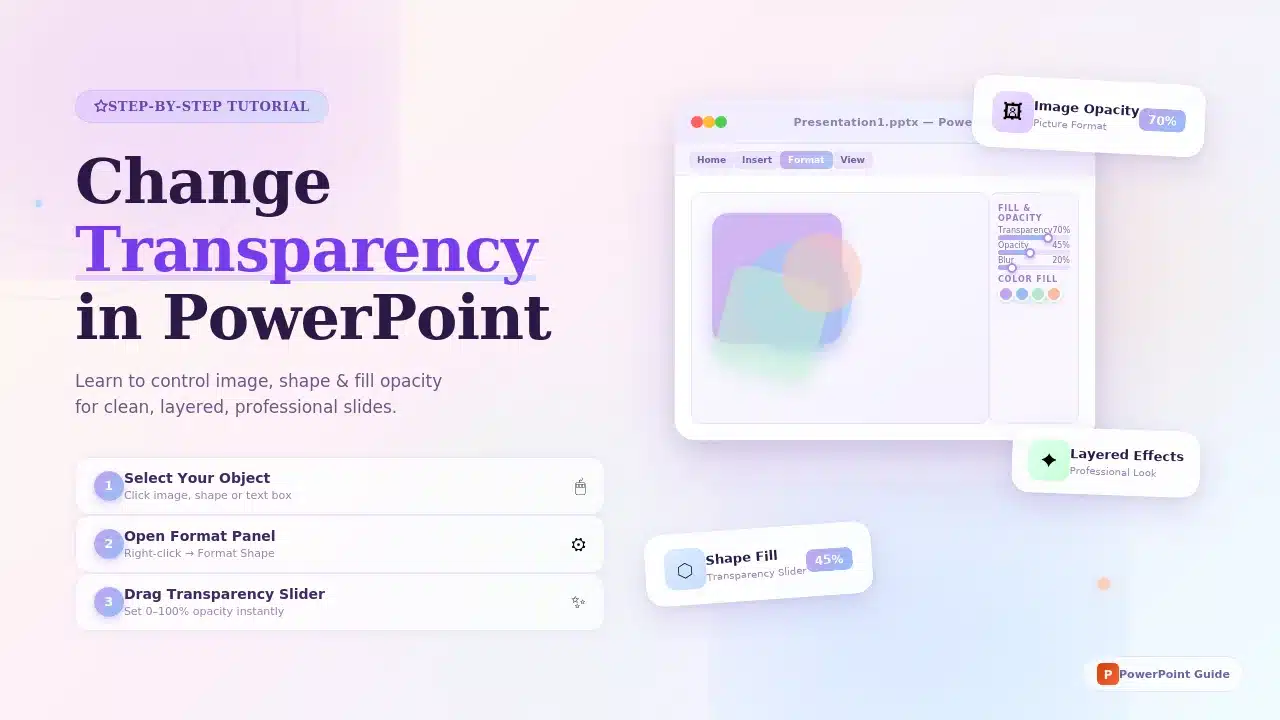
How to Change Transparency in PowerPoint (Step-by-Step Guide)
Learn how to use transparency in Microsoft PowerPoint to adjust the opacity of images, shapes, and text for cleaner, more professional slide designs. This step-by-step guide explains how to change

20 Mar, 2026 | SlideUpLift
How to Add Annotations in PowerPoint: The Complete Step-by-Step Guide
This blog explains how to add real-time annotations in PowerPoint presentations using tools like the pen, highlighter, and laser pointer to make slides more interactive and engaging. It provides step-by-step

7 Dec, 2022 | SlideUpLift
How To Create Neumorphic PowerPoint Presentation To Dazzle Your Audience?
Neumorphic designs are a relatively recent design style that was first used in the User Interface design of gadgets in the previous decade. The perfect and straightforward design is unexpectedly

30 Apr, 2021 | SlideUpLift
Learn How To Communicate In Several Languages In PowerPoint
In this tutorial, we will learn how to change language in PowerPoint. Presentations are an essential part of the business world. Businesses and professionals use presentations to inform, educate, motivate