

How to Wrap Text in Google Slides?
If you are a newcomer to Google Slides, one of the most frequent problems you may encounter is the inability to wrap text around images and other objects. Wrapping text in Google Slides presentations just does not function as well as it does in other popular presentation apps like PowerPoint! So, what are your options?
Google Slides does not allow you to wrap text (yet). However, you may change the size of the picture and text box to produce an effect similar to text wrapping in Google Slides.
If this is unfamiliar to you, keep reading because we have offered an in-depth, step-by-step procedure for how to wrap text in Google Slides.
What Is Text Wrapping?
Text wrapping in presentations is a term used to describe the way that words and images are arranged on a slide or page. It refers to how text is divided into lines, paragraphs, and other sections so that it is easier to read.
To make text look better, common text wrapping techniques include adjusting the font size, line spacing, margins, and indentations. By using these methods, you can make your presentation slides look professional and organized.
Additionally, text wrapping can help to break up long blocks of text, making them easier to read. Text wrapping can also be used to create visual interest and can be used to draw attention to certain areas of a page.
Here are some uses of text wrapping in presentations:
- Improves Readability – Text wrapping gives a cushion of white space around images, making it easier on the eye and allowing readers to focus on the content.
- Adds Emphasis – Depending on the specs, text wrap can add emphasis to images by emphasizing their size and importance.
- Avoids Clutter – Text wrap helps to keep words from becoming cluttered and difficult to read.
- Enhances Visual Effect – Text wrapping can give the text a certain visual effect that draws attention to the most important content.
- Reduces Distraction – By avoiding cramming too much text and graphics onto slides, text wrapping helps reduce distraction from overwhelming presentations.
- Saves Time – Taking the time to carefully plan and use text wrapping can save time in the long run.
Now, let’s learn how to make text wrap in Google Slides.
How to Wrap Text Around an Image in Google Slides?
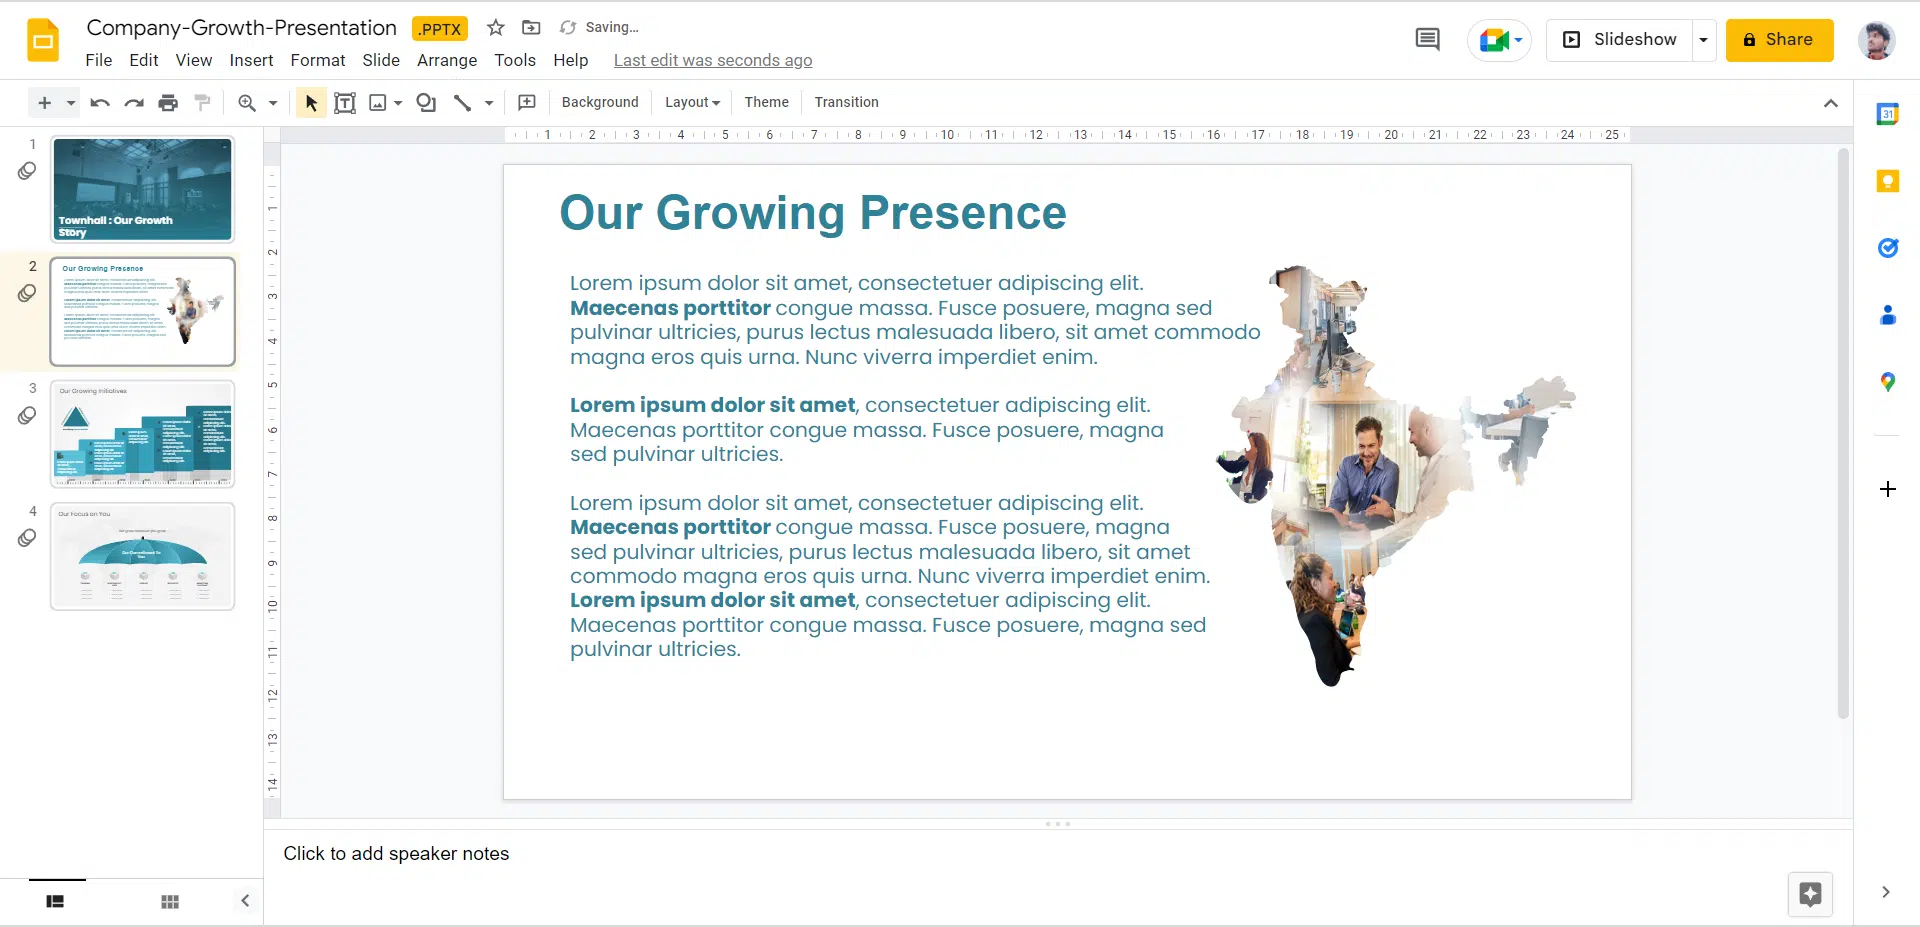
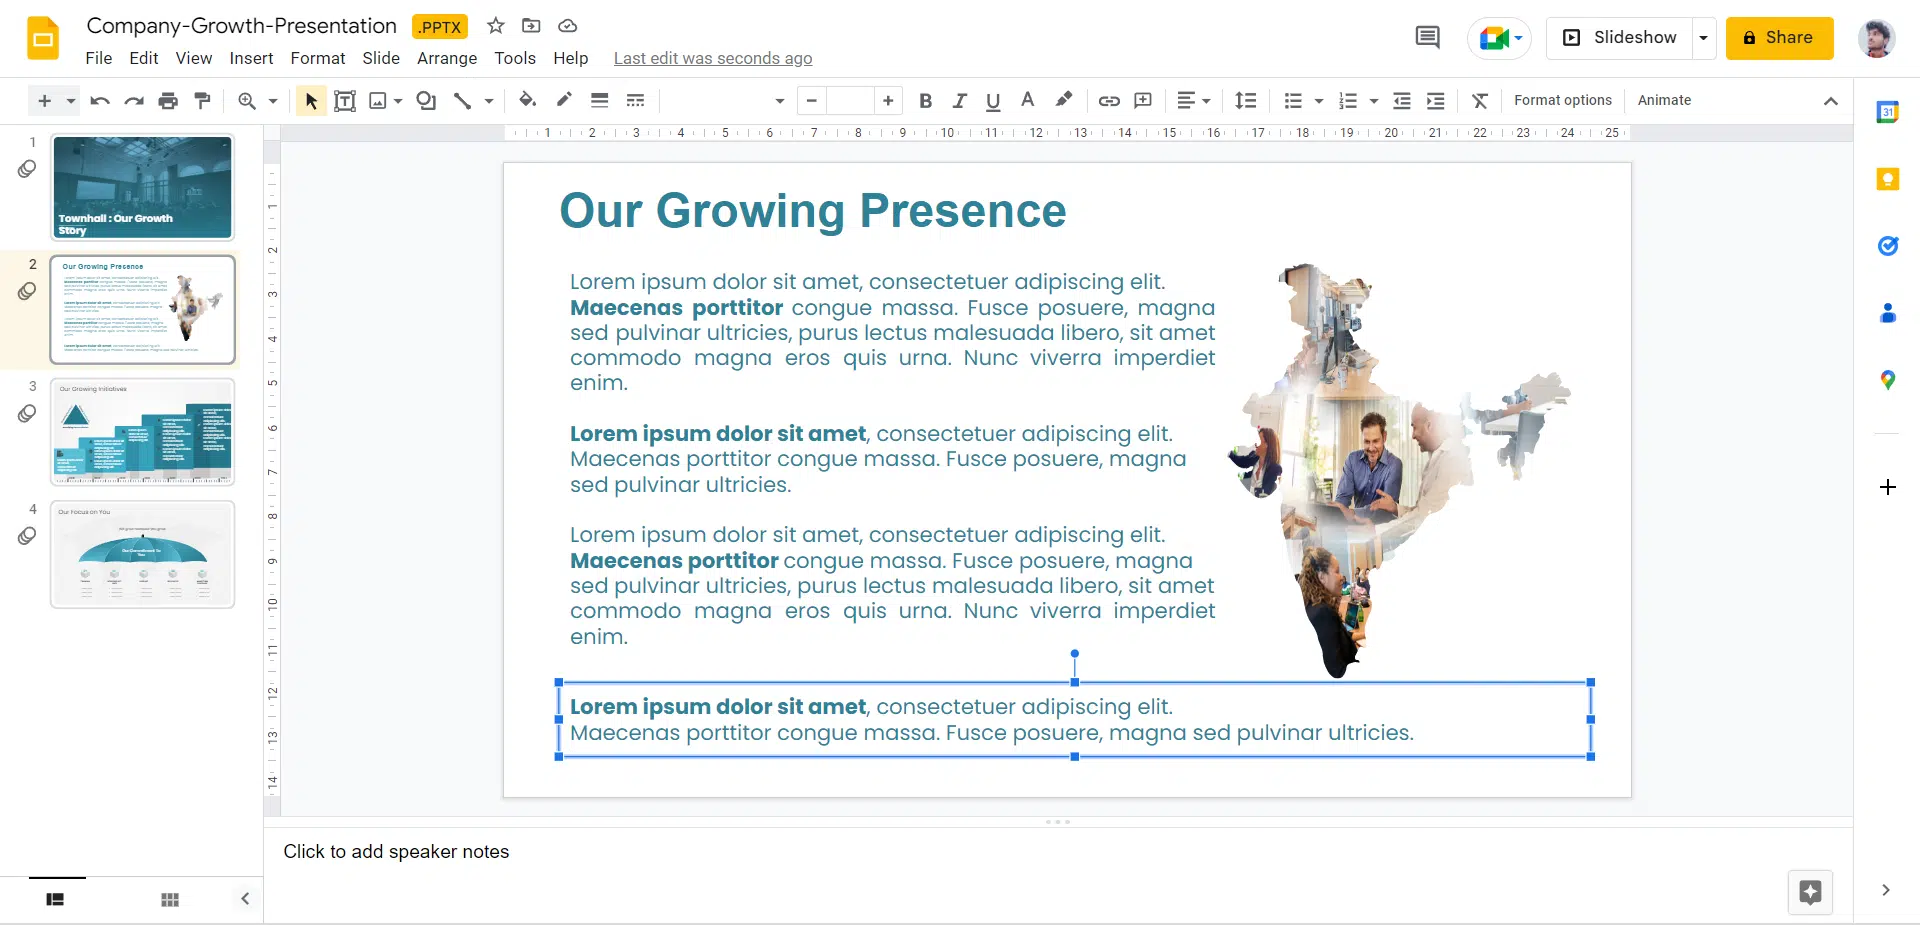
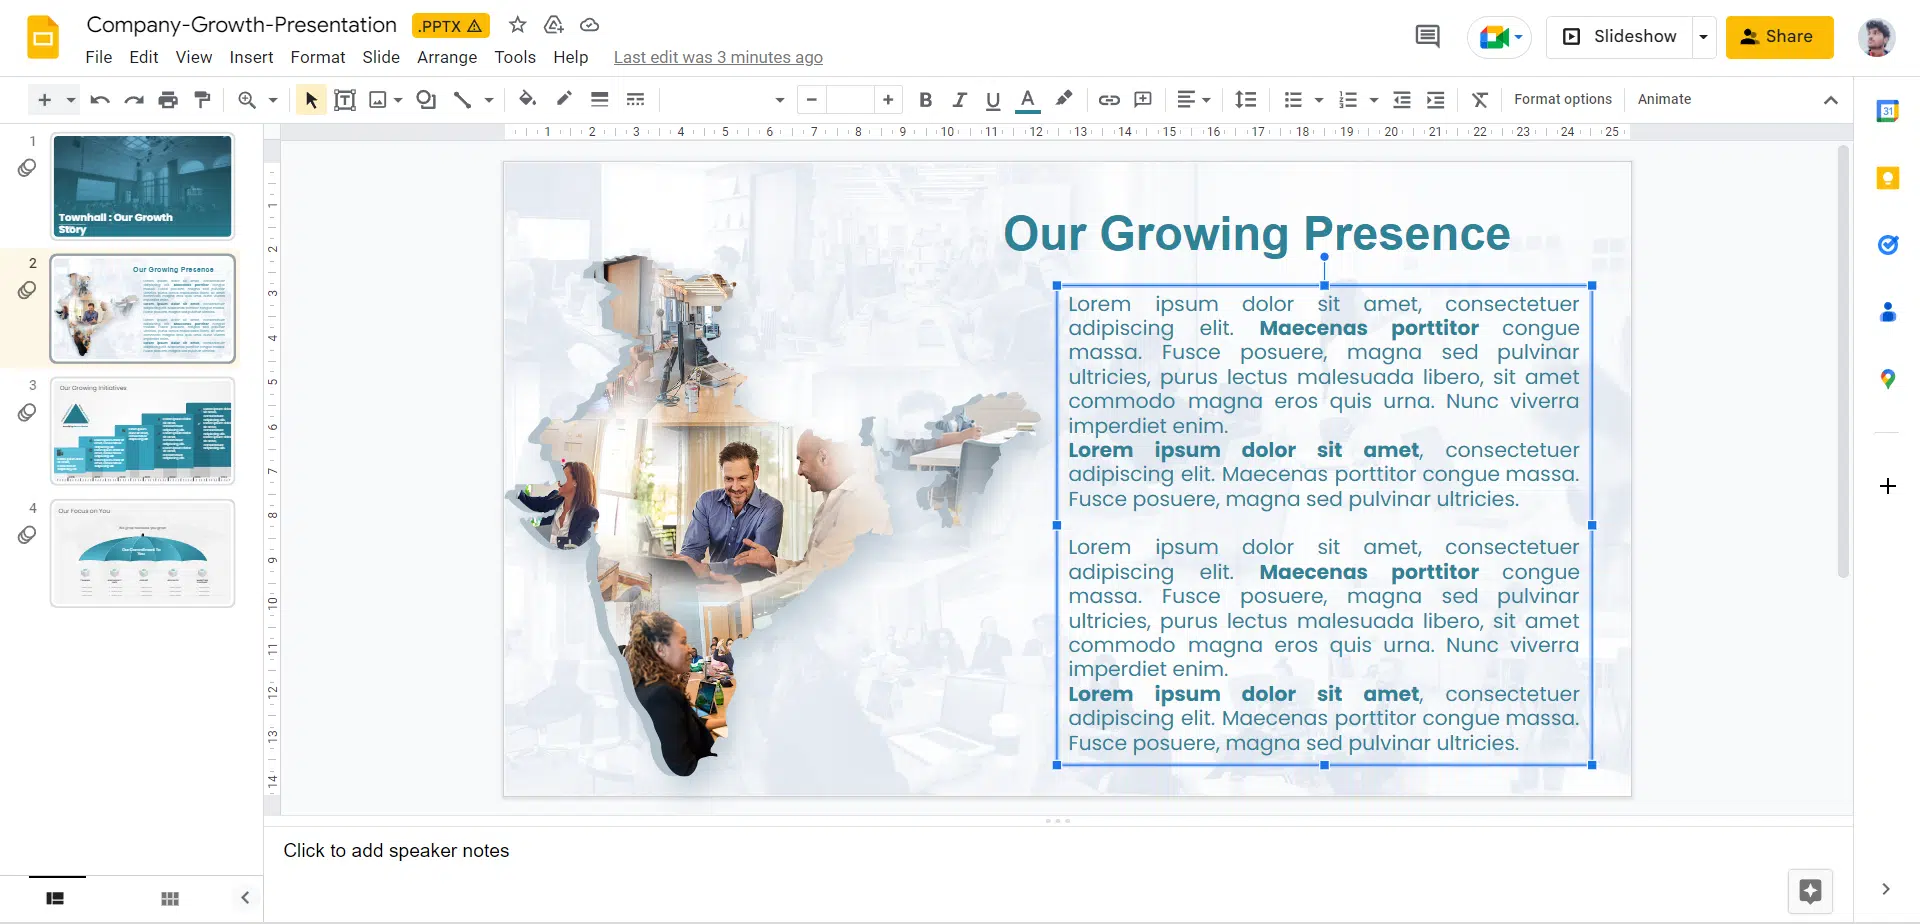
As mentioned earlier, Google Slides does not allow users to wrap text around images or objects. As a result, the picture overshadows the words, and the text is often obscure.
Fortunately, there is a simple solution to this dilemma. Let’s take a look at the step-by-step tutorial.
Method 1
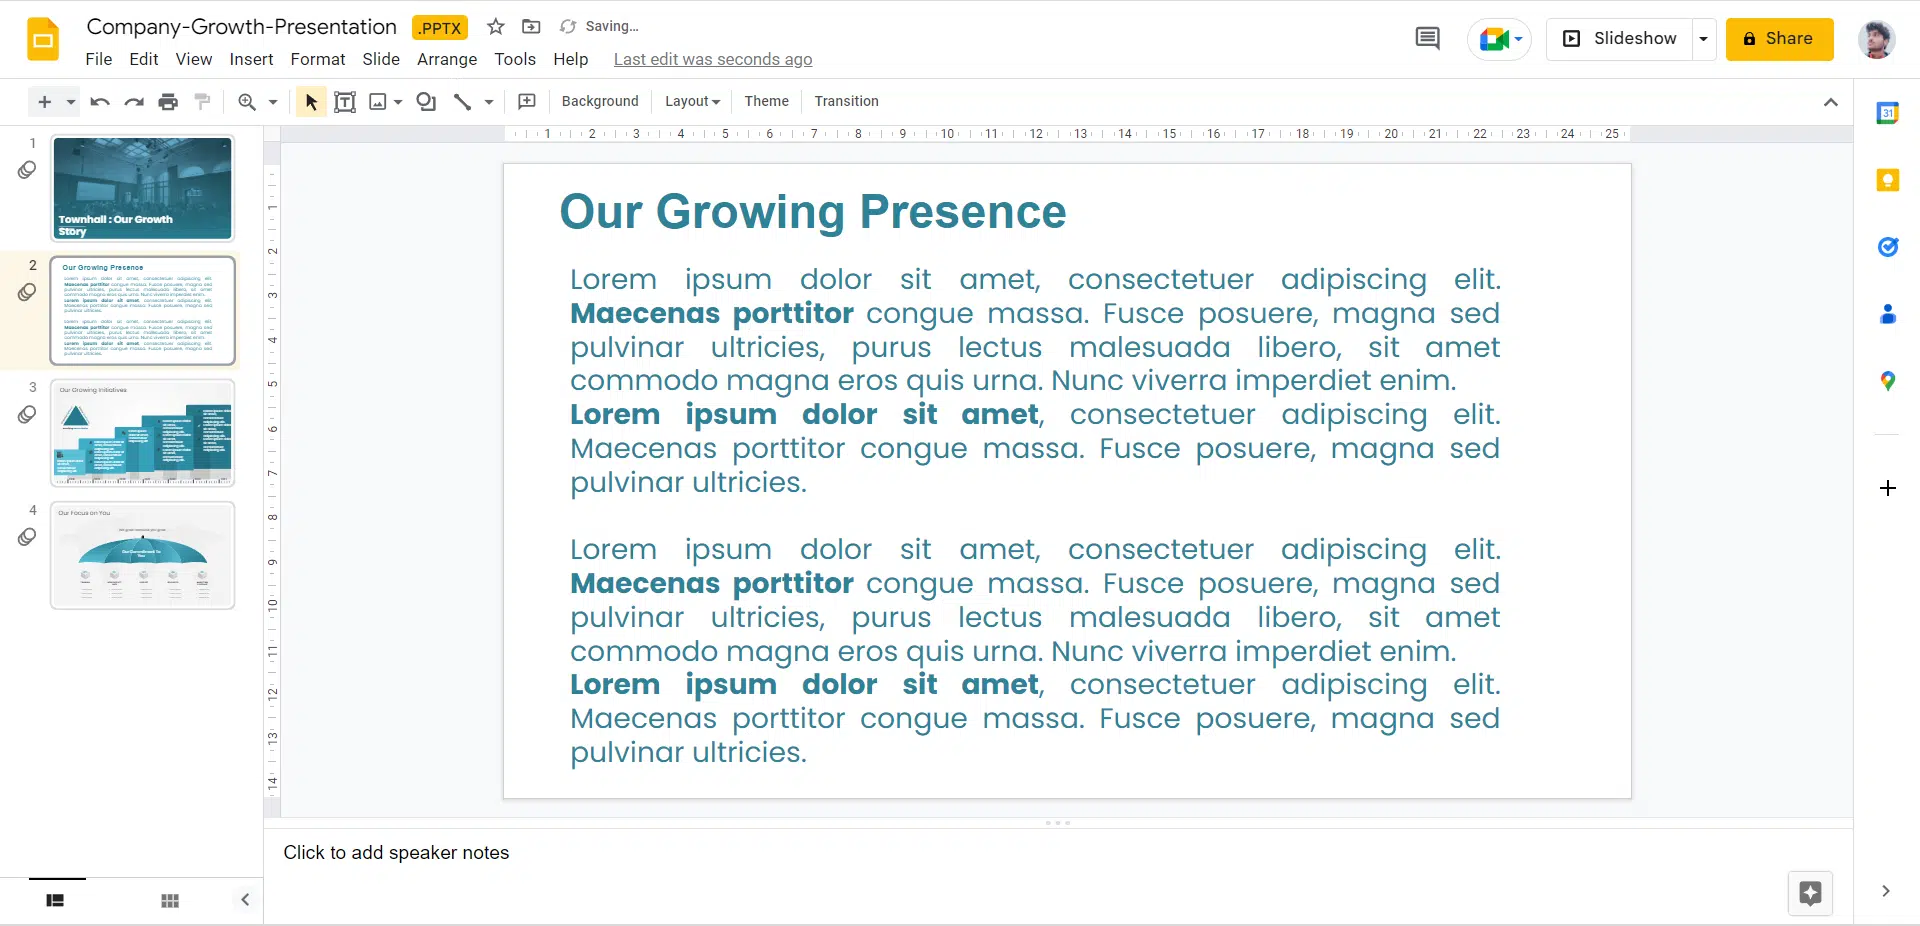
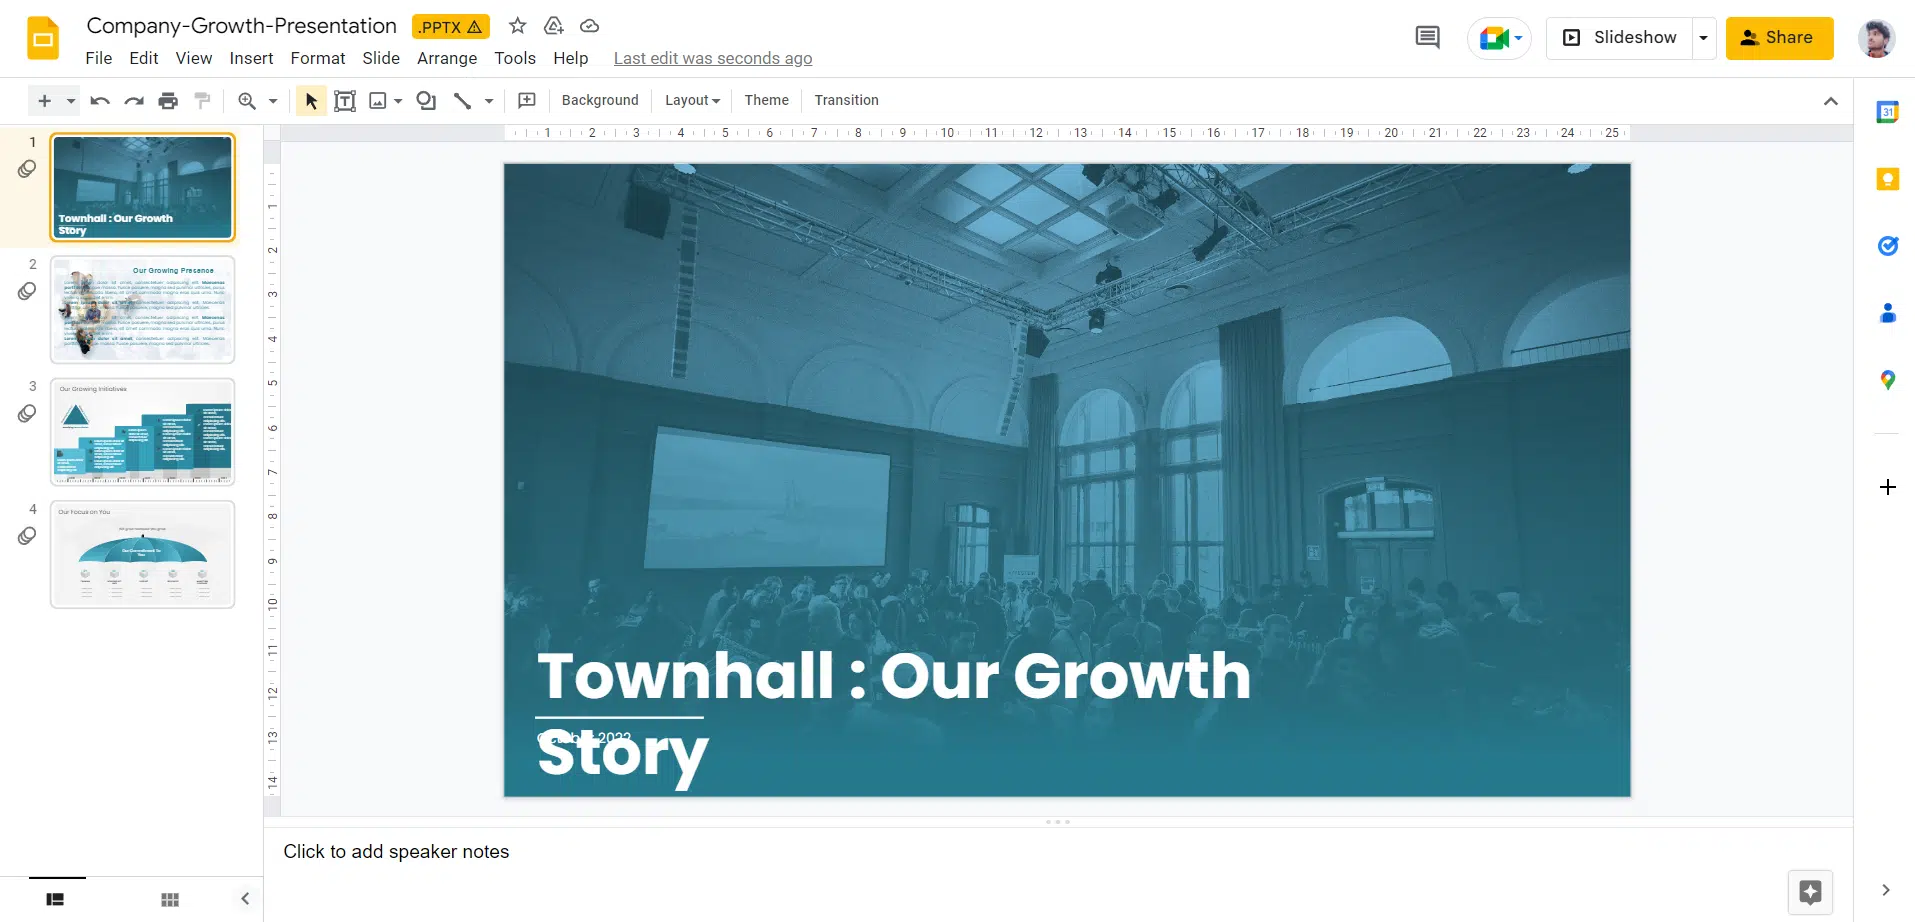
Step 1: Firstly, open your presentation.

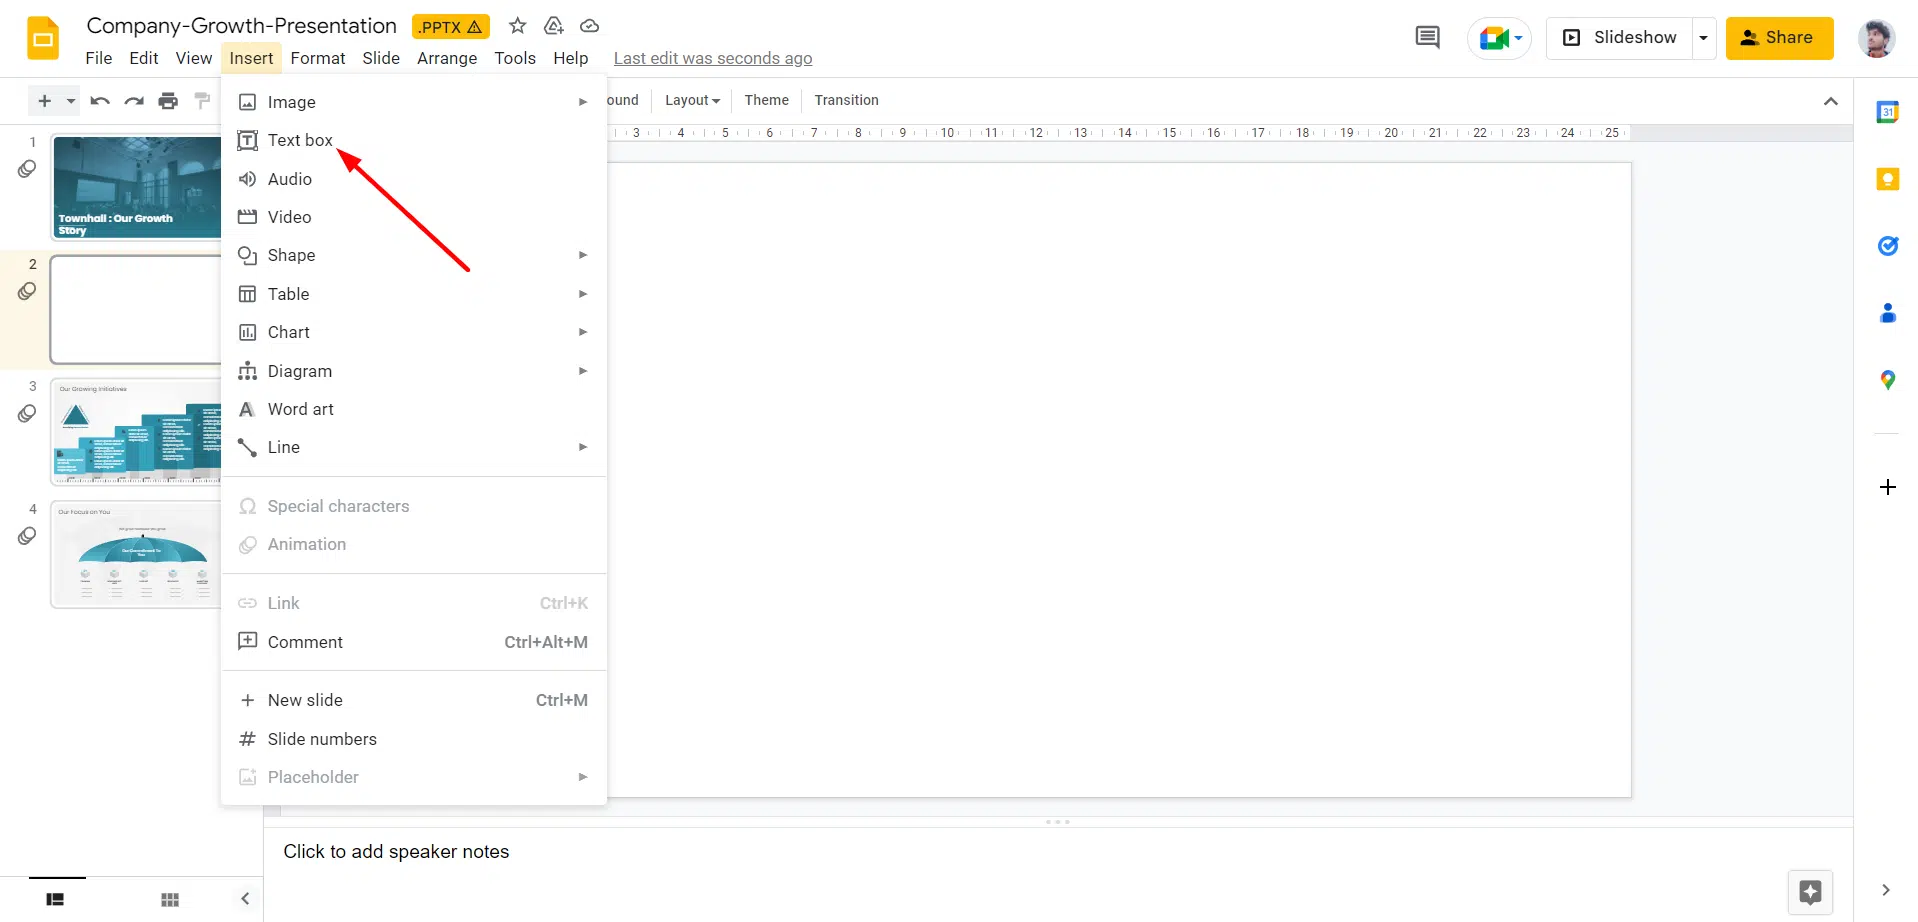
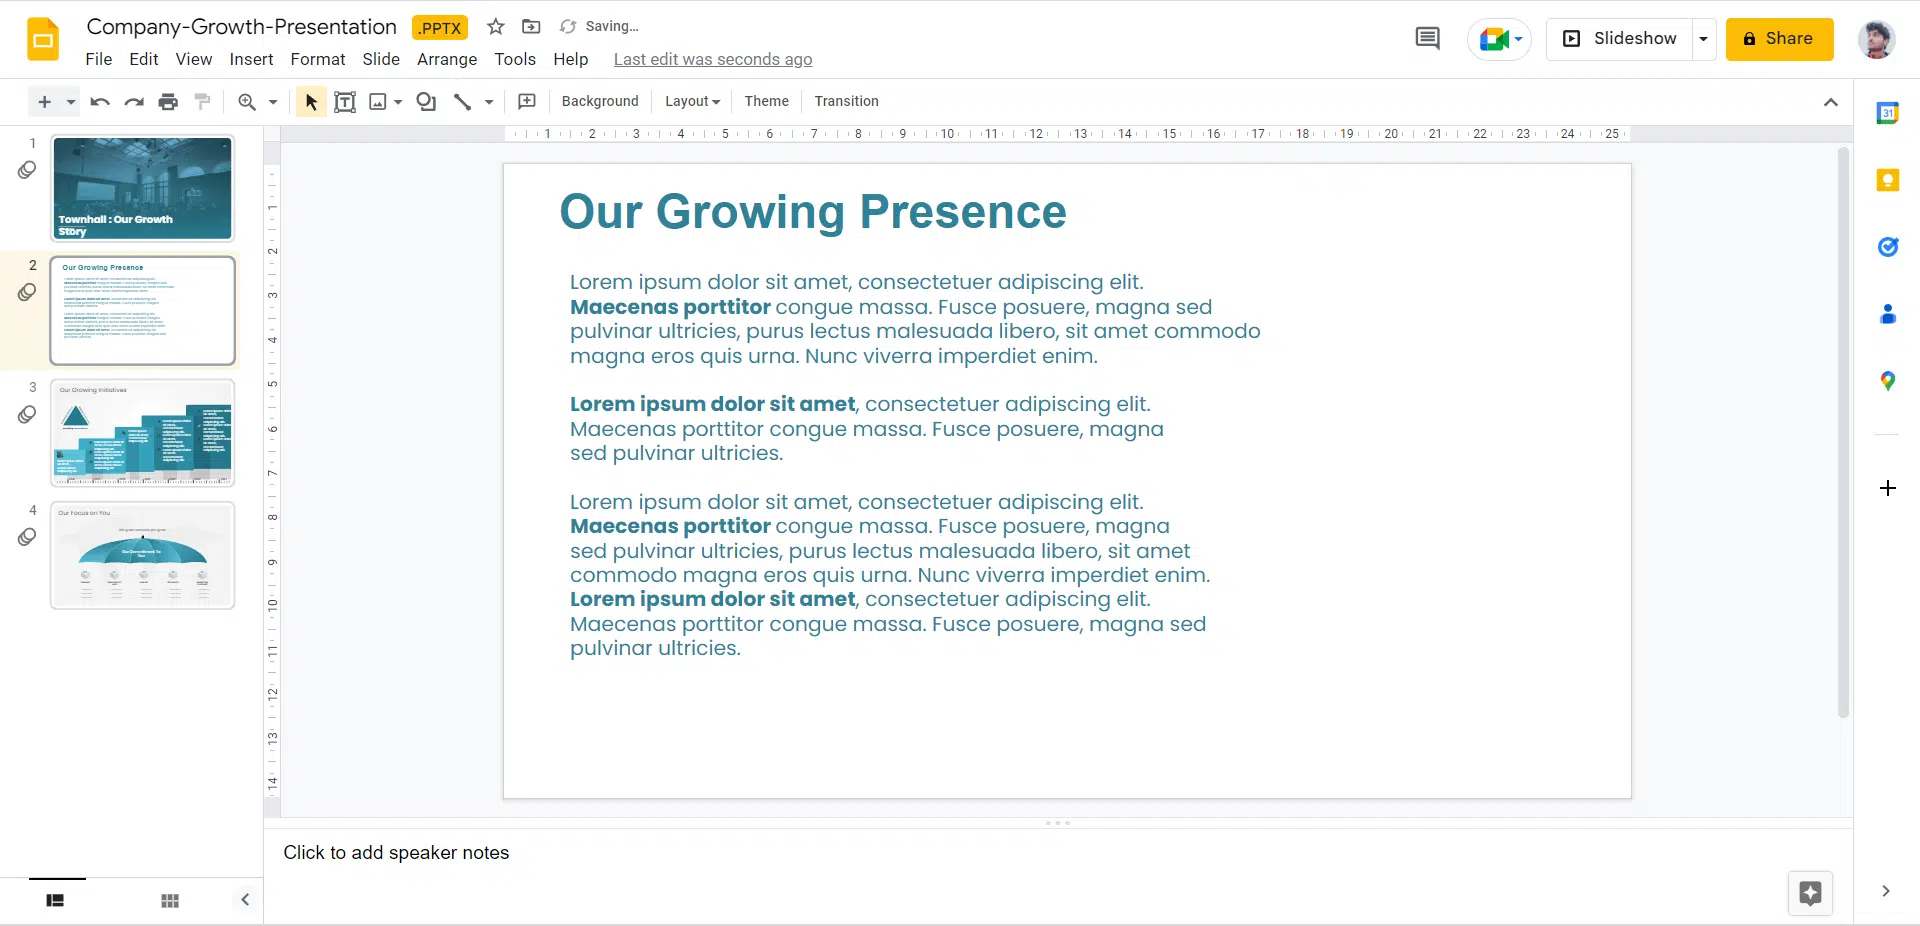
Step 2: Simply choose ‘Text Box.’ The text box option is also available in the Insert Menu.
Step 3: Next, write the necessary text and mark the area of the slide in which an image should be placed.

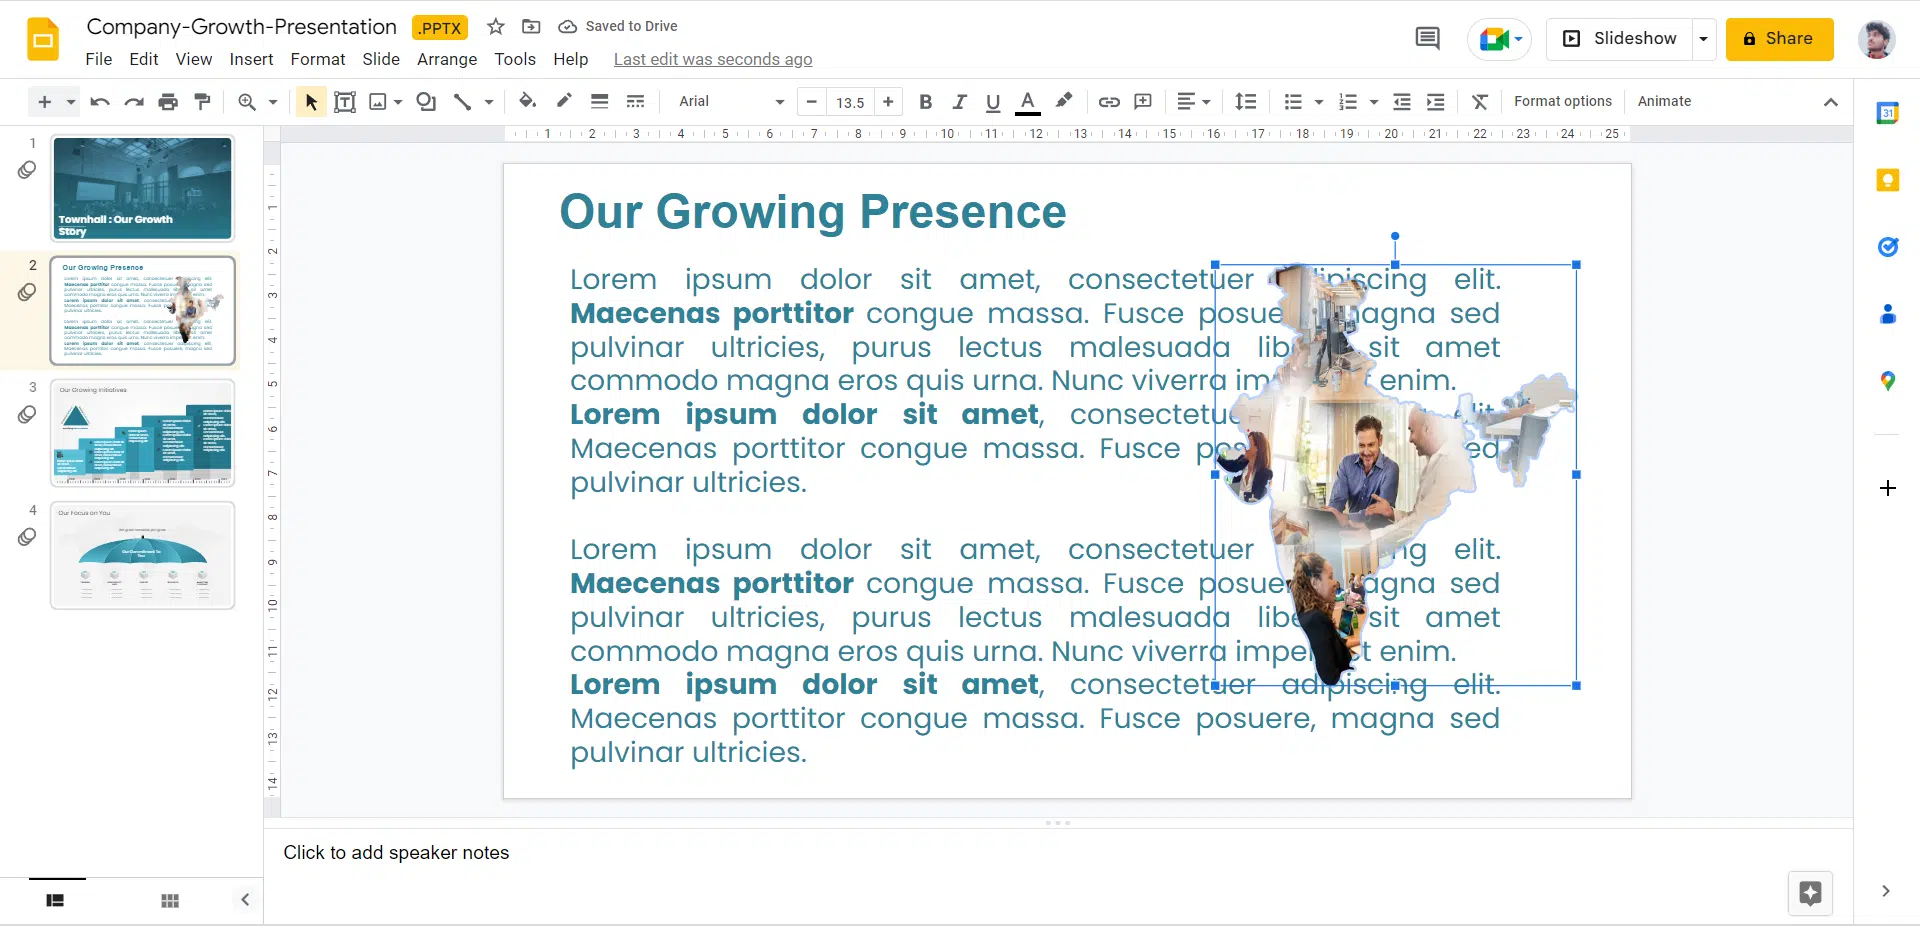
Step 4: Simply insert the picture in the next step. Resize the picture to the appropriate size and position it on the slide.
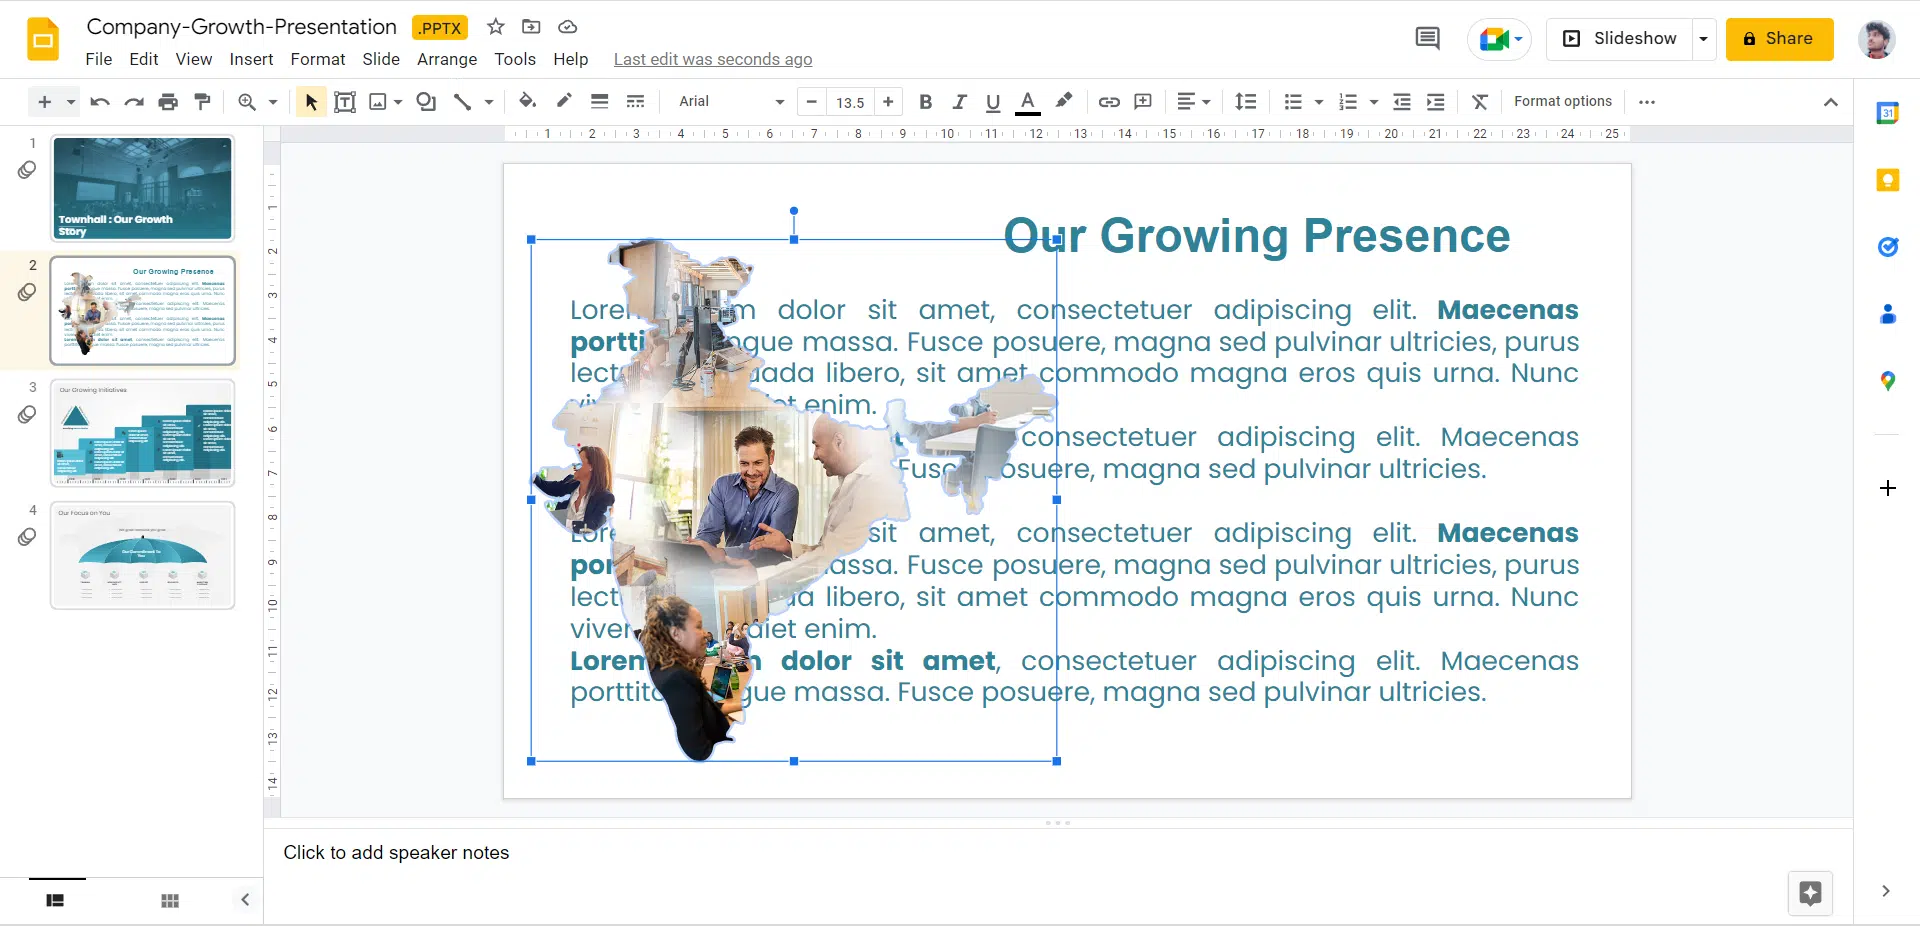
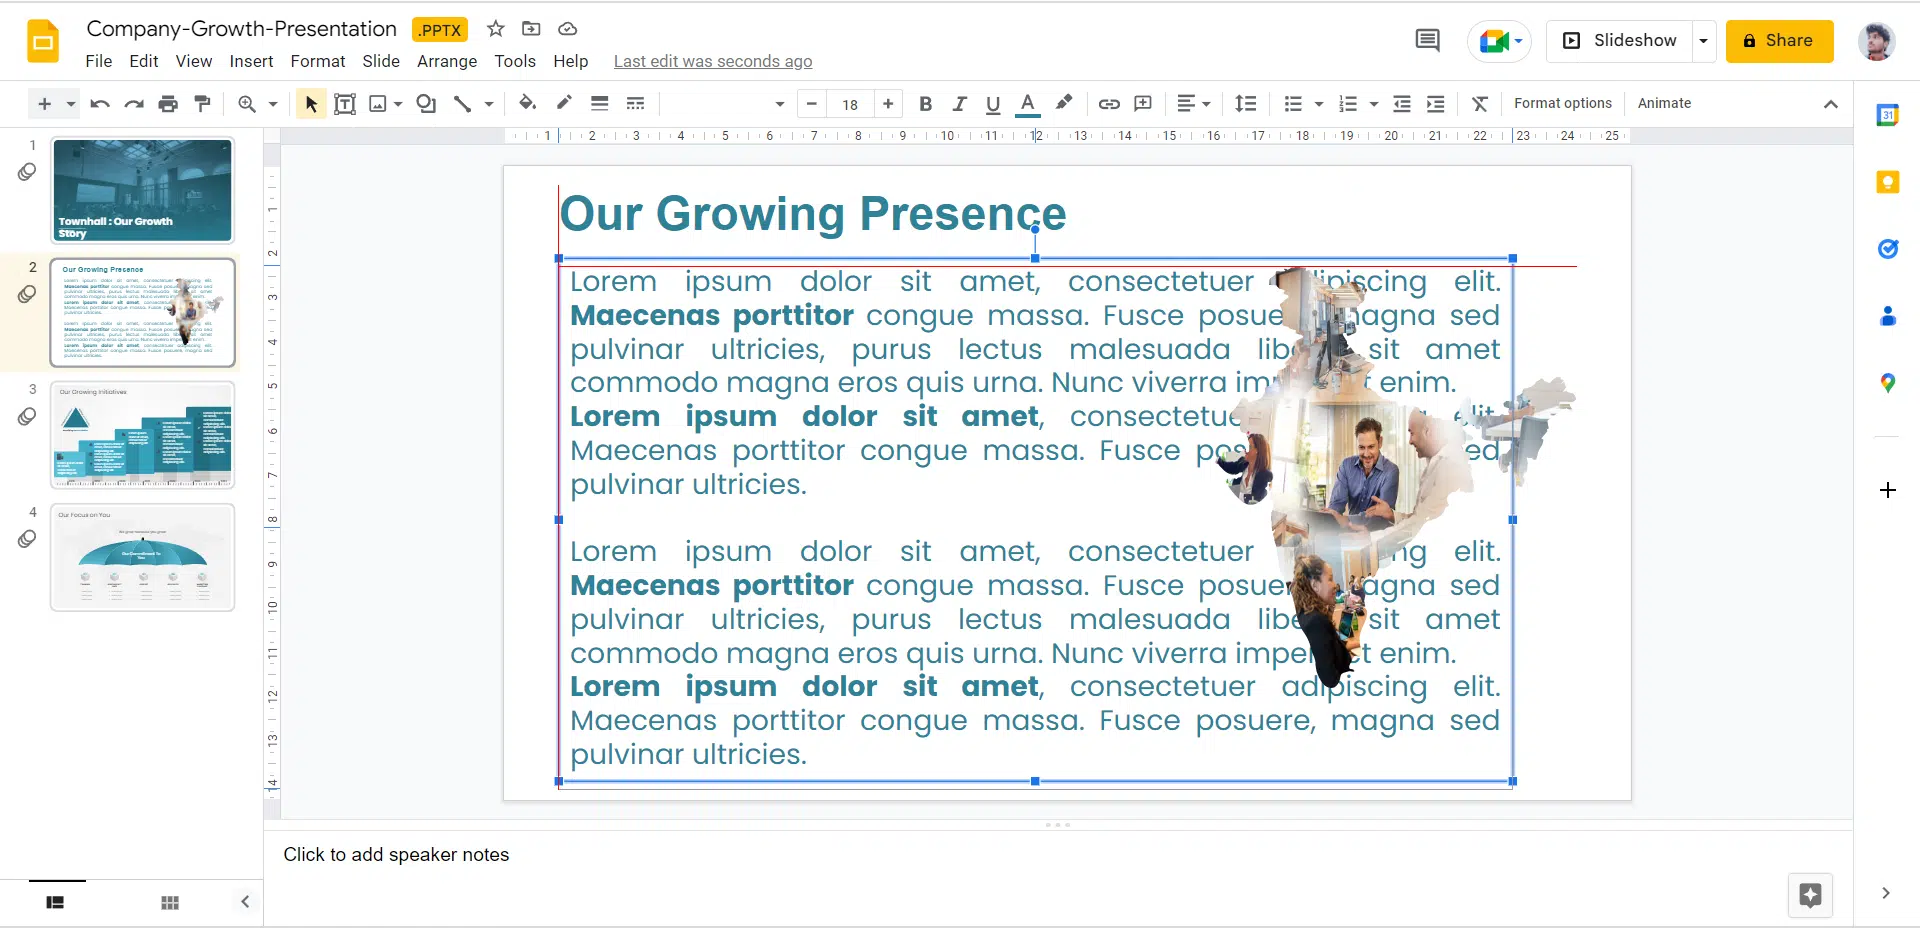
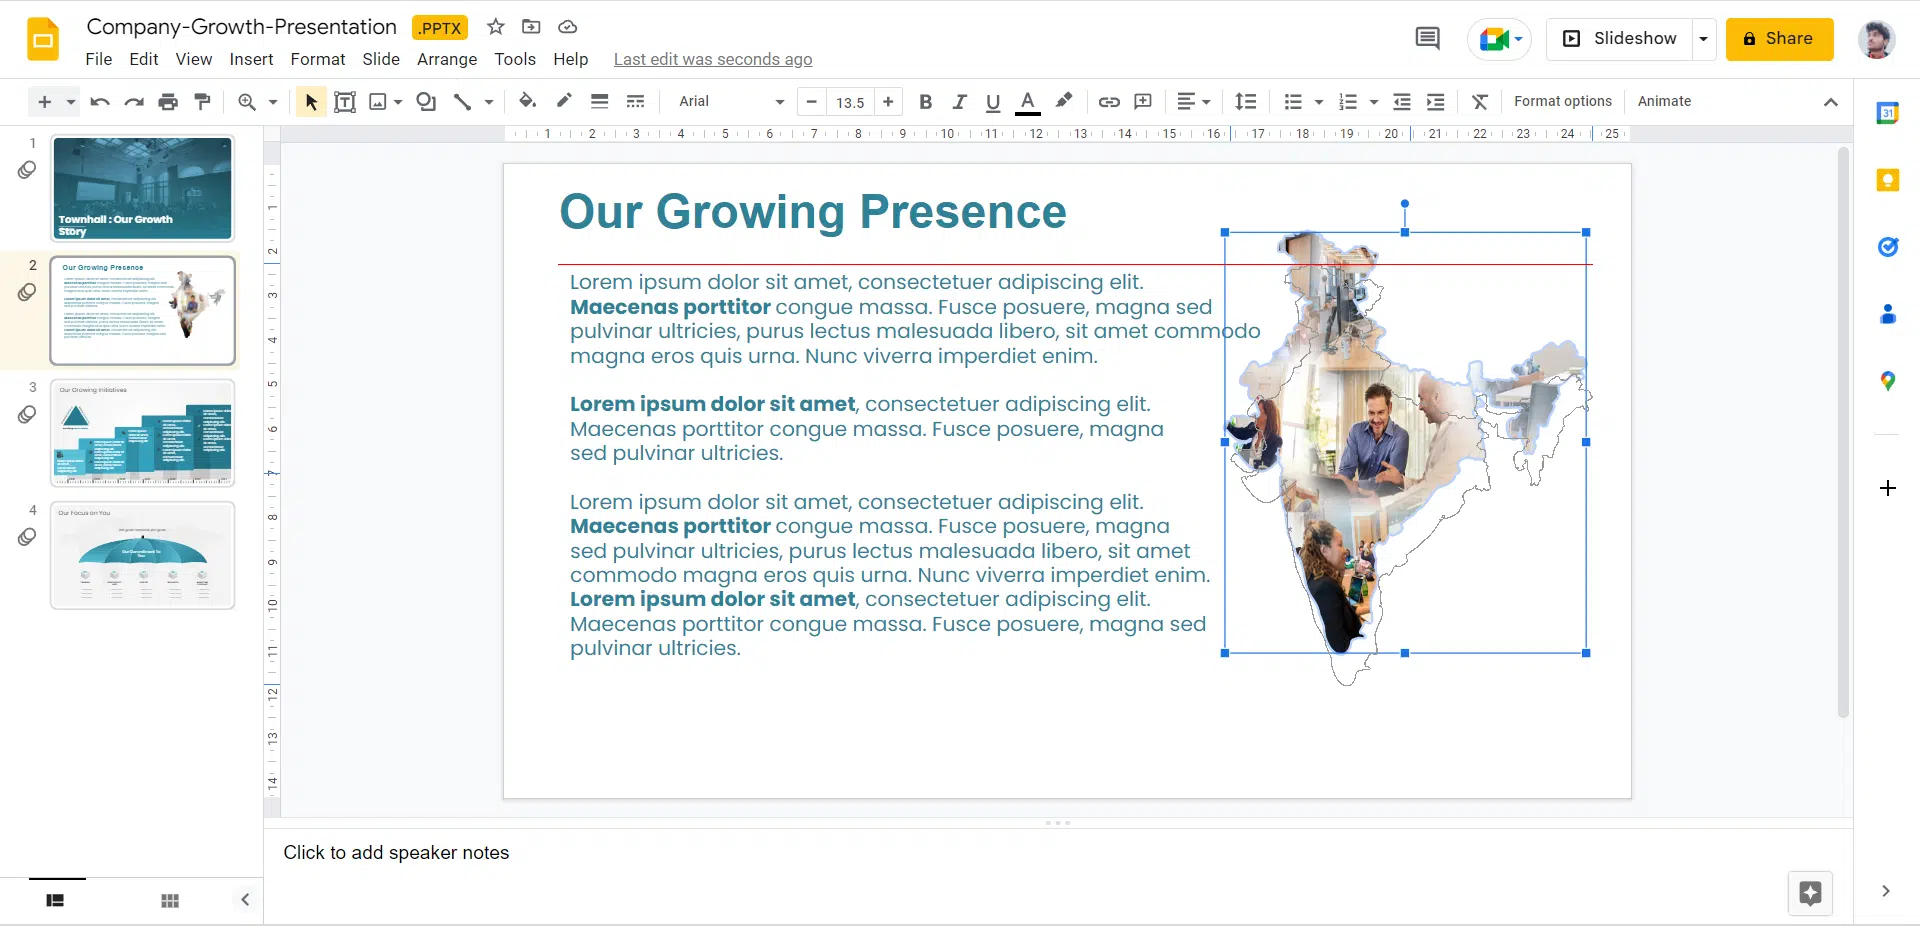
Step 5: Now, choose the text box until a blue border appears around it. Then, drag the blue border to the image’s boundary.
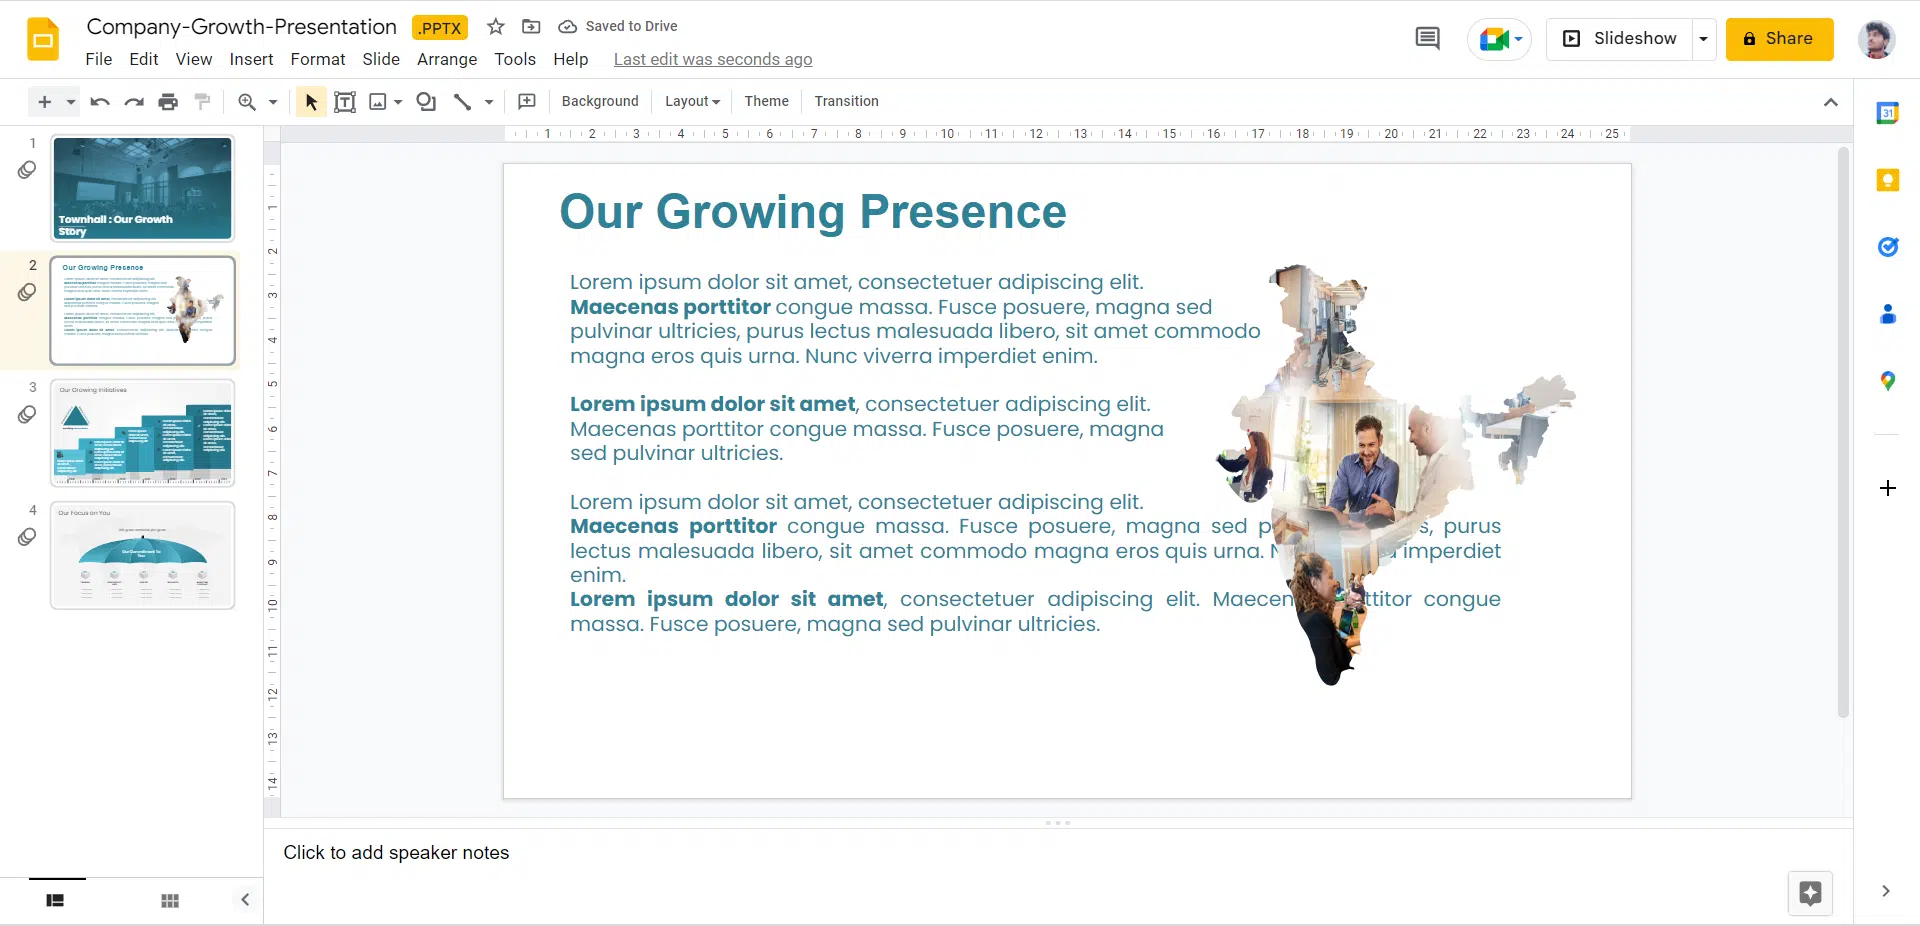
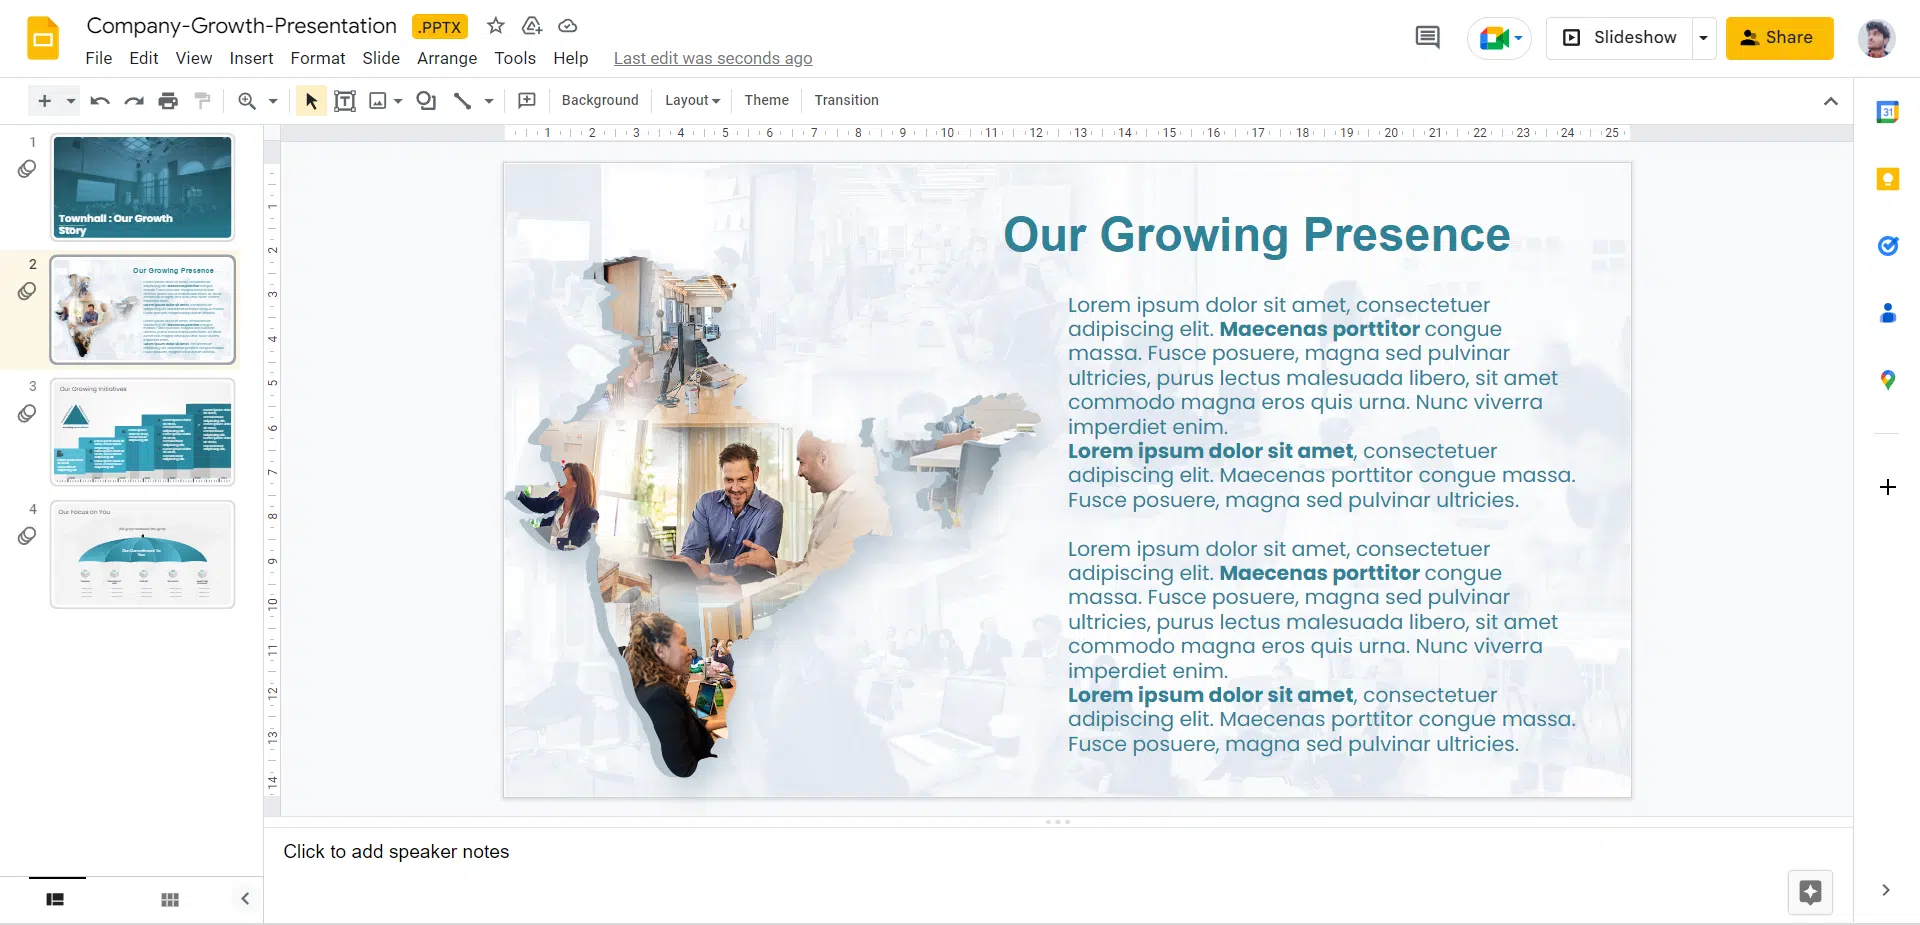
Step 6: Finally, you’ll see that your text has properly wrapped around the picture.
Method 2
Here is another method to wrap text around a photo in Google Slides.
Step 1: Open your Google Slides Presentation.

Step 2: Now, create a text box and add your text.
Step 3: Add your desired image to the slide.
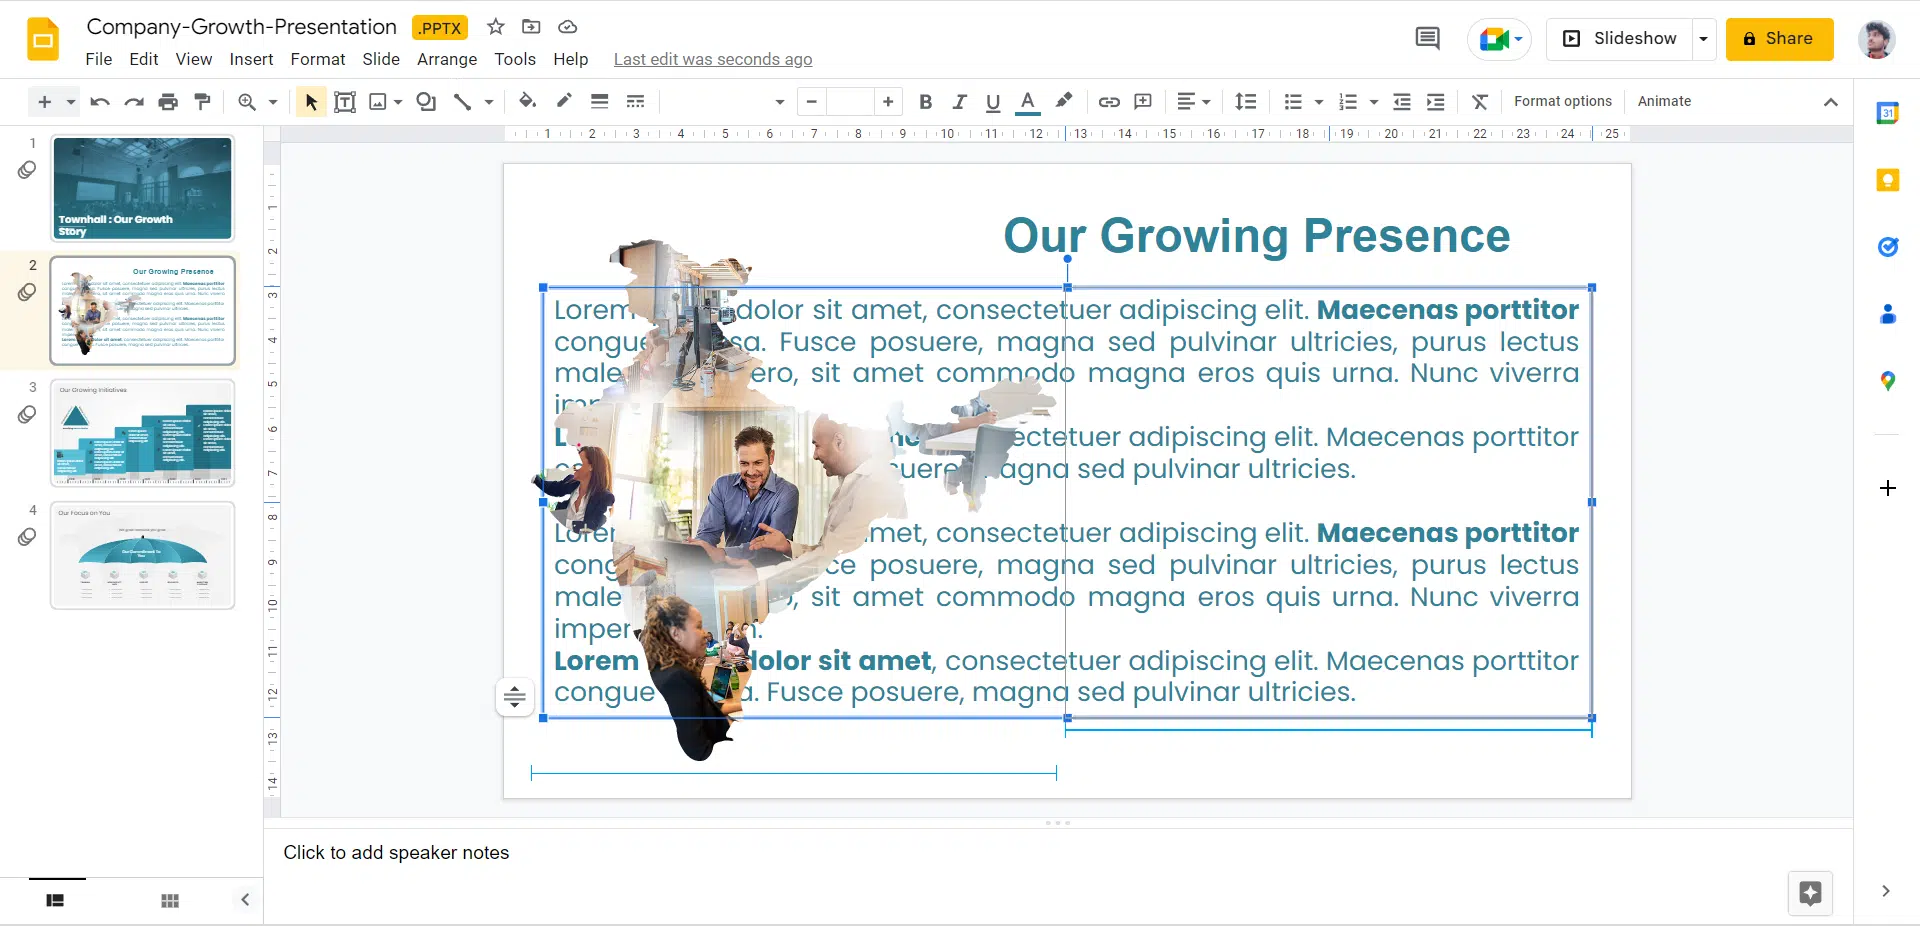
Step 4: Just align your textbox in such a way that it perfectly aligns with the image.
Step 5: Press the ‘Enter’ button at the places in the text where the text is overlapping with the image. You need to do this for every line that is overlapping the image.
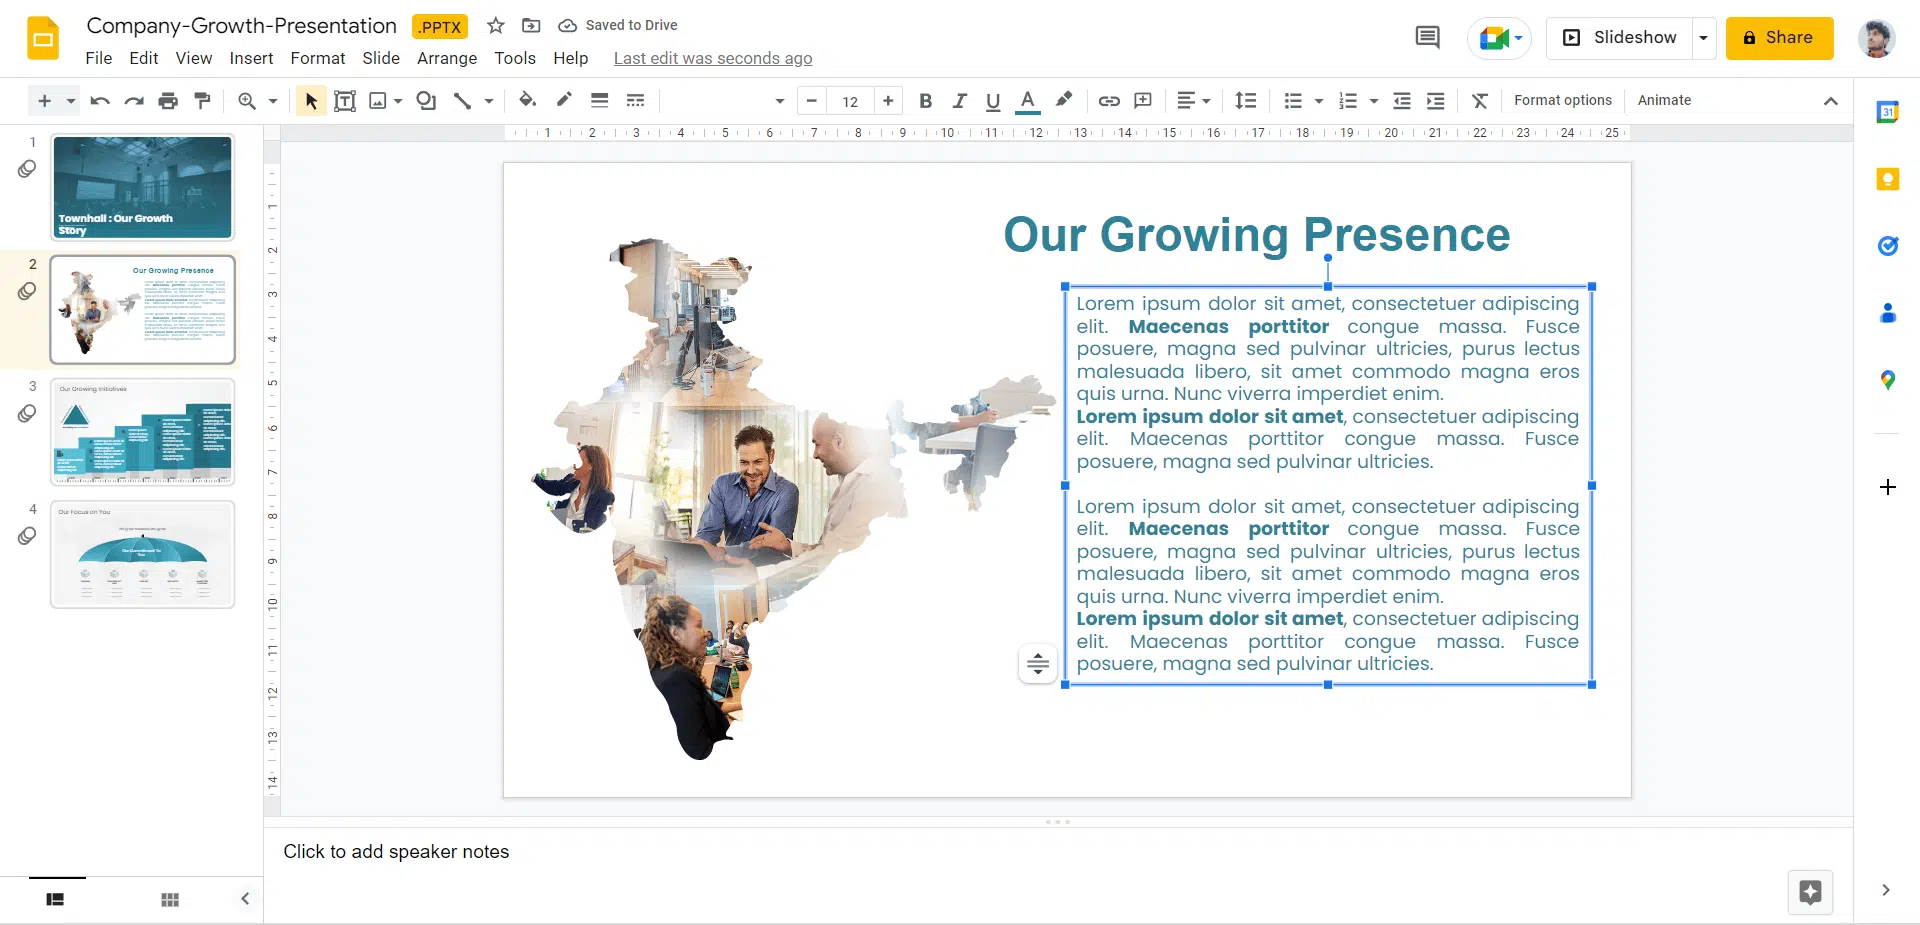
Step 6: This way you can edit the text and make it wrapped around the image.
Method 3
Here is one more way to help you wrap text in Google Slides:
Step 1: Open your Google Slides Presentation.
Step 2: Now, create a text box and add your text.
Step 3: Add your desired image on the slide.

Step 4: Just align your textbox in such a way that it perfectly aligns with the image.
Step 5: Select the text which is overlapping with the image and press ‘Ctrl + X’.

Step 6: Now create a new text box at the bottom of the image to add that missing text.
How to improve the text wrapping effect in Google Slides?
Till now, you have learned how to wrap text around a photo in Google Slides.
If you’re not quite satisfied with the outcomes of your text wrap, you can do more to make it appear more professional. This is how.
Step 1: Choose the text box.
Step 2: Click ‘Format.’
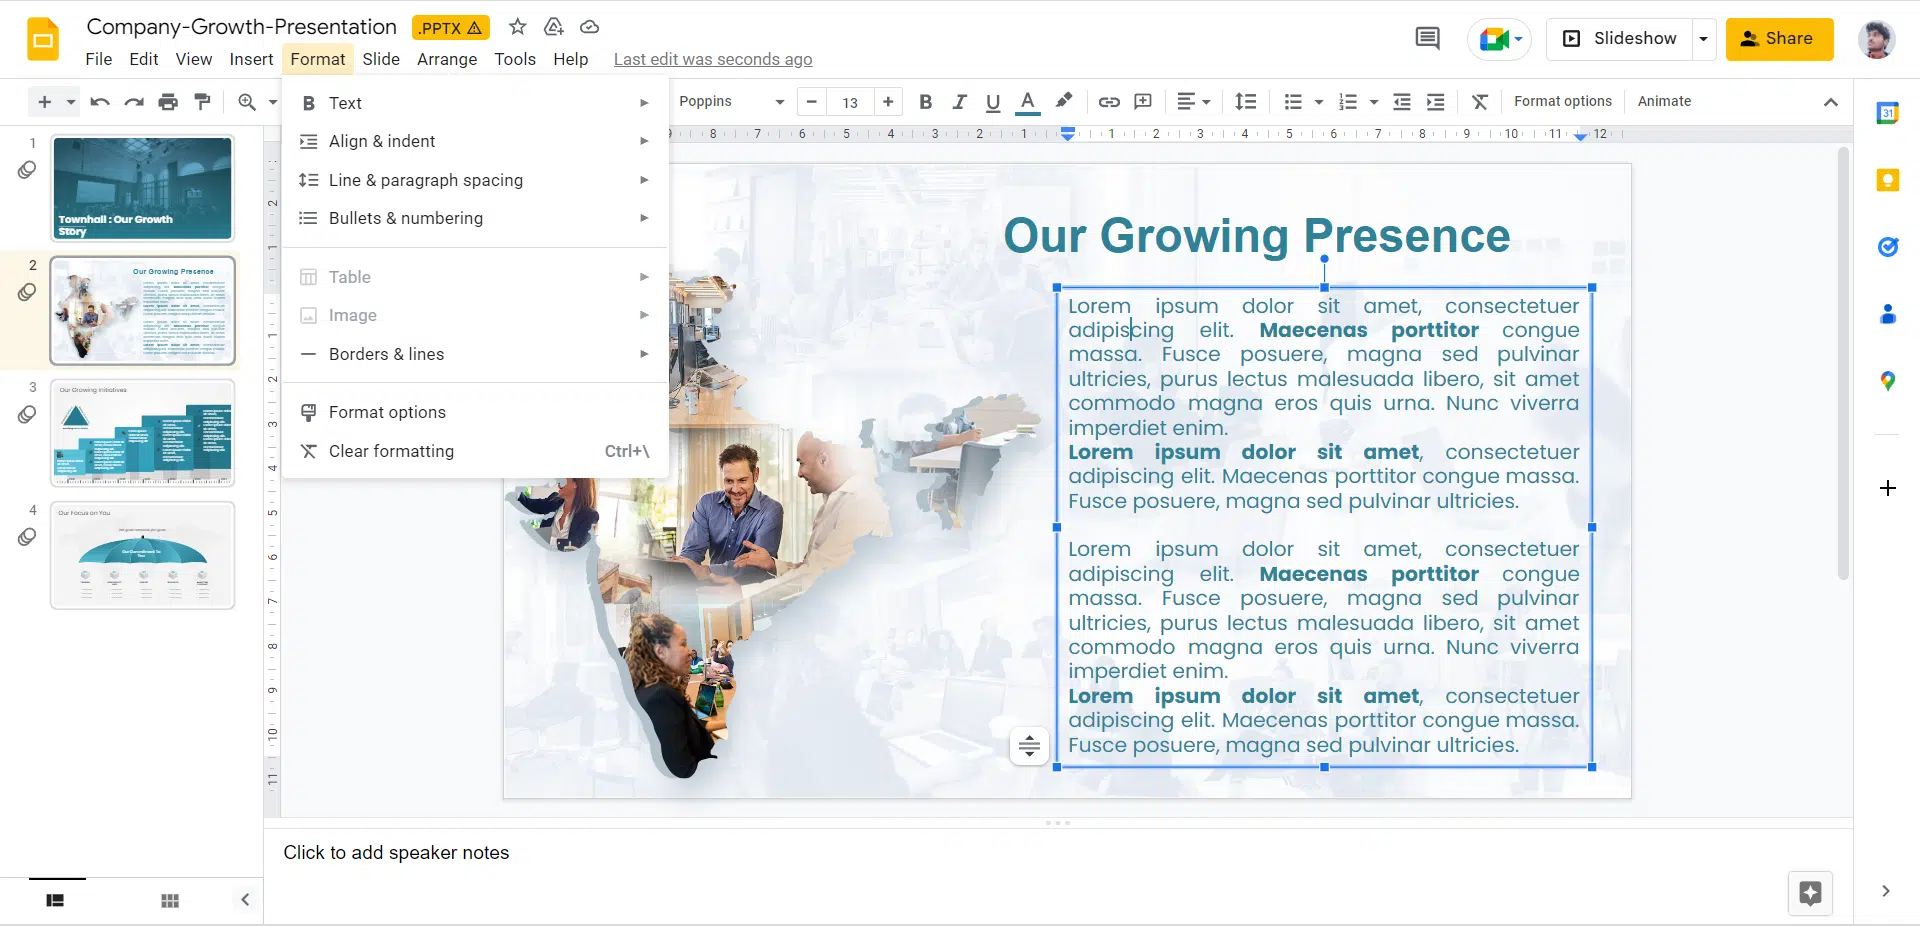
Step 3: Scroll down to the ‘Align & Indent’ section.
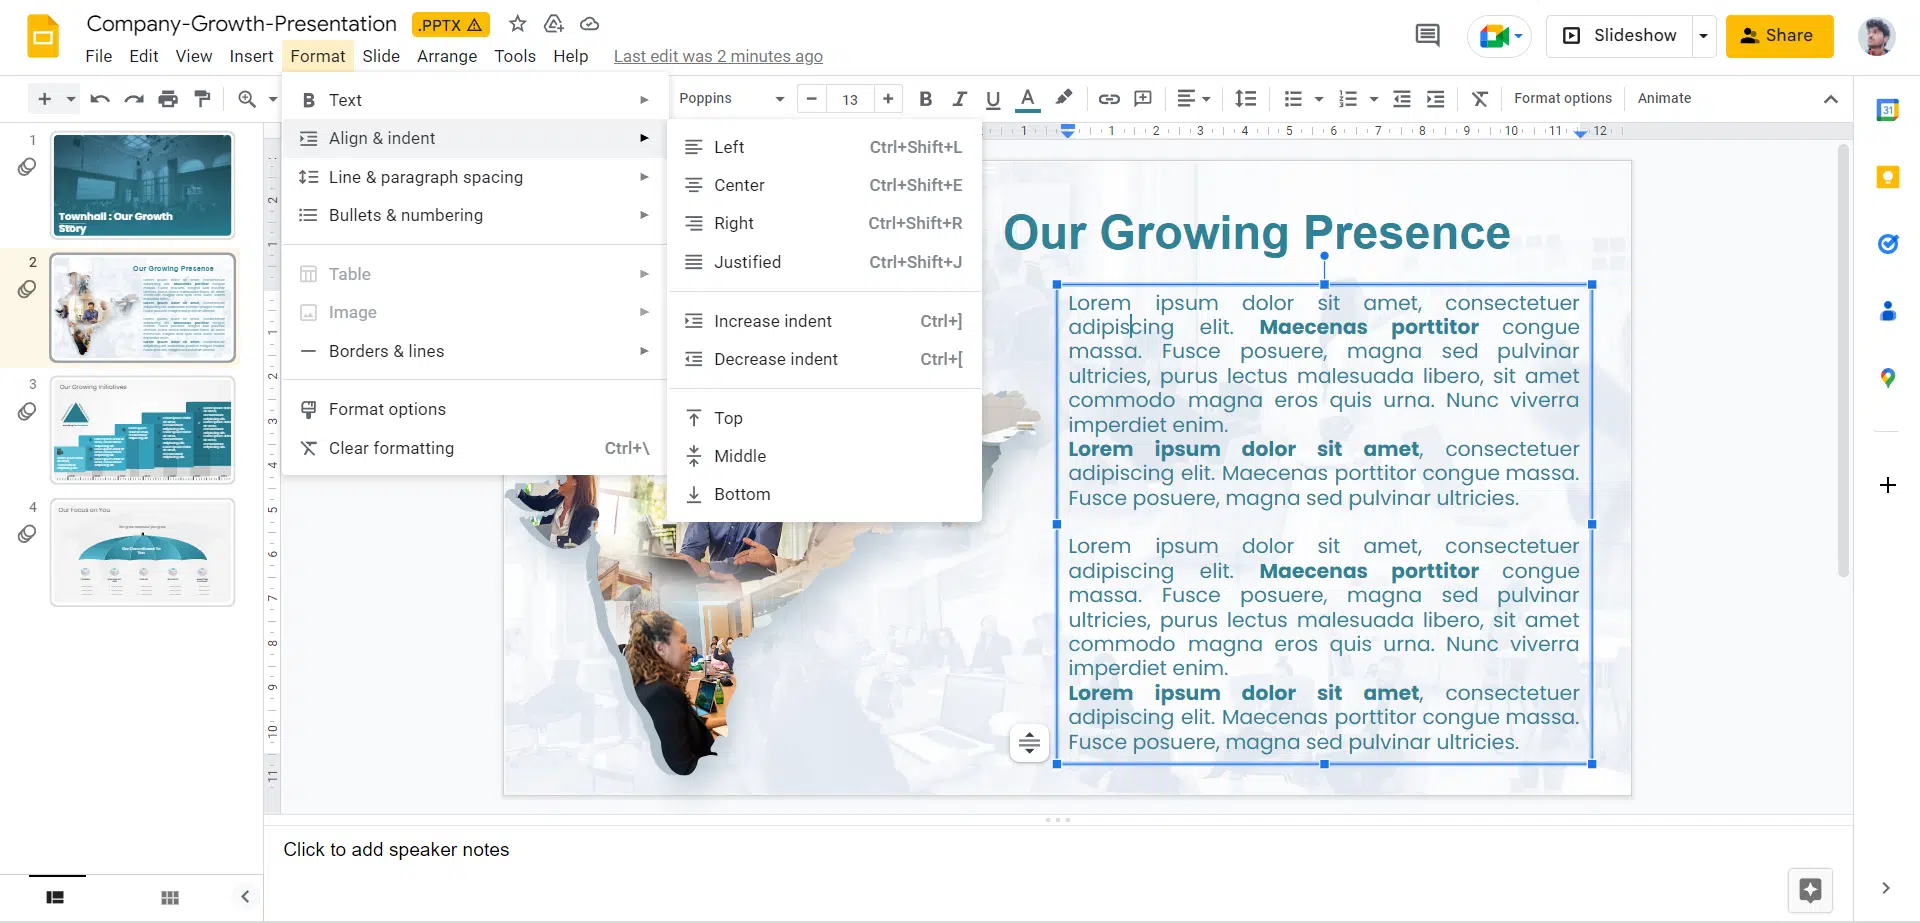
Step 4: Click ‘Justified.’

Step 5: This alters the text box’s alignment so that there is no ragged right edge, making it seem more professional.
Wrapping It Up
Once you’ve mastered the uses of various features, you’ll be capable of completing your presentations more quickly and with the desired outcome. Knowing what to do with Google Slides helps you reach your presentation vision. As a result, it is critical to understand specific capabilities, such as how to wrap text in Google Slides.
We have focused this blog on giving you enough knowledge to help you comprehend the importance and procedures of how to wrap text around an image in Google Slides.
We hope you have read the whole article and found it interesting. We also hope it was of great assistance to you and will assist you in making your presentations more impactful.
Table Of Content


Related posts from the same category

18 Nov, 2022 | SlideUpLift
Learn How To Add Bullet Points In Google Slides
In today’s dynamic world, people have very less attention span to read and absorb information. Be it blogs, posts, or presentations, people generally scan through the information. To get people
12 Oct, 2023 | SlideUpLift
How to Do a Hanging Indent in Google Slides?
Creating presentations in Google Slides is a game-changer for anyone looking to convey their ideas, whether it's for office work, school or a personal project. It's a user-friendly platform that

5 Aug, 2022 | SlideUpLift
How To Hyperlink In Google Slides Presentation?
A hyperlink is described as a word, phrase, or picture that, when clicked, directs the user to a pre-selected document, webpage, or even a portion within the Google Slides presentation

3 Feb, 2023 | SlideUpLift
How To Wrap Text In PowerPoint?
If you've found yourself with more text than can fit onto a single PowerPoint slide, then you know how frustrating it can be to try to fit everything while still

20 Nov, 2023 | SlideUpLift
How to Superscript And Subscript in Google Slides?
Google Slides is a go-to platform for creating visually compelling presentations. Adding a subscript and superscript in Google Slides significantly enhances your presentation content. These formatting options allow you to

15 Mar, 2023 | SlideUpLift
How to Add Fonts to Google Slides Presentations?
Fonts wield a subtle yet powerful influence on perceptions, impacting trust, credibility, and the audience's journey toward their objectives. Just as different music genres evoke distinct emotions, varied fonts can

25 Apr, 2023 | SlideUpLift
How To Curve Text In PowerPoint
Are you tired of the dull and monotonous textual appearance of your slides in your presentation? Do you want to add some creativity and visual interest to it? Look no

1 Dec, 2022 | SlideUpLift
How to Add a Border in Google Slides
Google Slides is an incredible presentation tool that enables you to craft proficient, eye-catching business presentations. This tool offers users a variety of ways to enhance their presentations, including the

29 Dec, 2023 | SlideUpLift
How to Make Checkboxes in Google Slides?
Google Slides is one of the most widely used presentation tools today. It is used for creating simple text and picture presentations and complex presentations. You can create surveys and

6 Jan, 2023 | SlideUpLift
How to Add Header and Footer in Google Slides?
Google Slides is a powerful presentation tool allowing users to create professional-looking presentations easily. One important aspect of any presentation is the header and footer, which can provide context and