
How to use Google Slides | Google Slides Tutorial
One of the biggest challenges during the pandemic has been adapting to the changes in how we work and give presentations. What we need is a platform that allows us to collaborate from anywhere in the world. If making presentations is a team effort, we need a platform that supports the kind of collaborating and accessibility required to support a virtual team!
This is why Google Slides has become such a staple medium of communication during the pandemic. It provides an easy way to communicate and collaborate with your team on larger projects, with the ability to have multiple people working together on a single presentation at once. Presentations made on Google Slides can be shared easily using just a link, not requiring any additional downloading to share them. It also supports offline access, meaning you no longer have to worry about losing all your progress as soon as you run into connectivity issues.
Now, one of the most important features within Google Slides is adding Tables to your presentation. At first glance, tables seem clunky and challenging to design, a seemingly painful addition to any presentation. In reality, tables are a great way of including information in your presentation in a visual and organized manner if done right. They provide a means of sorting and comparing information and are vital to effective storytelling through a presentation.
And did you know that along with adding simple tables to your presentation, Google Slides provide a myriad of features that you can use to customize and format text and other aspects within a table? We’ve broken them down for you, so the process of making visually appealing tables is no longer a painful prospect!
In this tutorial, you will learn how to format things within a table, including-
Adding a table to a slide
Tables are simple charts made of columns and rows. They are used in almost every presentation that requires data sorting or data comparison. To add a table –
Open the slide in which you want to insert the table.
-
- Select Insert > Table.
- You will now see a sidebar, select the number of columns and rows.
Adding and formatting the text
- To add text inside the table, select the box you want to add the text to. Insert text.
- Now to format the text, select the text and open Format > Text.
- Here you will see a variety of options, including – size, color, highlight color, subscript, superscript, bold italics, etc.
- Hover over each to see the options within them, which can be previewed before selection.
Alignment And Indentation
To convey your ideas clearly, you need to consider a proper arrangement and alignment of text and other objects so that your audience focuses on the right thing and things are not lost due to the design element.
- Select the content, Format > Align and Indent
- Select from Center, Left, Right, and Justified to align your text to the walls of the table cells.
- Use Increase or Decrease Indent to change the indentation of your text.
Line Spacing
Line spacing is an essential part of typography. The line spacing indicates the amount of space between two lines of text. Perfect line spacing increases the text readability and retains the reader’s attention throughout the presentation.
-
- Select the content, Format > line spacing
- Select the appropriate value for Line Spacing in the given option.
Bullet Points
Bullet points are perfect to list out items in your content. They help in capturing the attention of readers as they break long paragraphs into short sentences.
To insert bullet points in a table –
Format > Bulleted list
Insert / Delete Rows And Columns
Like any other spreadsheet, you can delete or insert a row in Google Sheets with a couple of clicks.
To insert a row or column, Select the table > insert a row above/below or column left/right. This inserts a row or column either before or after where the cursor is.
To delete a row or column, click on a cell in the row or column you want to delete. Then from the Table menu, select Delete row or Delete column.
Borders and lines
Cell borders and lines make it easy to create clear and defined boundaries for different sections of your spreadsheet.
To add cell borders, Format > Borders and Lines.
Clear Formatting
To undo all the changes and modifications in your slide – Format > clear formatting.
For more information, hop on to google’s official page on google slides
Google Slides Templates
Google Slides comes with a gallery of pre-made basic google slides templates which you can edit and change according to your preferences. Moreover, you can also use editable google slides templates as a base for your presentation, both free and premium. Go check out our collection of ready-to-use google slides themes. Also, check out our stunning library of free google slides templates to get started. Learn how to build effective presentations in google slides using google slides templates.
PowerPoint also has a vast gallery of ready-to-use templates for various purposes. Learn which presentation platform will work best for you.
Check out our collection of pre-designed Google Slides Templates:
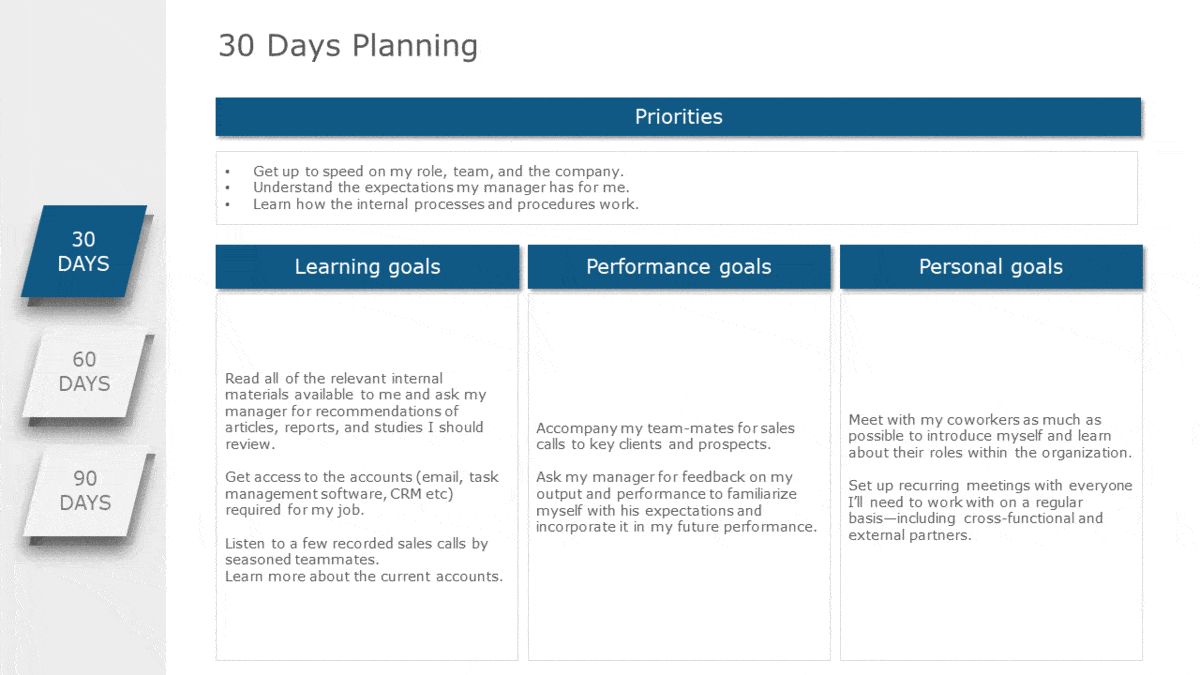
30 60 90 day plan template
View 30 60 90 Day Plan Example
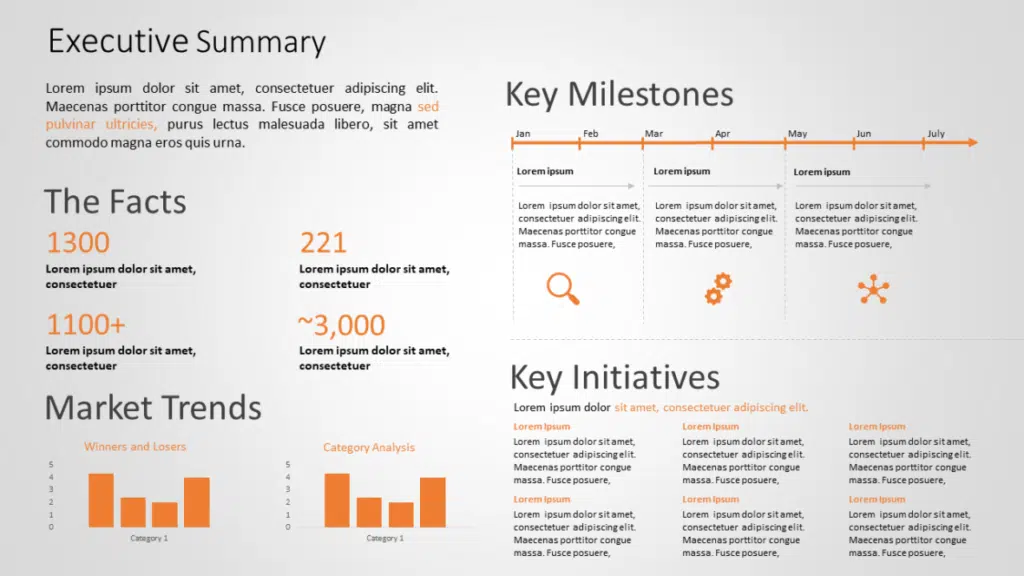
Executive Summary PowerPoint Template
View Executive Summary PowerPoint Template
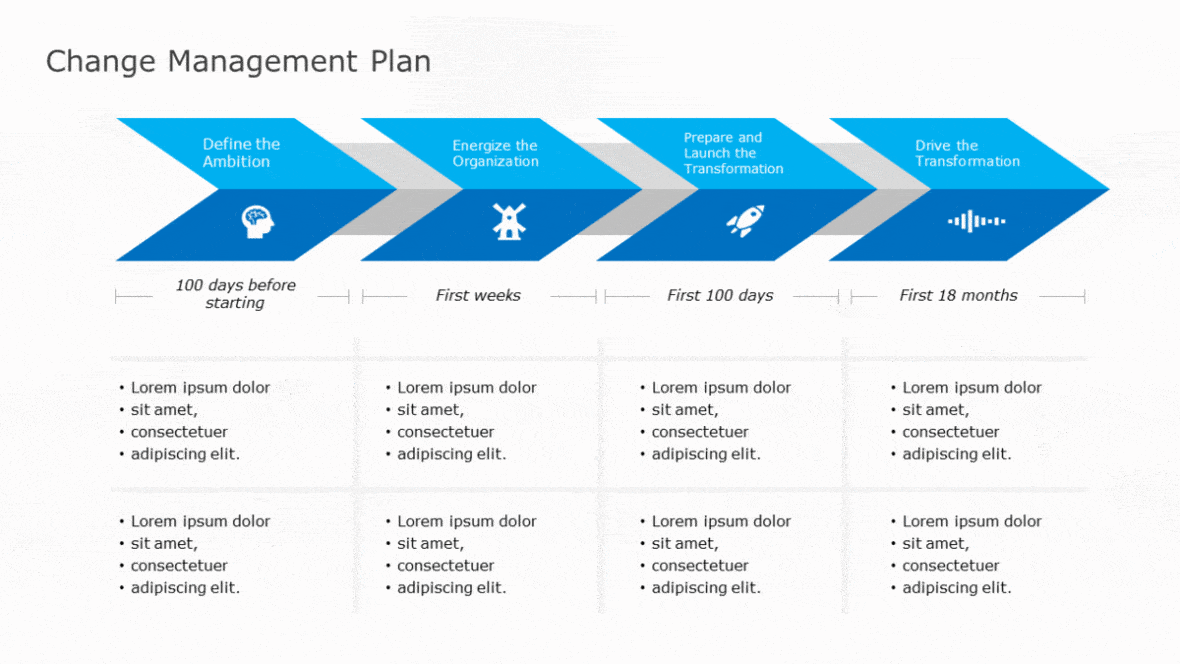
Change Management Plan Template
View Change Management Plan Template
Tip – If you are looking for advanced insights into using Google Slides and all its features, you can read our blog outlining how you can effectively use Google Slides to make presentations. Also, if you’re still unsure if Google Slides is for you, understand what works better for your presentations – Google Slides or Microsoft PowerPoint here.
Now you don’t have to scour the web to find out the right templates. Download our PowerPoint Templates from within PowerPoint. See how?


Table Of Content


Related posts from the same category
1 Sep, 2022 | SlideUpLift
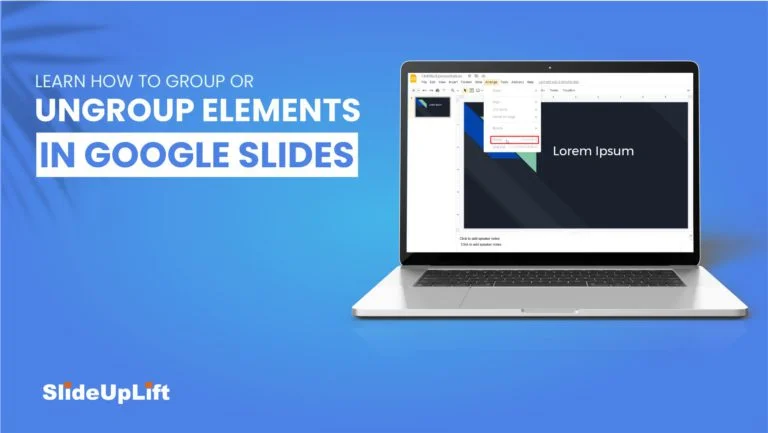
Learn How To Group Or Ungroup Elements In Google Slides | Google Slides Tutorial
Whether you're an experienced user of Google Slides or just starting out, learning how to group and ungroup elements within your slides can help you in various ways. If you

25 Oct, 2021 | SlideUpLift
Learn How To Make Quiz In Google Slides | Google Slides Tutorial
One of our greatest fears as presenters is a bored audience. We’re always looking for new ways to entice, engage, and excite the onlookers, whether they’re live participants in front
29 Aug, 2023 | SlideUpLift
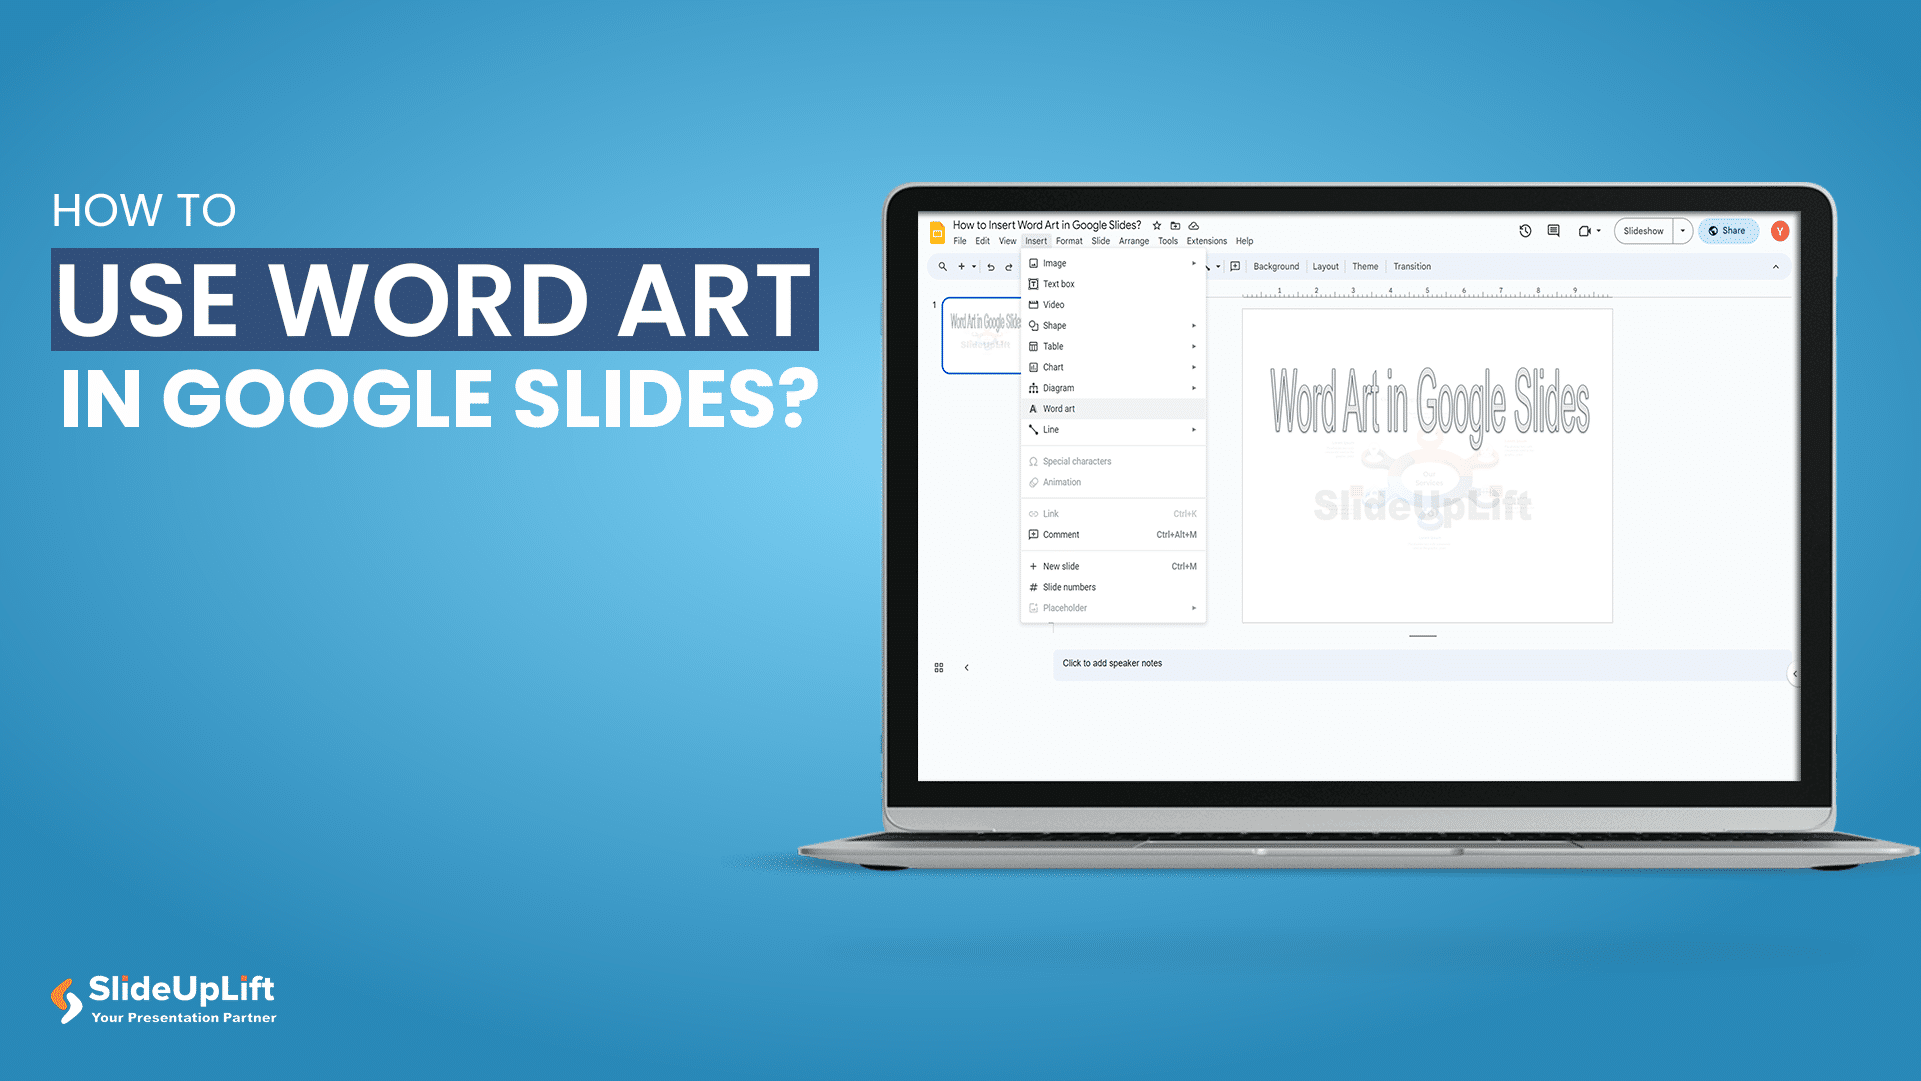
How to Use Word Art in Google Slides?
Google Slides has proven to be a dynamic platform. It enables you to easily create powerful presentations due to its seamless collaboration capabilities and variety of creative tools. Word Art
9 Nov, 2021 | SlideUpLift
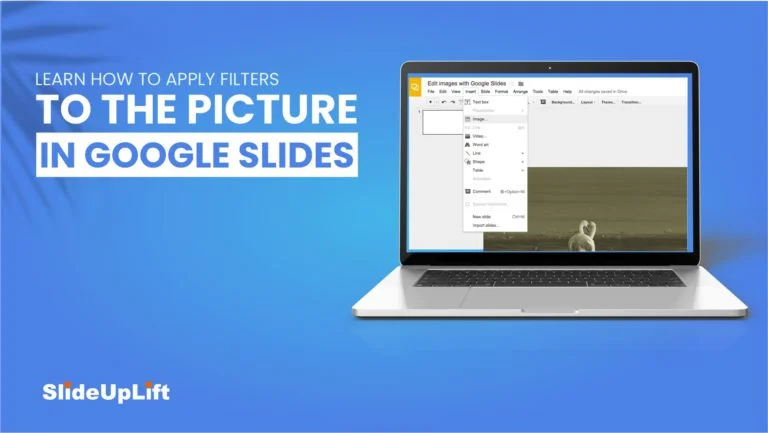
Learn How To Apply Filters To The Picture In Google Slides | Google Slides Tutorial
Google Slides is an excellent tool for creating a professional-looking presentation. Images are the most significant item you can incorporate in your presentation to provide visual attention. Using incorrect images

23 Sep, 2022 | SlideUpLift
How To Add Drop Shadows In Google Slides
Google Slides provide effects like drop shadows, which is an effective feature for presentation design. They can assist in making a flat image, text, or object more interesting by making

23 Aug, 2023 | SlideUpLift
How to Draw On Google Slides?
Google Slides is an effective tool for creating professional presentations, especially when adding images, graphics, or any type of multimedia. Apart from adding multimedia to slides, Google Slides also offers

1 Dec, 2022 | SlideUpLift
How to Add a Border in Google Slides
Google Slides is an incredible presentation tool that enables you to craft proficient, eye-catching business presentations. This tool offers users a variety of ways to enhance their presentations, including the

29 Dec, 2023 | SlideUpLift
How to Make Checkboxes in Google Slides?
Google Slides is one of the most widely used presentation tools today. It is used for creating simple text and picture presentations and complex presentations. You can create surveys and

27 Dec, 2023 | SlideUpLift
How To Insert A Calendar In Google Slides?
Google Slides, a powerful cloud-based presentation tool, offers a variety of features to enhance your slideshows and engage your audience. One such feature that can significantly improve your presentation is

24 Jan, 2024 | SlideUpLift
How To Insert A Fraction in Google Slides?
Google Slides is not just a versatile tool for conveying ideas and strategies but also numbers and complex data. Some numbers and data are part of advanced equations, including fractions.