
Learn How To Apply Filters To The Picture In Google Slides | Google Slides Tutorial
Google Slides is an excellent tool for creating a professional-looking presentation. Images are the most significant item you can incorporate in your presentation to provide visual attention.
Using incorrect images or placing them in the wrong location might be distracting. To avoid this, learn how to recolor, format, and modify your photos in Google Slides so they seem professional.
How To Apply Filters To The Picture In Google Slides?
Step 1 – Upload the required image on your slide.Insert > Image > Upload From Computer
Step 2 – Adjust the image accordingly.
Step 3 – Change the color of the image.
Format Options > Re-colour
Step 4 – Adjust the image using the Adjustments options.
Step 5 – Lastly, add text to your slide.
Images in a presentation typically communicate a lot of information. A good image can help you connect with your audience and keep your speech in their minds for a long time.
You can wind up with multiple pictures that lack substantial visual consistency at times, but this can be rectified by using filters. In this video tutorial, you’ll learn how to apply filters to the images in your Google Slides presentation step by step.
Here are a few examples of using images to create memorable presentations:
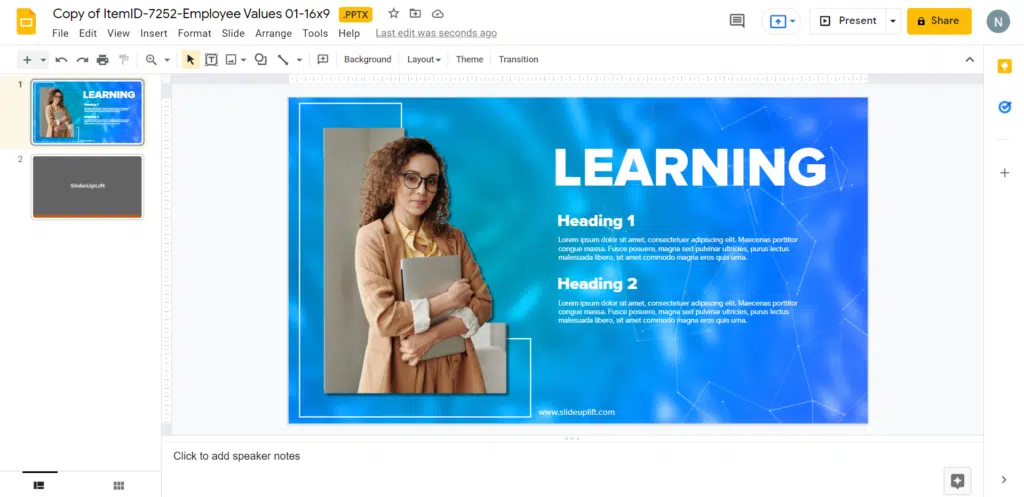
Employee Values
Source: Employee Values by SlideUpLift
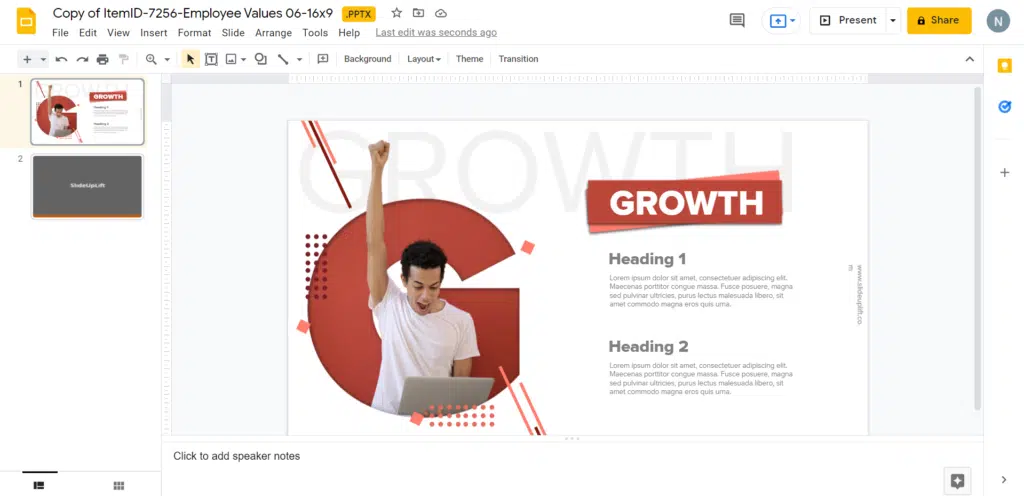
Employee Values
Source: Employee Values by SlideUpLift
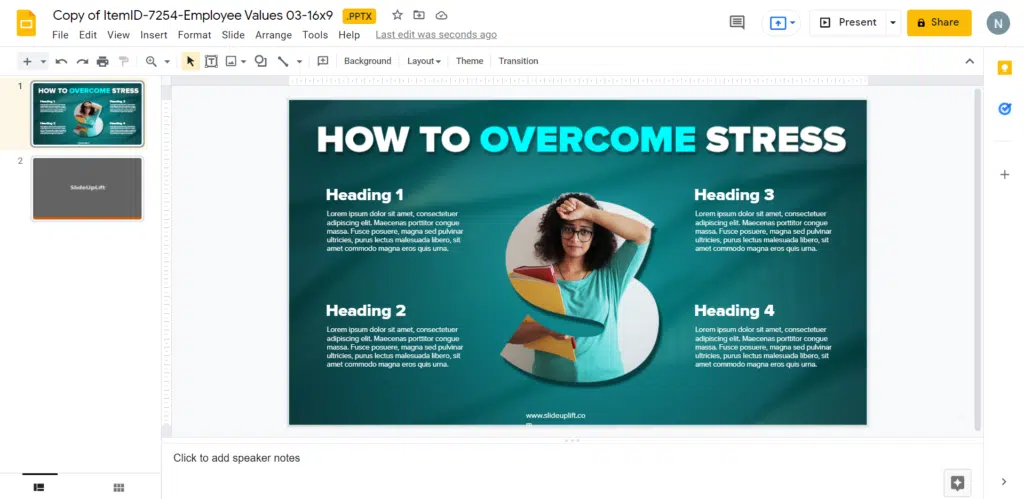
Employee Values
Source: Employee Values by SlideUpLift
Now you don’t have to scour the web to find out the right templates. Download our PowerPoint Templates from within PowerPoint. See how?


Table Of Content


Related posts from the same category
18 Nov, 2023 | SlideUpLift
How to Insert Icons in Google Slides Presentations
Quick Answer There are 5 ways to insert icons in Google Slides quickly and effectively: Install the Flaticon or Noun Project add-on via Extensions > Add-ons > Get add-ons Use

25 Oct, 2021 | SlideUpLift
How To Make a Quiz in Google Slides? (Step-by-Step Guide)
Quick Answer: To make a quiz in Google Slides, create a question slide with answer options, then build separate “Correct Answer” and “Wrong Answer” feedback slides. Use Insert → Link

29 Nov, 2022 | SlideUpLift
How To Make An Image Transparent In Google Slides
The use of images makes your presentation very compelling. They help make a massive positive impact on your audience. According to one study by Forbes, 65% of us are visual
1 Aug, 2024 | SlideUpLift
How To Add A GIF In Google Slides (Using 3 Methods)
GIFs add a visual aid to convey information in your presentations. These short animations can save time by expressing your point in a visually efficient way. Adding GIFs is one

6 Dec, 2023 | SlideUpLift
How to Flip or Mirror an Image in Google Slides?
Visuals are crucial in conveying messages effectively while presenting. They offer a variety of features to enhance your slides, including the ability to flip or mirror images. Flipping or rotating

14 Apr, 2026 | SlideUpLift
How to Add a Video to Google Slides Step by Step (2026)
Embedding a video in your presentation takes just a few clicks through the Insert menu — but getting it to actually play for your audience requires knowing a few rules
1 Sep, 2022 | SlideUpLift
How To Group & Ungroup In Google Slides (Step-by-Step Guide)
This blog walks you through how to group and ungroup elements in Google Slides in a simple, practical way. It covers grouping images, shapes, text boxes, and objects, along with

11 Apr, 2025 | SlideUpLift
How to Add Audio to Google Slides: (Step-by-Step Guide)
Benefits of Adding Audio to Google Slides In today’s digital world, it is tough to hold your audience’s attention. Simply using text and images may not make it interesting enough.

16 Dec, 2022 | SlideUpLift
How to Save a Google Slide As An Image
Have you ever created a slide in Google Slides that you wanted to use as a picture in another presentation or document, but you didn't know how to save a

30 Apr, 2026 | SlideUpLift
How to Add a Border in Google Slides (7 Easy Methods)
To add a border in Google Slides, insert a rectangle shape, set its fill to transparent, and customize the border color and weight from the toolbar. You can apply borders