

How To Make Columns In Google Slides? [Step-by-Step Guide]
In Google Slides, columns can be quite helpful in a presentation’s objective of clearly communicating and visualizing content for the audience. Columns help to maximize space utilization and arrange presentation slides efficiently. Acquiring the skill of creating Google Slides columns for any presentation can improve your presentation’s efficiency and aesthetic coherence. This blog offers a simple approach and understanding of how to add columns in Google Slides.

Step-by-Step Guide: Creating Columns in Google Slides
Google Slides have Certain pre-made body layouts. The title and two columns are contained in a single arrangement. It allows you to create and edit columns in Google Slides. It’s also the most straightforward method for creating Google Slides columns. You can learn how to make columns in Google Slides with a few clicks by choosing the slide layout:
Add Two columns:
The below steps will help you create a Google Slides two columns text box/slide:
- Launch Google Slides, then select a fresh slide. Remove the title box and text box currently on the first slide of Google Slides if you wish to create columns.
- Click the symbol with the + sign in the left corner of the Google Slides window.
- The layout “title and two columns” is one of the various slide layouts in the dialogue box that opens when you click this icon. To use this layout in Google Slides, select it.
- Enter any data you would like to add to these columns at this point. This method allows you to create columns in Google Slides. Still, it has a limitation in that it uses a premade layout that Google Slides does not permit you to modify or add more columns. Therefore, use the method below to create columns in Google Slides if you want to add more than two columns.
Add Three Columns:

Creating a three-column slide can be tricky since the layout menu in Google Presentations only provides options for one- or two-column presentations. All you need to do is be creative. To create a three-column slide in Google Slides, follow these steps:
- Make a new slide with the default format “Title and body.” This slide already has a text box, so all you have to do is scale it.
- To extend the text box, click on it and drag the blue square border on the right to the left.
- Right-click on the edited text box and choose “Copy.”
- You can use the keyboard keys Ctrl + C for Windows or Cmd + C for Mac as an alternative.
- Using the Ctrl + V (Windows) or Cmd + V (Mac) keys, paste the copied text box into the same slide to duplicate it.
- Continue doing this until three text boxes are accessible.
- After Pasting the text boxes, symmetrically arrange them to form the desired three columns and start entering the content into the text boxes.
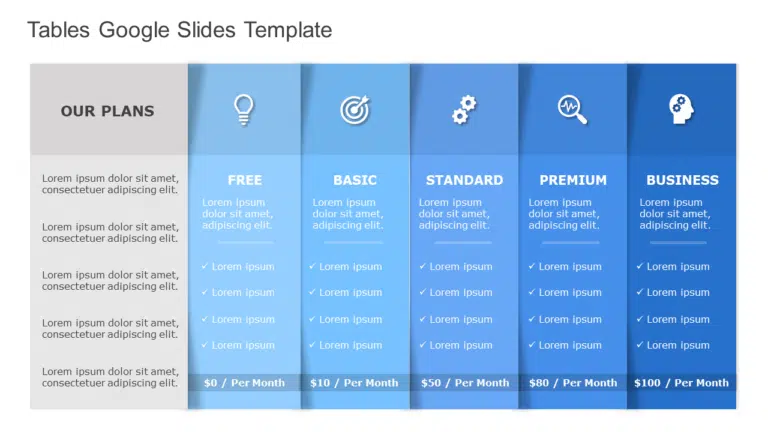
How to Make a Table with Columns in Google Slides
Following these steps, you can easily add a table to your columns Google Slides. Let’s examine the procedures:
- Open your presentation in Google Slides.
- Click “Insert,” and a dropdown menu will appear. Choose the “Table” option.
- Once you select “Table,” a grid will cover your slide. Move your cursor over the grid until you see the number of columns and rows as a highlighted rectangle. To choose the desired number of columns, click and drag.
- Let go of the mouse button after choosing the number of columns. Your slide will display the columns you have selected. Now, you can click and drag the column boundaries to change the width of the columns.
- To insert text or photos, click inside each cell. You can also format the text inside the cells using the various formatting choices.
- You’re done once you’ve entered your material and made any necessary column adjustments! There is now a table with several columns on your slide.
How to Add Content in Columns in Google Slides:
These quick steps will help you add content to your columns Google Slides:
- Click inside each text box or cell and type to add content, or you can also copy and paste your content directly. Repeat the same process for each column.
- Customize your text’s font, size, and style to enhance the presentation.
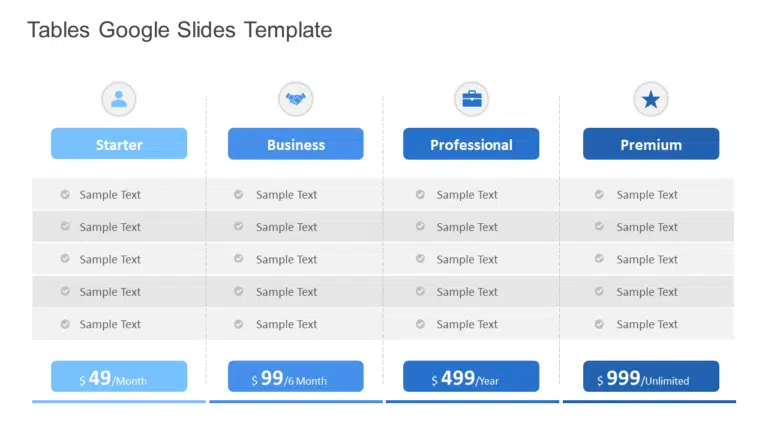
How to Add a Table in Google Slides from a SlideUpLift Template:
Follow the steps below to add a table from a SlideUpLift template:
- Go to slideuplift.com and browse for Google Slides templates.
- Choose a template that includes tables or a layout suitable for your needs. Look for options that offer pre-defined tables for easy insertion.
- Download the chosen template.
- Open the downloaded template directly in Google Slides by uploading the file or using the “Open with Google Slides” option.
- Replace the template content with your information. Edit the text in the table cells to suit your presentation.
- Customize the table further by adjusting cell sizes, colors, or other formatting options in Google Slides.
Using SlideUpLift Google Slides templates can save you time and provide a professional look to your presentation. It’s an efficient way to add tables with a consistent design to enhance the overall visual appeal of your slides. Now, you can seamlessly integrate tables into your Google Slides presentation with the help of SlideUpLift templates. If you have any further questions or need assistance, contact us now!
Conclusion
Learning how to make columns in Google Slides is a beautiful way to showcase material in a condensed form. You can add one column as a table or multiple columns in text box form using the Layouts menu. The Columns can change their size and position, just like other presentation programs. Using the above methods, you can easily create reliable information-displaying slide decks without overcrowding the slides.
FAQs
-
How To Make Columns In Google Slides?
Using these steps, you can easily learn how to create columns in Google Slides: Insert text boxes, draw them side by side, adjust sizes, and add content to create columns in Google Slides.
-
Can I add more than two columns?
Yes, you can add as many columns as needed by duplicating and arranging text boxes accordingly.
-
Can I adjust the column width?
Absolutely. Resize the text boxes to adjust the width of your columns. Experiment until you find the desired layout.
-
How do I find and use SlideUpLift templates in Google Slides?
Visit slideuplift.com, explore the Google Slides templates section, and download a template of your choice. Open it in Google Slides and replace the content with your own.
Table Of Content


Related posts from the same category

15 Apr, 2026 | SlideUpLift
How To Change Opacity in Google Slides (Images, Shapes & Backgrounds)
If your slides feel cluttered, hard to read, or just plain flat — opacity is the fix. A little transparency can turn a messy slide into something that looks clean

11 Apr, 2025 | SlideUpLift
How to Add Audio to Google Slides: (Step-by-Step Guide)
Benefits of Adding Audio to Google Slides In today’s digital world, it is tough to hold your audience’s attention. Simply using text and images may not make it interesting enough.

29 Dec, 2023 | SlideUpLift
How to Make Checkboxes in Google Slides?
Google Slides is one of the most widely used presentation tools today. It is used for creating simple text and picture presentations and complex presentations. You can create surveys and

1 Oct, 2025 | SlideUpLift
Insert Calendar In PowerPoint And Google Slides: Quick Guide For Smarter Planning.
Do you want your presentations to be more organized, attractive, and professional? Learning how to add a calendar in PowerPoint or Google Slides will take boring schedules and deadlines and
12 Sep, 2022 | SlideUpLift
How To Make Google Slides Vertical
While building/presenting a presentation on Google Slides, presenters often have this question- How to change Google slides to portrait? This query not only includes the standard 4:3 slide design, but

6 Sep, 2022 | SlideUpLift
How to Add and Edit Tables in Google Slides?
In the business world, slide decks are all-pervasive. Google Slides is gaining rapid prominence as one of the most excellent tools for designing slide decks. Presenters frequently use tables to

30 Apr, 2026 | SlideUpLift
How to Add a Border in Google Slides (7 Easy Methods)
To add a border in Google Slides, insert a rectangle shape, set its fill to transparent, and customize the border color and weight from the toolbar. You can apply borders

6 Jan, 2023 | SlideUpLift
How to Add Header and Footer in Google Slides?
Google Slides is a powerful presentation tool allowing users to create professional-looking presentations easily. One important aspect of any presentation is the header and footer, which can provide context and

24 Jan, 2024 | SlideUpLift
How To Insert A Fraction in Google Slides?
Google Slides is not just a versatile tool for conveying ideas and strategies but also numbers and complex data. Some numbers and data are part of advanced equations, including fractions.

23 Sep, 2022 | SlideUpLift
How To Add Drop Shadows In Google Slides
Google Slides provide effects like drop shadows, which is an effective feature for presentation design. They can assist in making a flat image, text, or object more interesting by making