How to Save a Google Slide As An Image
Have you ever created a slide in Google Slides that you wanted to use as a picture in another presentation or document, but you didn’t know how to save a Google Slide as an image?
Why save a slide as an image?
Saving a slide from a google slides presentation as an image can be useful for many reasons.
Improved sharing
By saving a slide as an image, you can easily share it with others through email, social media, or other platforms. This can make it easier to share your presentations with a wider audience and get your ideas across more effectively.
Increased flexibility
When you save a slide as an image, you can edit and manipulate it using image editing software. This can give you more control over the appearance of your slides and allow you to customize them to fit your needs.
Enhanced portability
Saving a slide as an image allows you to access it on any device that can display images, such as a smartphone or tablet. This can make it easier to view your slides on the go and allows you to share them with others more easily.
Improved presentation quality
By saving your slides as images, you can ensure that they look sharp and clear on any display device. This can help to make your presentations more professional and engaging and can improve the overall impression that you make on your audience.
Overall, saving a slide as an image is a great way to reuse slides, share them, and customize them to better suit your needs. It’s a simple process that can save a lot of time and effort.
Now, let’s move ahead and understand how to save a slide as an image!
How To Save A Slide As An Image On Google Slides?
Here are the steps for how to save Google Slides as images:
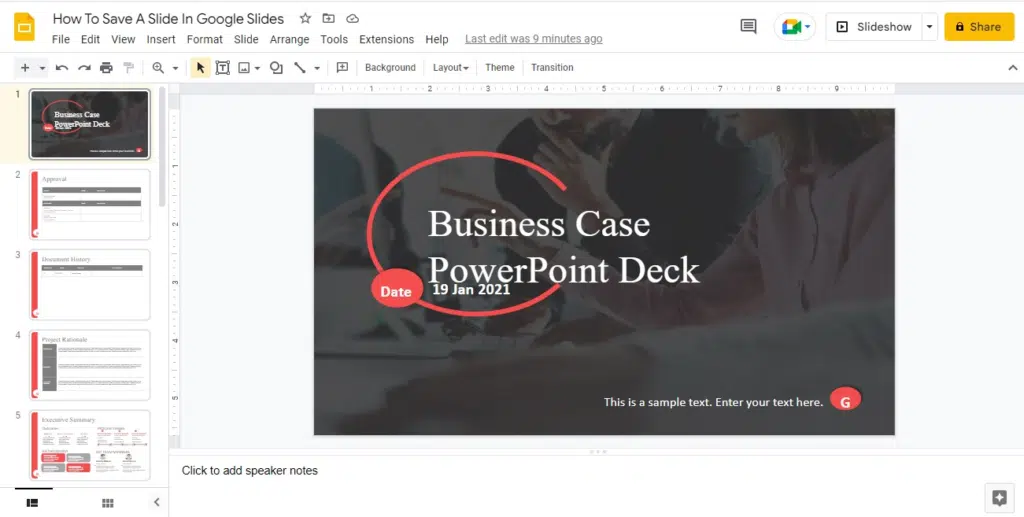
Step 1: Firstly, open your Google Slides presentation.
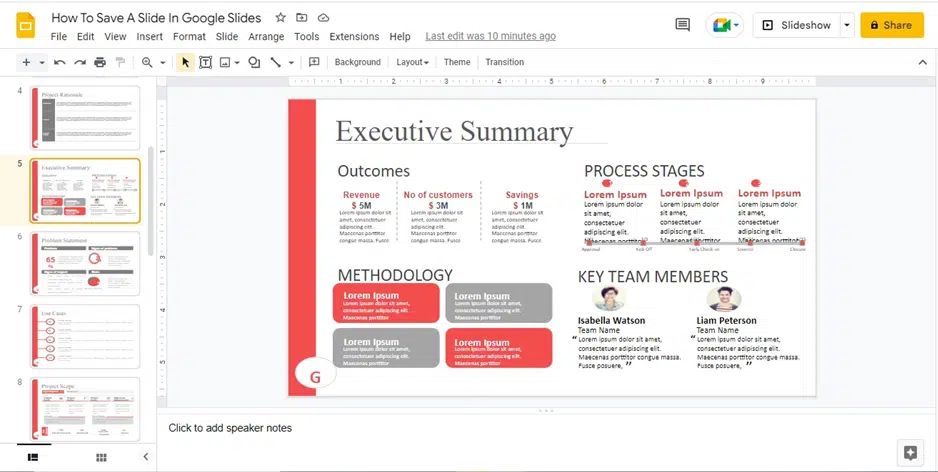
Step 2: Now, open the desired slide that you want to download as an image.
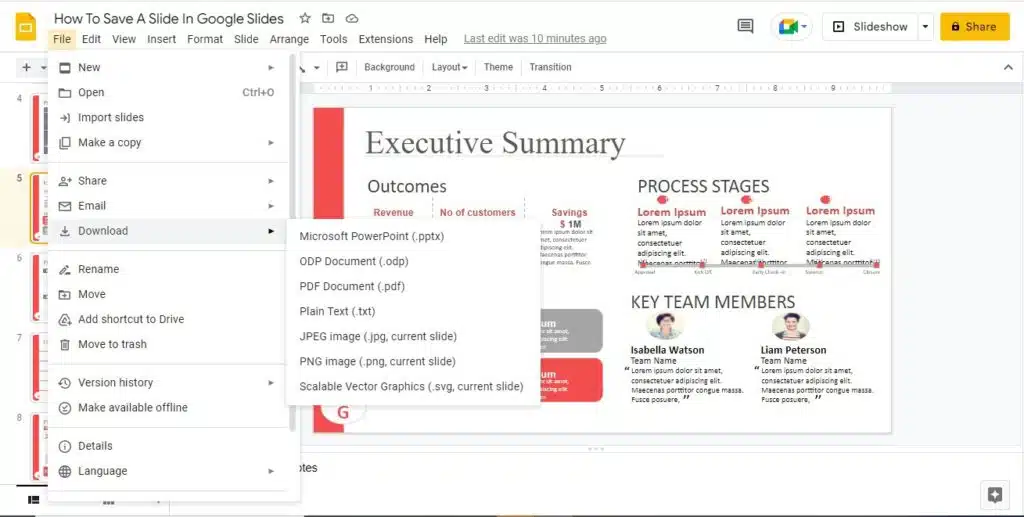
Step 3: Go to the “File” menu.
Step 4: Click on “Download as”.
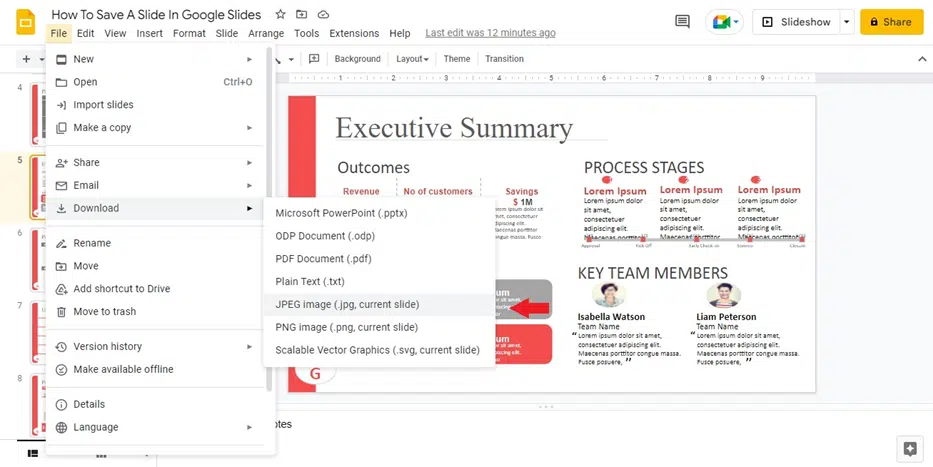
Step 5: You can choose to save the slide in the SVG, JPEG, or PNG image formats.
Step 6: Click on any desired image format to download a google slide as a picture.
Now that you know the steps you need to follow to download Google Slides as images. Let’s move ahead!
How To Save An Image From Google Slides?
Saving an image from Google Slides is a relatively easy process. Here are the steps that you need to follow:
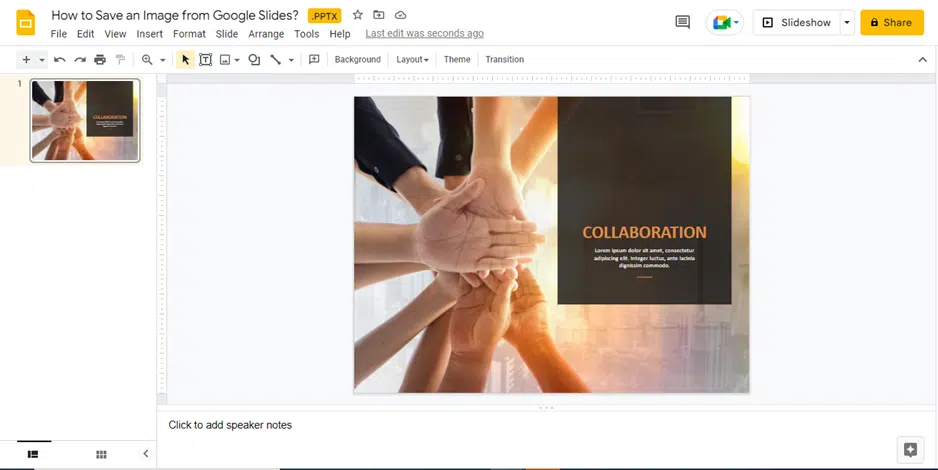
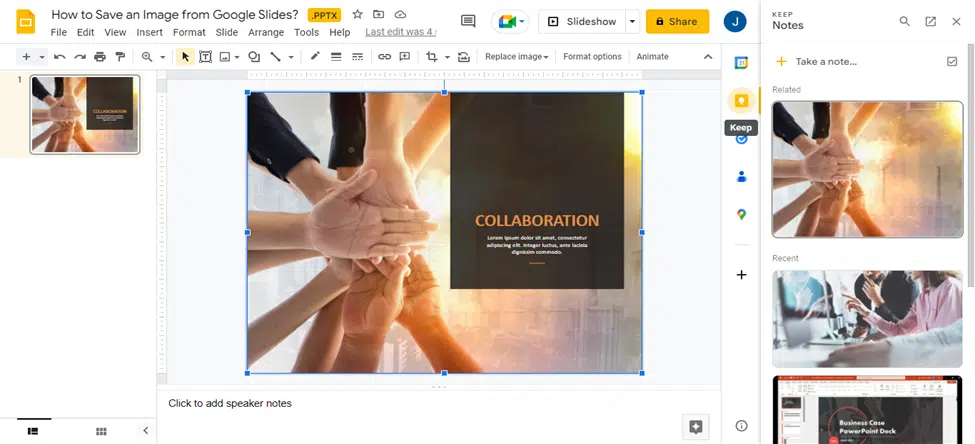
Step 1: Open up your Google Slides presentation and click on the slide containing the image.
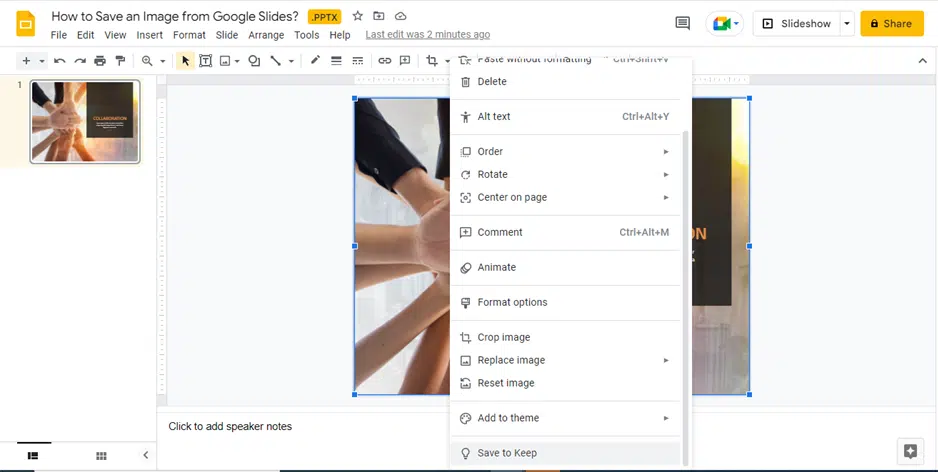
Step 2: Right-click your image, then pick the ‘Save to Keep’ option at the bottom of the menu.
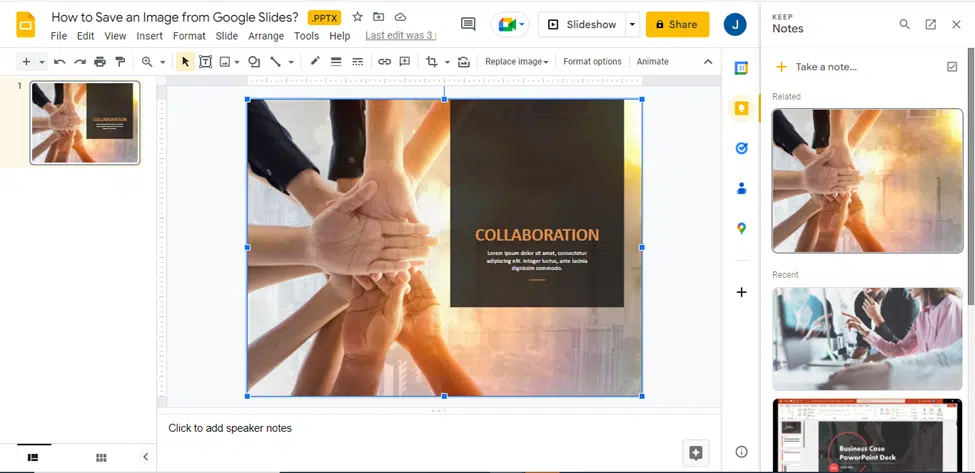
Step 3: Save your image as a note in Google Keep, and it will appear in the tab menu on the right – ready to open with just a click!
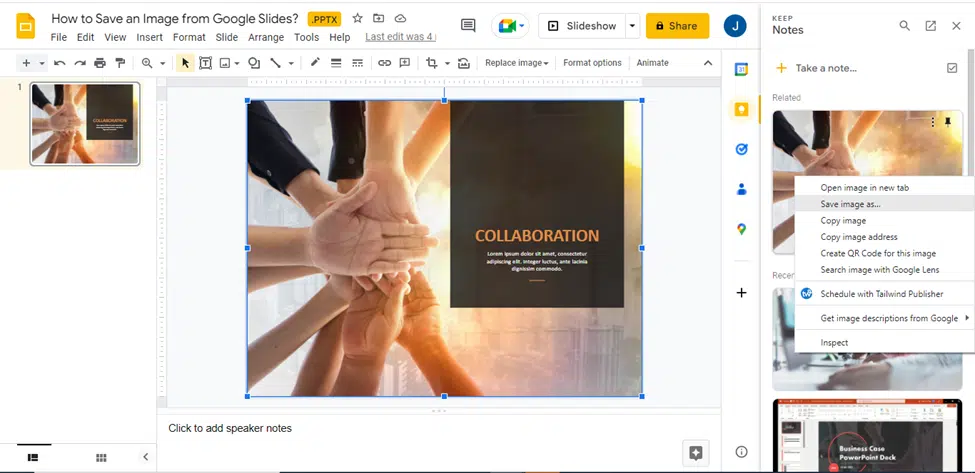
Step 4: Once more, right-click the image and select “Save Image As” to store it on your computer.
Step 5: Once more, click on the Google Keep icon to shut the menu.
Once you have gone through these steps, you will have expertly saved the image from your Google Slides presentation.
How To Save Google Slides Objects As Images?
Other types of objects, such as charts, graphics, diagrams, or text, are more difficult to export. Diagrams, for example, emerge as collections of PowerPoint shapes and text that can be edited directly in Google Slides but cannot be exported as an image file.
Instead, you’ll need to capture a screenshot of the Google Slides presentation on your device.
The steps for saving Google Slides objects as images are as follows:
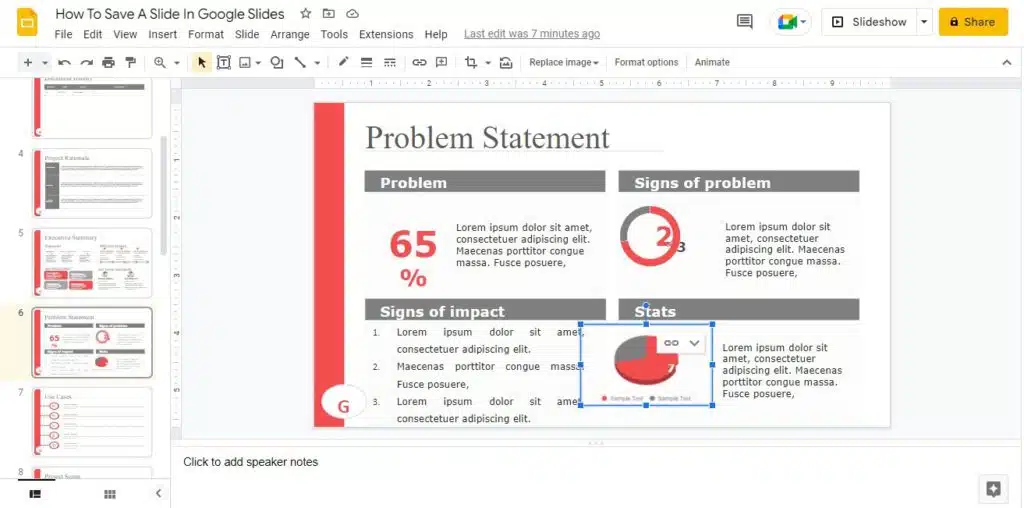
Step 1: Open the Google Slides presentation and pick out the slide that has the object you desire to save.
Step 2: Now, take a screenshot of your screen using ‘Print Screen’ or any other tool.
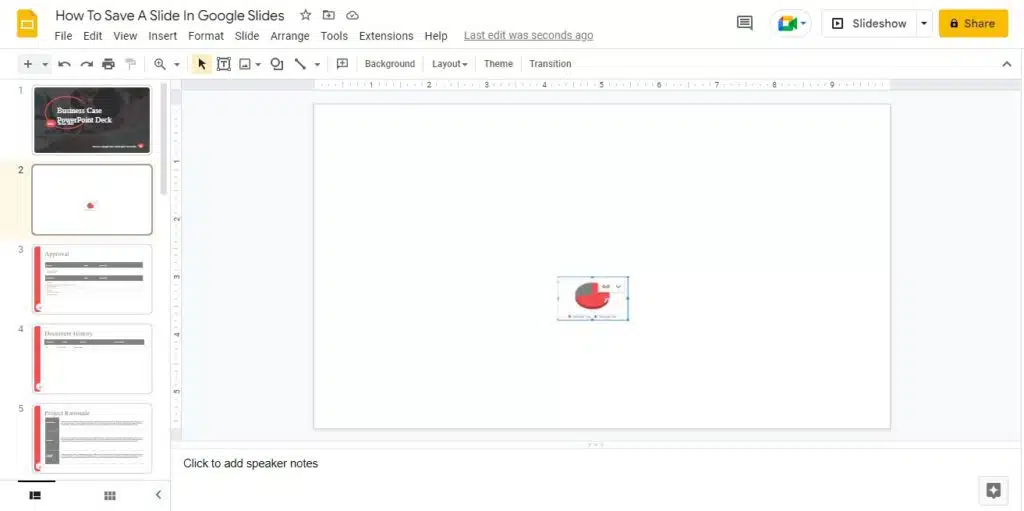
Step 3: Crop the screenshot in such a way that it only contains the object of your choice.
Step 4: Now, save this cropped screenshot in the image format.
Wrapping It Up
In conclusion, saving a slide from Google Slides as a picture is a simple process that can be accomplished in a few easy steps.
By following these steps, you can easily save a slide from Google Slides as a picture. So the next time you need to use a slide in another document or share it independently of your slideshow, you know exactly how to do it.

