Mastering SVG in PowerPoint for Sharp & Professional Slides
Every time you insert images in PowerPoint, your biggest concern is their pixelation; Your images need to be sharp and clear, no matter how large or small you make them. A pixelated, faded, and poor-quality image makes your presentation look unprofessional, and you don’t want that when you are trying to impress your clients!
Well, guess what? SVG (Scalable Vector Graphics) in PowerPoint is here to save the day! Forget blurry images in PowerPoint! SVG is like magic for your pictures – they stay super clear at any size. That’s why SVG in PowerPoint is awesome for sharp, space-saving slides with cool effects in newer versions.
We’ll explore everything about SVGs: what they are, tools for Illustrator to powerpoint, optimization, importing, and even tweaking their colors and shapes. Let’s dive in
What is an SVG?
SVG stands for Scalable Vector Graphics. Think of them as the masters of image quality. Fancy name, but the idea is simple. Instead of your picture of vector being made up of tiny little dots (like a JPEG or PNG), an SVG PowerPoint image is drawn using math. Seriously! It’s like instructions for your computer to draw lines and shapes. Because it’s all math, you can make a Vector Image in PowerPoint as huge as a building or as tiny as an ant, and it will still look perfectly crisp. No blurriness at all! They’re also lightweight and work great online, making them awesome for sprucing up your PowerPoint slides.
Think of SVG as a special kind of picture file for PowerPoint. Instead of being made of tiny colored dots, it’s like a set of simple instructions that tell your computer how to draw lines and shapes. Because it’s just instructions, you can make these SVG images super big or tiny!
This makes them perfect for logos, charts, and anything else in your presentation that needs to look sharp at any size.
Why should use SVG in PowerPoint?
The biggest reasons why SVGs are particularly used for presentations & improved slide design:
- Visual Quality & Professionalism:
- No more blurry images!
- Stay sharp no matter what
- Slides look more professional
- Consistent quality
- Clear SVG PowerPoint files
- Don’t get pixelated and blocky
- Slides look clean and crisp
- Gives them that extra touch of class
- Logos, drawings, and icons always look consistent
- No matter how you resize them
- Technical Advantages & Efficiency:
- PowerPoint loves them!
- Lightweight file sizes!
- PowerPoint will run smoother
- No more pixelation or weird stretching!
- Design Flexibility & Engagement:
- Even more design options with SVGs!
- SVG graphics support animations
- Advanced customizations directly in PowerPoint
- Especially if you’ve got moving graphics
- Can even make SVGs do cool animations
- Making your presentation way more engaging
How To Prepare An SVG Graphic File for Use in PowerPoint?
Before you even think about getting your SVG ready for PowerPoint, you’ll either need to create one yourself or download free SVG files from websites like Freepik. Once you’ve got your hands on an SVG file, then comes the prepping!
Think of optimizing an SVG like giving it a quick tidy-up before it goes into PowerPoint. It’s about making it run smoothly and keeping it looking sharp without any unnecessary fuss. Imagine you have a very detailed drawing; optimization is like simplifying some of the super intricate lines that PowerPoint might struggle with, or removing any hidden sketches that aren’t even part of the final picture.
Here’s a more detailed look at what SVG optimization involves:
- Simplifying Paths: SVG images unlike other image formats are scalable graphics, made up of paths (lines and curves defined by anchor points). Reducing the number of these points, especially for complex shapes, can significantly decrease file size and improve rendering speed in PowerPoint. Tools in software like Illustrator and Inkscape can help automate this process.
Removing Unnecessary Elements: Often, design software might include extra layers, groups, or metadata (information about the file that isn’t the actual image) within the SVG format file. Removing these unnecessary elements makes the file lighter and cleaner.
- Merging Shapes: If your SVG is composed of multiple overlapping shapes, merging them into a single entire image or shape can simplify the file structure and sometimes improve how Microsoft PowerPoint handles the graphic.
- Checking and Adjusting Resolution: While SVGs are primarily vector, they can sometimes contain embedded raster images. If so, ensure these raster elements have an appropriate resolution for your presentation needs. However, it’s generally best to keep elements as vector whenever possible for true scalability.
- Using Efficient Colors: Sometimes, reducing the number of unique colors used in the SVG or ensuring they are in a standard color space (like RGB for screens) can contribute to a more streamlined file.
- Minifying SVG Code: SVG files are essentially XML code. “Minifying” this code involves removing unnecessary characters like spaces and line breaks, which can further reduce the file size without affecting the visual output. Online tools like SVG Minify can do this.
By taking these optimization steps, you’ll help your SVG in PowerPoint files load faster, render more smoothly, and contribute to an overall more professional and efficient presentation.
What are the necessary softwares for optimizing SVGs
Want to make or tweak SVGs? A good tool will let you create and also optimize (make them smaller and cleaner) your files. Here are a few options, and when they shine:
- Adobe Illustrator: The professional standard with all the advanced features.
- Best for: Complex designs, detailed illustrations, and when you need precise control and integration with other Adobe products. It also has decent optimization features.
- Inkscape: A fantastic, free, and open-source option for everyone.
- Best for: Beginners and those on a budget who still need powerful vector editing and SVG creation. It also offers options for optimizing SVGs upon saving.
- CorelDRAW: Great for detailed designs and saving as SVGs.
- Best for: Users who prefer the Corel ecosystem and need robust vector tools, including good SVG export capabilities.
You can also use these tool for both creating and Optimization
Step-by-Step Guide to Inserting SVGs into PowerPoint
Getting SVGs into your slides is super easy! Once they’re in, you can resize them and tweak their look using the “Graphics Format” tab that pops up. Because SVGs stay sharp no matter the size, they’re perfect for making your slides look great. Let’s break it down:
Import SVG files directly
- Open your presentation.
- Go to the Insert tab.
- Click Pictures and then This Device… to find your SVG file.
- Select your SVG file and click Insert.
- Tip: If you don’t see it, make sure “All Files” is selected in the file type dropdown (how to open vector files).
- Once inserted, the Graphics Format tab will appear with options to adjust colors and size.
- Get creative by combining SVGs with PowerPoint’s regular shapes for more unique designs!
Resize and position SVGs on slides
Getting your SVGs in the perfect spot and size is key for balanced slides:
- Select your SVG. You’ll see little circles/squares at the corners.
- Drag these corner handles to make the SVG bigger or smaller – it’ll stay sharp!
- Click and drag the SVG to move it around on the slide.
- For precise placement, use the Align tools under the Graphics Format tab. You can align to the center, edges, etc.
- Because SVGs scale so well, they’ll fit right into your slide svg layout. Try layering them with other visuals for cool effects!
How to Manipulate SVGs for Presentations?
Think of manipulating an SVG in PowerPoint as having the power to customize and tweak these special graphics directly within your presentation software. Because SVGs are made of mathematical instructions, PowerPoint allows you to change their appearance in ways that traditional photos (like JPEGs) simply can’t.
You can alter their colors, resize individual parts, and even rearrange elements without losing any sharpness. This gives you a fantastic level of control to tailor your visuals perfectly to your message.
Here’s a step-by-step guide on how to manipulate SVGs in PowerPoint:
1. Select Your SVG:
- Click on the SVG graphic you’ve inserted into your slide. This will activate the “Graphics Format” tab in the PowerPoint ribbon at the top.
2. Exploring Basic Adjustments:
- Resizing: Drag the corner handles (the small circles or squares around the selected SVG) to make the entire graphic bigger or smaller. Remember, it will stay sharp!
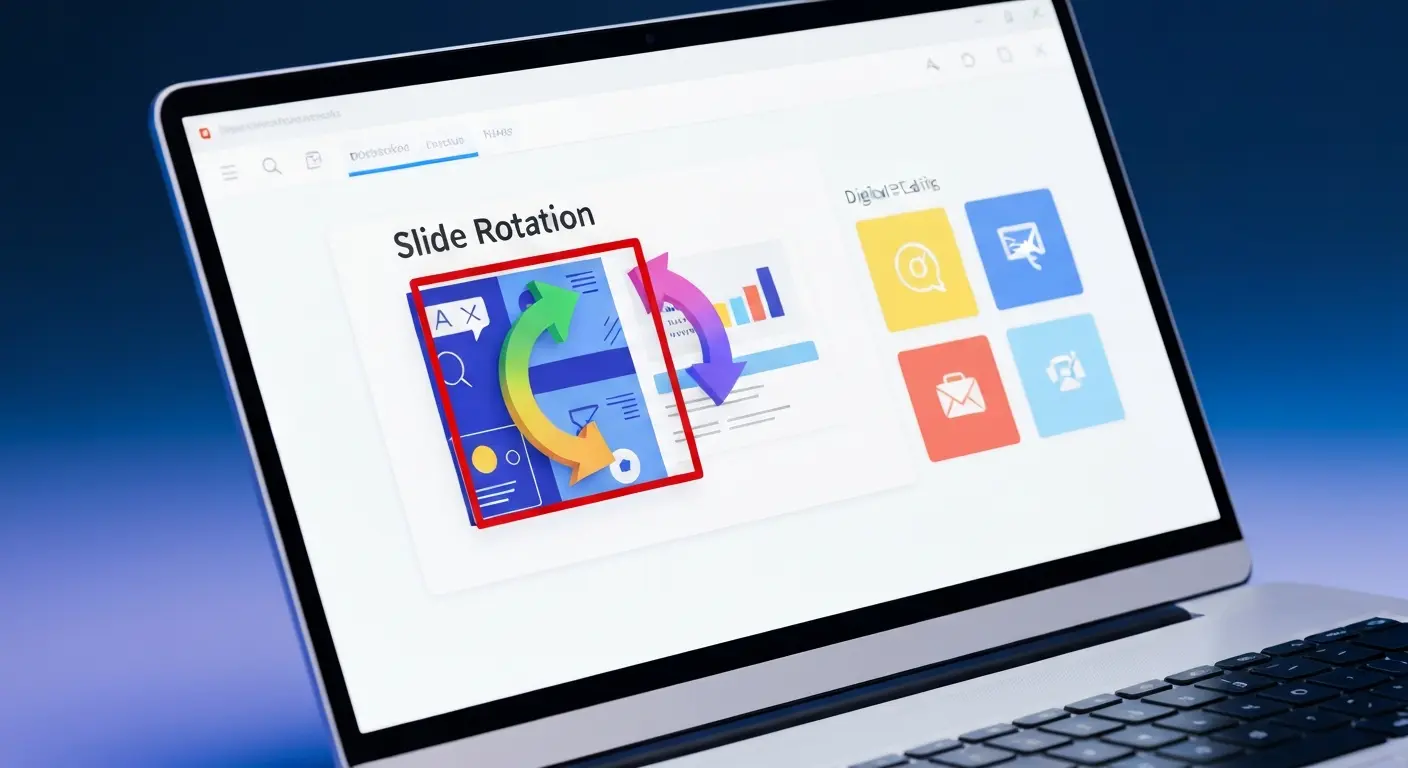
- Rotating: Use the circular arrow handle at the top of the selected SVG to rotate it to the desired angle.
- Moving: Simply click and drag the SVG to reposition it anywhere on your slide.
3. Changing Colors:
- Using “Graphics Fill”: In the “Graphics Format” tab, look for the “Graphics Fill” option. Click the dropdown arrow to:
- Choose a Solid Color: Select any color from the theme colors, standard colors, or pick a custom color. This will change the fill color of the entire selected SVG or parts of it (depending on how the SVG is structured).
- Apply a Gradient: Add a smooth transition between colors for a more dynamic look. You can choose from preset gradients or customize your own.
- Select “No Fill”: Make the inside of the SVG transparent.
- Using “Graphics Outline”: Similar to “Graphics Fill,” the “Graphics Outline” option lets you change the color, weight (thickness), and dashes of the lines that make up your SVG.
4. Ungrouping for More Detailed Edits:
- For more granular control over individual parts of an SVG, you’ll need to ungroup it.
- Right-click on the selected SVG.
- In the context menu that appears, select “Group” and then “Ungroup.”
- Important Note: Complex SVGs might need to be ungrouped multiple times to access individual elements.
- Once ungrouped, you can select and manipulate individual shapes, lines, and other components of the SVG:
- Change the fill and outline color of individual shapes.
- Resize or move specific parts of the graphic.
- Delete individual elements you don’t need.
- Rotate individual elements.
Apart from changing colors and sizes, an image can be mirrored or flipped to get your desired aesthetics. learn how to flip an image in PowerPoint.
5. Working with Layers (Implicit):
- While PowerPoint doesn’t have a dedicated “layers” panel like design software, ungrouping an SVG essentially allows you to work with its different components as if they were on separate layers. Elements that were on top in the original SVG will remain on top after ungrouping. You can change the stacking order of these elements using the “Arrange” options in the “Graphics Format” tab (Bring Forward, Send Backward).
6. Regrouping:
- Once you’ve made your desired changes to the individual parts of an ungrouped SVG, you might want to regroup them to treat the entire graphic as a single object again for easier resizing and moving.
- Select all the individual elements you want to group (you can do this by holding down the Shift key while clicking on each element).
- Right-click on one of the selected elements.
- In the context menu, select “Group” and then “Group.”
By following these steps, you can effectively manipulate your SVG graphics directly within PowerPoint, customizing them to perfectly suit your presentation needs and making your visuals truly unique and impactful.
Layering and combining SVGs for visual impact
Want to make your presentations visually stunning and more engaging? Layering and combining your SVG graphics is a fantastic way to add depth and tell richer visual stories. Why Layering and combining SVGs is beneficial:
- Create depth and focus.
- Illustrate complex ideas.
- Make slides more interesting and dynamic.
- Maintain sharpness (slide svg). How to layer and adjust transparency:
- Drag and drop multiple SVGs onto your slide.
- Position SVGs on top of each other.
- Adjust transparency for blending.
- Use grouping for easier manipulation.
When layering and combining images in PowerPoint, you sometimes need to lock them for easy editing. learn how to lock an image in Google Slides.
Troubleshooting Common SVG Issues in PowerPoint
Sometimes, SVGs don’t play perfectly with PowerPoint. You might have trouble getting them in, or they might not look quite right. Often, this happens because the SVG has some advanced features that PowerPoint doesn’t understand, or if you’re using an older version. Also, SVGs can sometimes look blurry if they weren’t set up correctly from the start. Here’s how to tackle some common problems:
Fixing import errors and compatibility issues
- Use reliable software: Create your SVGs with programs like Adobe Illustrator or Inkscape for cleaner files.
- Keep PowerPoint updated: Newer versions have better SVG support.
- Try a different format: If import fails, save your SVG as EMF or PNG (ppt to svg).
Solutions for SVG display problems in presentations
- Check PowerPoint version: Make sure it fully supports SVGs. An update might help.
- Resize correctly: Use the corner handles to adjust size; SVGs should stay sharp.
- Re-export: Try saving the SVG from your design software as EMF or a high-resolution PNG (powerpoint to svg).
- Check Graphics Format tab: Look for any settings that might be affecting the display.
SVG Quality Appears Low
- Use vector software: Ensure your SVGs were made in programs like Illustrator or Inkscape.
- Check Graphics Format: After importing, look at the image quality settings.
- Correct import: Make sure you’re using the “Insert” tab properly.
SVG Shows Incorrect Colors
- Check original file: Review color settings in Illustrator or Inkscape.
- Simplify SVG: Complex color profiles can cause issues.
- Use RGB: Make sure the color mode is set to RGB in your design software.
Getting the right resultant color also depends a lot on an image’s transparency. learn how to make an image transparent for presentations.
Best Practices for SVGs in Presentations
Follow these tips to get the most out of using SVGs and make your PowerPoint presentations look their absolute best.
Checking Compatibility
Ensure a smooth experience by ensuring your software and files speak the same language. Know your PowerPoint’s SVG support and use compatible file formats.
- Ensure your PowerPoint version fully supports SVGs.
- Use reliable software (like Illustrator or Inkscape) for your SVGs.
- Save your SVG files in a compatible format (SVG to PPT, PPT to SVG).
Simplifying the SVG Design
For better performance and clearer visuals, sometimes less is truly more. Streamline your graphics by removing unnecessary elements for cleaner, faster-loading SVGs.
- Keep your designs clean and avoid unnecessary details.
- Use editing tools to streamline your graphics.
- Simple designs lead to better scaling and performance.
File Compression
Help your presentations load quickly and run smoothly without sacrificing visual quality. Optimize your SVG file sizes to ensure a seamless viewing experience for your audience.
- Compress your SVGs for faster loading times.
- Use software tools to reduce file size without losing quality.
- Smaller files ensure smoother presentations on all devices.
Text Legibility
Make sure your message is clear and easy to read at any size. Choose appropriate fonts and ensure sufficient contrast so your text is always easily understandable within your powerpoint vector graphics.
- Choose clear and simple fonts within your SVGs.
- Ensure good contrast between text and background colors.
- Use editing software for precise text adjustments.
Design Consistency
Create a polished and professional look throughout your entire presentation. Leverage the scalability of SVGs to maintain a uniform visual style across all your slides (slide SVG).
- Use SVGs to maintain image quality across all slides.
- Stick to a consistent color scheme and visual style.
- Well-designed SVGs integrate seamlessly with templates.
- Consistency enhances professionalism and audience engagement.
Conclusion
So, you’ve journeyed through the world of SVG in PowerPoint and discovered its magic! These powerpoint vector graphics offer a fantastic way to keep your visuals sharp and professional, no matter how you resize them. From understanding what an SVG is to mastering how to import, manipulate, and even troubleshoot them, you’re now equipped to create truly stunning presentations.
Remember to keep your SVG designs clean, optimize them for smooth performance, and play around with layering and colors to make your message truly impactful. By embracing SVGs, you’re not just adding images; you’re adding a touch of brilliance and ensuring your presentations leave a lasting, crisp impression on your audience. Go forth and create visually captivating slides!. To save time, you can also have a look at pre-designed high-quality aesthetic & fun templates.
If you found this helpful, you might also be interested in these related topics: using VBA codes to automate your PowerPoint tasks and using ChatGPT to create presentations.
FAQs
-
How do I convert other formats to SVG for use in PowerPoint?
Use online converters or vector editing software (like Inkscape or Illustrator) to export or save as SVG
-
Use online converters or vector editing software (like Inkscape or Illustrator) to export or save as SVG
While technically no strict limit, very large, complex SVGs can slow down PowerPoint. Keep them optimized.
-
Can I animate SVGs within PowerPoint slides?
Yes, newer PowerPoint versions allow basic animations to be applied to SVG elements.
-
What are the best practices for maintaining SVG quality in presentations?
Optimize your SVGs, use vector-based software for creation, and insert them directly.
-
Where can I find free or premium SVGs suitable for professional presentations?
Explore stock graphic websites (like Adobe Stock, Shutterstock) and free SVG repositories (like The Noun Project for icons).
-
How do I edit a SVG file in PPT?
Select the SVG and use the “Graphics Format” tab for basic color and outline changes. For more detailed edits, ungroup the SVG (though this can sometimes lose its vector properties).


